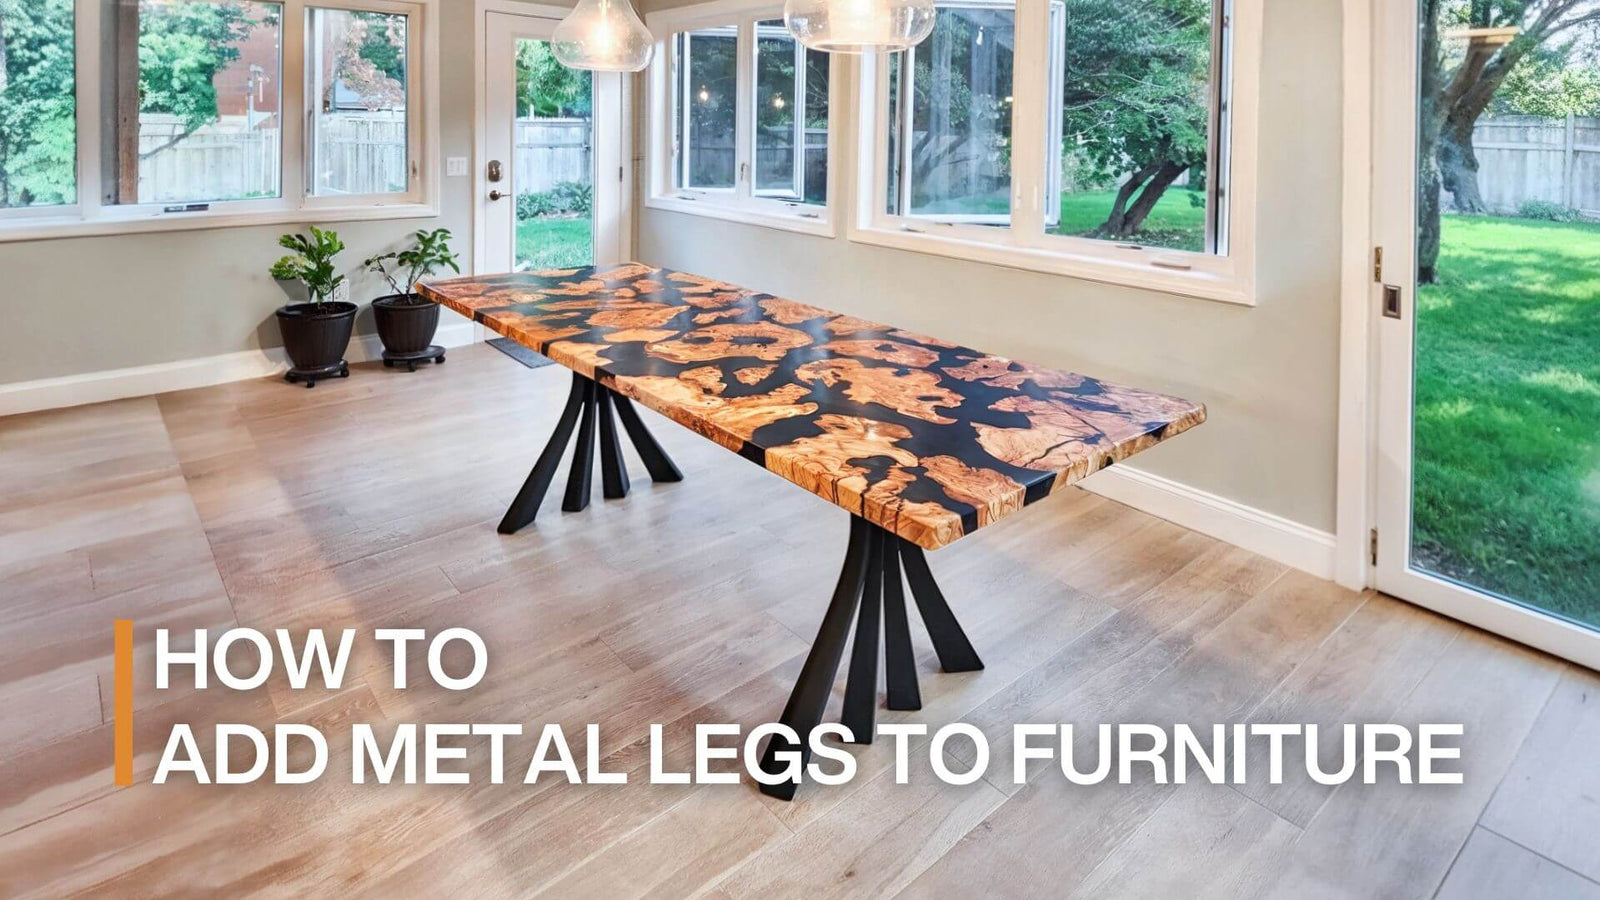
Want to know how to add metal legs to furniture? It's a simple process that can completely change the look of your old table, bench, or shelf without spending hundreds on new furniture.
In this guide, Flowyline will walk you through how to attach table legs to table top step by step. First, we'll pick the right legs for your furniture. Then, we prepare your table or shelf, attach the legs properly, and add the finishing touches that make it look professional.
By the end of the day, you'll feel confident adding steel table legs and turning your old furniture into something you'll be proud to show off to friends and family.
Why You Should Add Metal Legs to Your Furniture?
Most people think about how their furniture looks or how well it works, but they don't pay much attention to the legs. That's not true because the legs are actually one of the best focal points of your space. Here are 4 popular benefits of owning metal table legs:
- Last much longer: Metal legs are incredibly tough compared to wooden ones. Wood can warp when it gets wet, crack over time, or even rot if moisture gets in. Conversely, metal legs stay strong and straight for years.
- Make everything look better: Good metal legs can be the star of the show. Guests will notice them right away and compliment your style. If you love that clean, retro look, industrial farmhouse legs are perfect. There are so many types of table legs that you can find something to match any room in your house.

Metal table legs are incredibly tough compared to wooden ones
Credit: Flowyline Design
Order now: Furniture Legs 420 Akro 28H Metal Handmade Dining Table Legs
- Make life easier: Thirdly, when your furniture sits higher up, air can flow underneath it. This stops moisture from building up and prevents mold from growing. And cleaning is also much easier. You can vacuum or mop right under your table or couch without moving anything around.
- Add value to your home: When your furniture looks custom and well-made, it actually makes your whole home feel more valuable. If you ever decide to sell your house or even just the furniture itself, people will be willing to pay more for pieces that look professionally done.
How To Add Metal Legs To Furniture: Step-by-step guidance
Our project is much easier than it looks. All you need is a drill, a screwdriver, and about an hour of your time to give your old furniture a brand new look. Follow us now:
Step 1: Choosing the Right Metal Legs for Your Furniture
To add legs to furniture, start by selecting the appropriate legs. You’ll need to pick the furniture style and the ideal type of legs to use. If you are adding legs to a mid-century modern chair, tapered legs that complement the style are recommended.
If you're considering adding legs to a rustic farmhouse table, it may be preferable to select sturdy, straight legs that complement the overall style.
Secondly, don't forget to consider the height of the legs. Here's a simple guide to follow:
- For your dining room table, you want legs that are 28 — 30 inches tall.
- Coffee tables need much shorter legs. That’s usually between 16 — 18 inches.
- If you're making a kitchen counter or island table, go with 34 — 36 inch legs so you can use bar stools.
- For a real bar-height table (like in your basement or game room), you'll need 40 — 42 inch legs.

How to add metal legs to furniture by choosing right metal legs
Credit: Flowyline Design
Related products: Coffee Table Base 226 Filar 16H Metal Furniture Legs for DIY Projects
Step 2: Preparing Your Furniture for Metal Leg Installation
This step might seem boring, but the better you prepare, the better everything turns out. So, if your table already has legs that you're replacing, get someone to help you hold the table steady while you unscrew the old ones.
For most rectangular tables, you want your legs about 2 to 4 inches in from each corner — closer for smaller tables, further for bigger ones. Mark each spot with a pencil.
Pro tips: measure diagonally from corner to corner. Both diagonal measurements should be the same. If they're not, your legs won't be square, and your table will look wonky.
- Before you put in any screws, you need to drill small pilot holes first. We use a drill bit that's just a tiny bit smaller than your size of wood screws, which helps stop the wood from splitting when you screw in the legs.
- Please make sure you drill straight down, not at an angle, or your legs won't sit right. Also, if you're working with hardwood like oak, go really small with that drill bit. Softer woods like pine are more forgiving.
- Lastly, you wipe down where you're going to attach the legs.
Step 3: Attaching Metal Legs to Furniture
Before you start, make sure you have everything within reach: your drill, some drill bits, a screwdriver, that level we talked about, measuring tape, a pencil, and safety glasses.
Most of the metal legs come with screws and mounting plates, but take a quick look to make sure everything's there.
- Now we line up your first leg exactly where you marked it earlier. The mounting plate needs to sit completely flat against your table. If it's rocking even a little bit, your leg will never be stable.
- After each leg goes on, you need to check it with your level. If something looks off, loosen the screws a bit and adjust.
- Once all four legs are on, carefully flip your table right-side up and give it the wobble test. It should sit steadily without rocking back and forth.

Most of the metal legs come with screws and mounting plates
Credit: Flowyline Design
Buy Now: Counter Table Base 610B Tulipe 34H Mid-Century Modern Style
Step 4: Finishing Touches and Final Adjustments
You're almost done. These last few steps on how to add metal legs to furniture will make your table work great for years to come.
- First thing, you stick some felt pads on the bottom of each leg. They’ll keep your floors from getting scratched up every time you move the table around.
- Now let’s check if it wobbles. In case one corner sits higher than the others, don't worry, as you can level these legs easily. If your legs have those little adjustable feet, simply turn them like a screw. You twist clockwise to make that corner higher, counterclockwise to lower it.
Pro tips: Suppose you bought raw steel legs (the kind that aren't painted), you'll need to put a clear coat on them so they don't rust.
Clean them really well first, then brush on some clear polyurethane in thin coats. If your legs are already finished, just wipe them down with soapy water now and then.
You might like: How to Attach Metal Legs To A Wood Table
Where to Find Quality Metal Furniture Legs?
You can find metal legs at your local hardware store, but honestly, the style is usually pretty limited. Most people just shop online because there are tons of options and the prices are better.
At Flowyline Design, we've been working with people and their furniture projects since 2018. What we always do is tell you exactly how much weight each leg can carry.
More than that, we pack the whole threaded inserts, bolts, and the attached mounting plate in the box so no one has to make extra trips to the hardware store staring at bolt sizes.

Flowyline Design is a perfect place for you to purchase sturdy and stylish table legs
Credit: Flowyline Design
When shopping (with us or anyone else), here's what to look for: definite weight limits on each leg, all the mounting hardware included, and reviews from real customers who have actually put them together. We even have 3D previews of how the legs will look on your very own tabletop before you order.
FAQs
1. How to Connect Metal Legs to Wood Table?
Most metal legs come with mounting plates that attach to the bottom of your table with bolts and threaded inserts. Here is how to connect metal legs to wood table:
- Step 1: Mark where you want each leg (usually 2 — 4 inches from each corner)
- Step 2: Drill small pilot holes to prevent the wood from splitting
- Step 3: Screw the mounting plates directly into the wood
2. How to Attach Legs to a Table Without Apron?
This is actually easier than tables with aprons because you have more room to work. You'll attach the legs directly to the underside of your tabletop using mounting plates or brackets.
Read our guide for more details at How to Attach Legs to a Table without an Apron
3. What Can I Use Instead of Furniture Legs?
There are lots of creative alternatives if traditional legs aren't your thing. Windeglass legs are super popular and give that mid-century modern look. You could also use wooden blocks or pedestals for a chunky, rustic feel.
Some people get creative with things like old fence posts, concrete blocks (painted to look nice), or even stacked books for temporary solutions. For a really modern look, consider a single pedestal base in the center instead of four legs.
How To Add Metal Legs To Furniture: Final Takeaways
As you can see, adding metal legs to your furniture is one of the good upgrades you can make. It costs a fraction of buying new furniture while giving you that custom, high-end look.
Furthermore, with the right legs, proper pilot holes, and careful installation, your wobbly old table becomes a showpiece that'll last for decades. The whole process from measuring to final adjustments typically takes just 1 — 2 hours, which makes it perfect for weekend DIY projects.
Now you have all the knowledge you need about how to add metal legs to furniture. For more furniture transformation tips and installation guides, check out our other DIY tutorials. Have questions about your specific project? Simply contact our team, we're here to help you get it right.