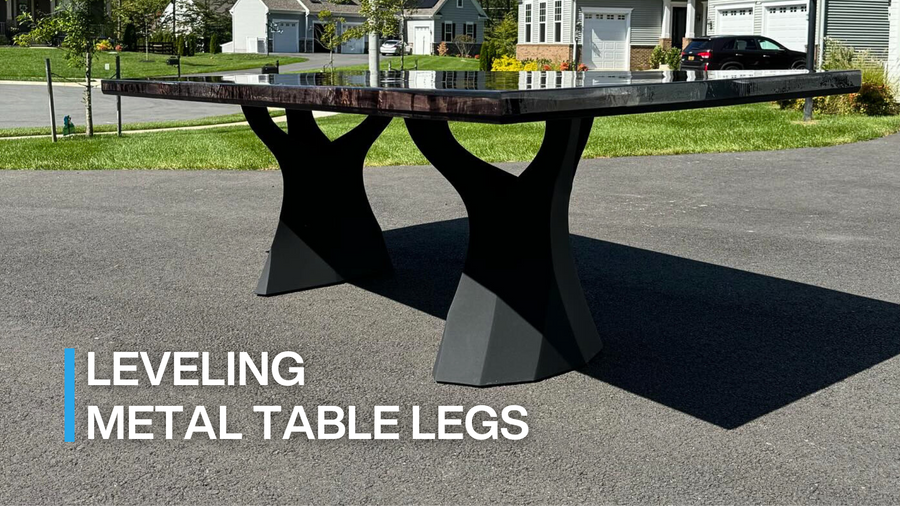
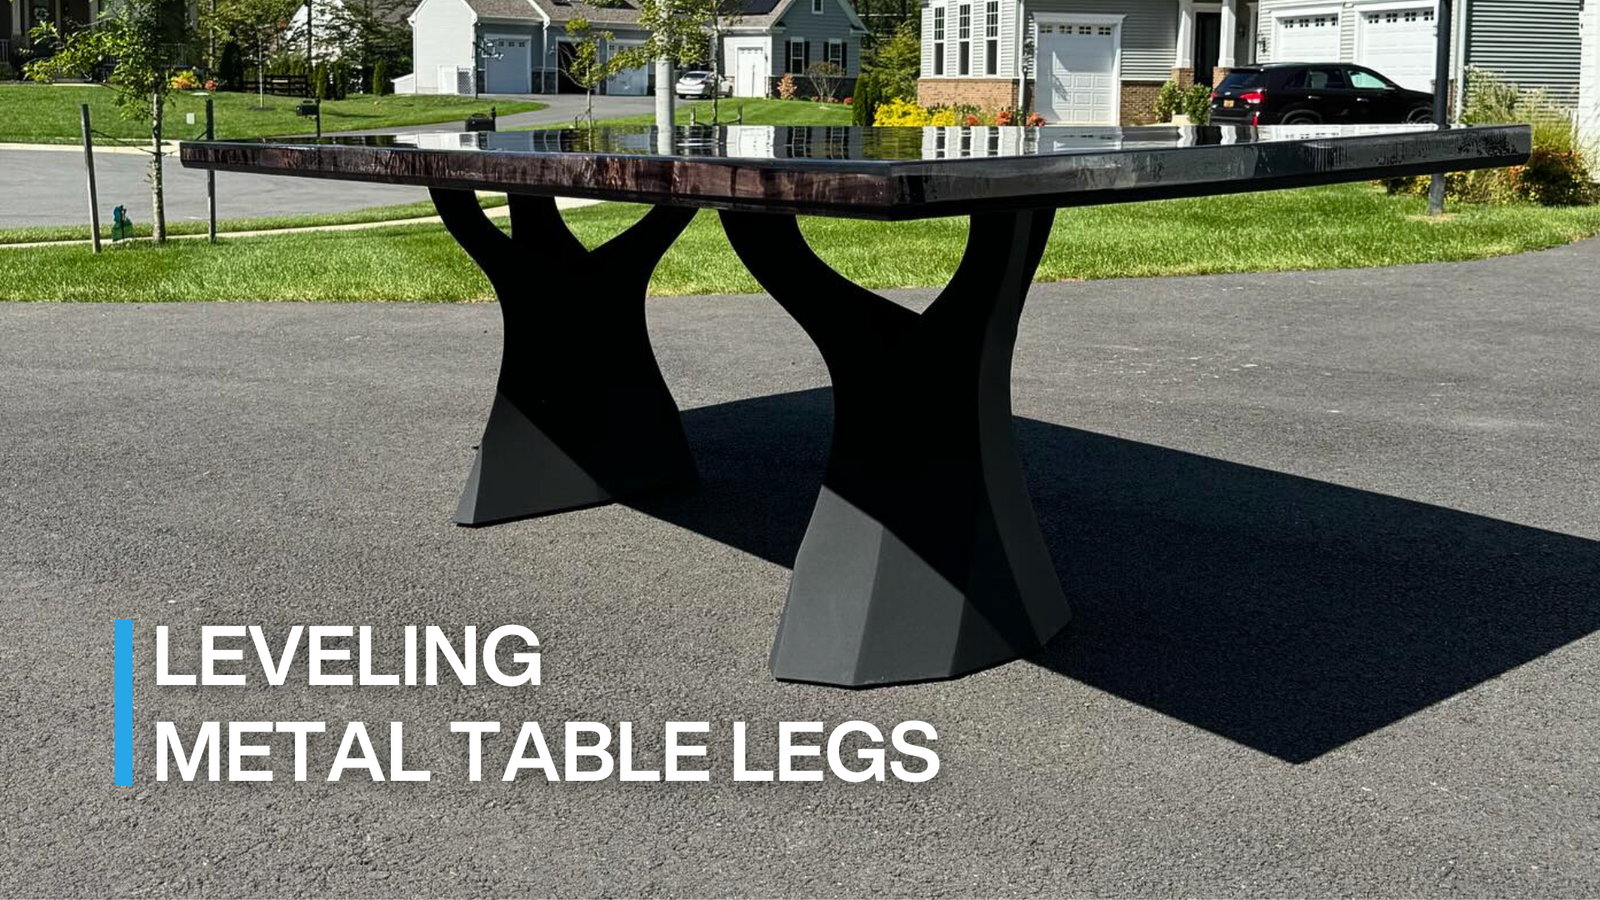
Metal tables are known for their durability and sleek design, making them a popular choice for various settings, from homes to offices and restaurants. However, one common issue that arises with metal tables is the unevenness of their legs. Uneven table legs can lead to wobbling, instability, and an overall unpleasant experience.
Fortunately, leveling metal table legs is a simple task that can be done with just a few tools and some patience. In this article, we will guide you through the process of "how to level a table", ensuring a stable and sturdy surface for your table.

Tools and Materials Needed
- Adjustable wrench or pliers
- Level (preferably a spirit level)
- Shims (wooden or plastic)
- Sandpaper or file (if needed)
Step 1: Clear the Tabletop
Before you start leveling the metal table legs, it is essential to remove any items from the tabletop. This will make the process easier and prevent any accidental damage or breakage.
Step 2: Identify the Uneven Leg(s)
Gently push the table in different directions to identify which leg(s) are causing the instability. Listen for any sounds or movements that indicate an imbalance. This step will help you focus your attention on the specific leg(s) that need adjustment.
Step 3: Adjust the Adjustable Legs
Many metal tables have adjustable legs, which can be extended or retracted to achieve the desired height. Begin by checking if your table has adjustable legs. If it does, locate the adjusting mechanism, usually a threaded portion near the bottom of the table legs.
Step 4: Using Shims
If your table does not have adjustable legs or if the adjustments in Step 3 did not solve the problem, shims can be a handy solution. Shims are thin wedges that can be inserted under the leg to level it. You can use wooden shims or plastic ones, readily available at hardware stores. Place the shim under the leg that needs leveling, and gently tap it until the table becomes stable. Continue adding or removing shims until the table is level.
Step 5: Fine-Tuning
Once the table appears level, double-check it with a spirit level placed in various positions across the tabletop. Ensure that the table remains stable and does not wobble. If you notice any minor imbalances, you can use sandpaper or a file to carefully remove excess material from the bottom of the leg or shim. This step helps achieve precise leveling and stability.
Step 6: Test and Enjoy
Once you have leveled all the legs, give your table a final test. Place your hands on different corners and edges, exerting gentle pressure to check for any movement or instability. If your table feels sturdy and does not wobble, congratulations! You have successfully leveled the metal table legs.
Conclusion:
A level and stable table not only enhances the aesthetics of your space but also ensures a comfortable and secure surface for various activities. By following the steps outlined in this guide, you can easily level the metal legs of your table and eliminate wobbling and instability. Remember to take your time, make small adjustments, and check the stability with a level. With a little effort, your metal table will be perfectly level and ready to be enjoyed for years to come.
Related post:
Learning how to level metal table legs is an essential skill for ensuring the stability and functionality of your table. By following the step-by-step instructions and employing the techniques outlined in this guide, you can effectively adjust and align your metal table legs to achieve a level and balanced surface.
