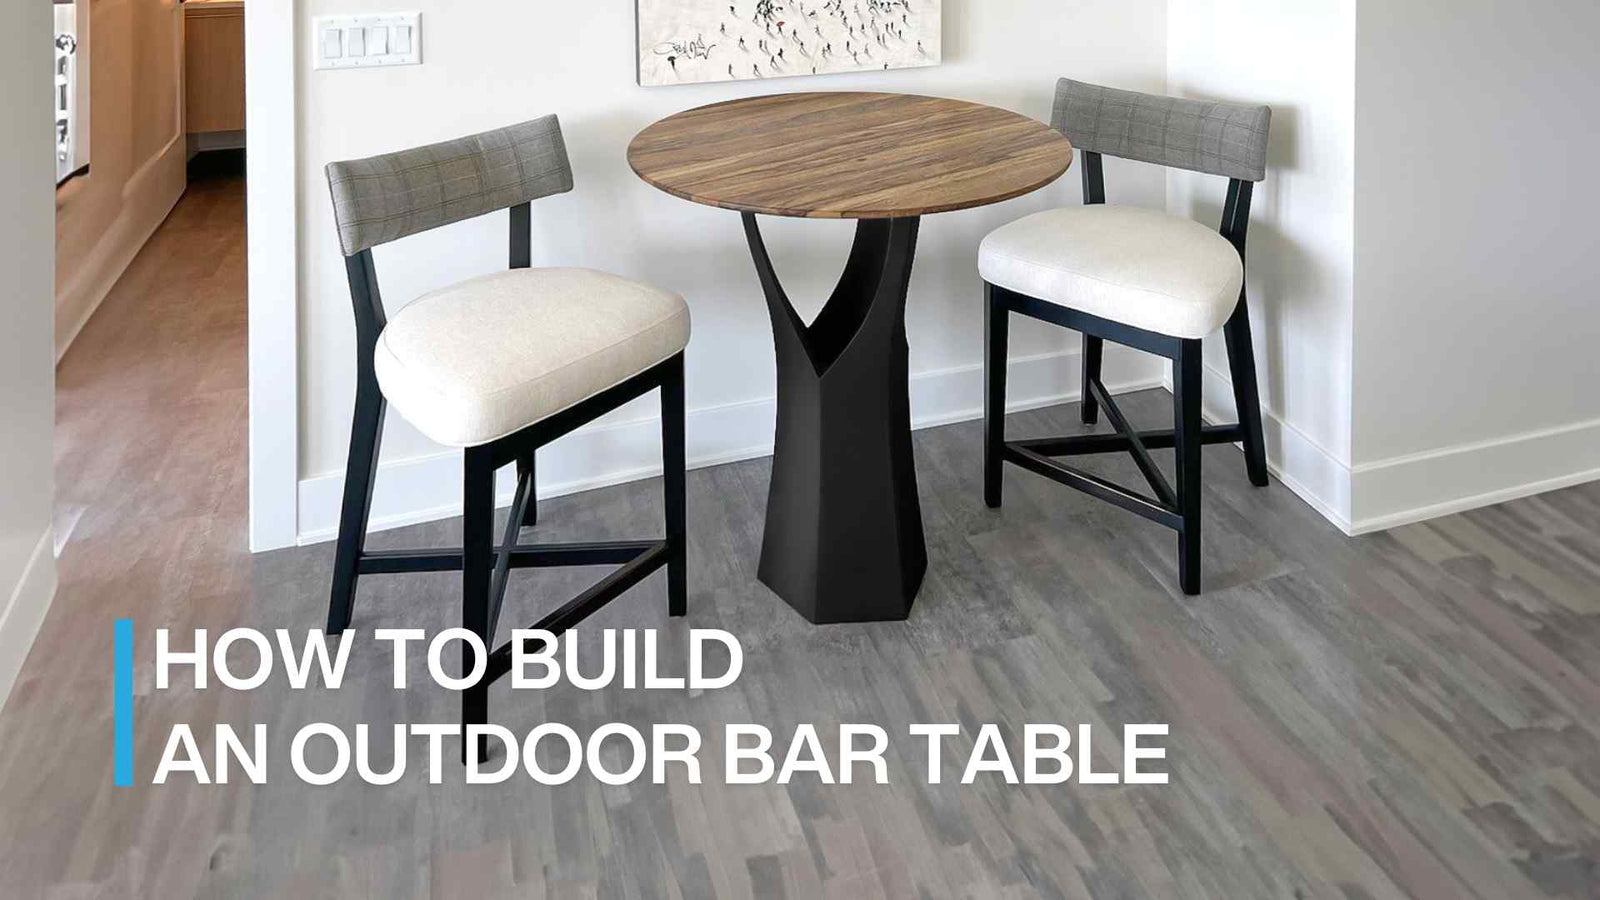
Looking for ways to use a narrow, difficult space in your backyard? Why not dress it up with this simple outdoor bar table. You don't have to spend much money on getting one from the store when you can actually spare some time and create one for yourself.
Why should you build an outdoor bar table?
Easy to DIY - It's never been easier to assemble your own backyard bar with ready-to-finish cabinets and drop-in components.
Great for small spaces – Since bar tables are taller than standard café tables, they give the illusion of space around them. What’s more, our 600 mm square tables take up less room than other tables giving more space for your customers and staff to move around. Ideal for tight corners, they maximize space like no other.
Good for tall people – Bar tables provide additional rooms for customers’ legs and are particularly suited to tall people who sometimes find the legroom cramped when sitting at a standard café table.
You get a great view – Bar tables afford those who sit at them a better view of their surroundings. This is especially true when bar tables are lined up alongside a wall of windows as customers can see what’s happening outside as well as have a commanding view of all that’s going on around them.
Brings a casual feel – Because bar tables are invariably paired with bar stools, they lend a casual feel to your venue. What’s more, bar tables can also be used without stools with the idea being that people stand around them chatting, using the table to put down their drinks. By using bar tables this way, you have room for more customers at your busiest times.
The perfect extension to your counter – Because bar stools are counter height they can be placed at the end of your counter and could be used for holding cutlery, napkins, and condiments for customers to help themselves to.
- Related post: Bar Height Table Legs | 5 Design Ideas
How to build an outdoor bar table?
Tools
-
Wood Project Clamp - 6
-
Kreg Pocket-Hole Jig® 720
-
Mobile Project Center
-
Miter Saw
-
Tape Measure
Materials
Wood Products
- 6Cedar Board, 1x4, 96""
- 2Cedar Board, 4x4, 96""
Hardware & Supplies
- 1001"" Kreg Pocket Hole Screws
Cut List & Parts
- 2 Table Top Edges , 1 X 4 X 50.25""
- 12 Table Top Slats , 1 X 4 X 22""
- 2 Long Table Apron, 1 X 4 X 42.75""
- 2 Short Table Apron , 1 X 4 X 21.5""
- 4 Table Legs , 4 X 4 X 36.5
Instructions
Step 1: Cut Boards
Use a miter saw to cut all of the cedar 1x4 and 4x4 boards to size according to the cut list. Use an electric sander and fine-grit sandpaper to smooth all boards.
Step 2: Assemble Table Top
Use a Kreg Jig to drill two 3/4"" pocket holes on each end of all twelve 22"" cedar 1x4 boards. To make the tabletop, attach the 22"" boards to one of the 50.25"" 1x4 boards by lining up a 22"" board flush with one end of the 50.25"" board. Clamp to hold together flat, and attach using 1"" pocket hole screws and an electric drill fitted with a Kreg screwdriver head. Continue attaching 22"" boards, spaced 3/4"" apart (use a scrap piece of 1x4 as a spacer). Complete the tabletop by repeating on the other ends of the 22"" boards and the second 50.25"" board.
Step 3: Drill Holes in Apron Pieces
Use a Kreg Jig to drill 3/4"" pocket holes in the two 42.75"" 1x4 boards and the two 21.5"" 1x4 boards. Drill two holes on each end of the boards and three to four holes along one long side of each board.
Step 4: Attach Front Side of Apron and Legs
Lay the tabletop upside down on a soft flat surface. Measure and mark 1/4"" in from each corner. Balance two of the 4x4 boards on two adjacent corners along with one of the long sides, inset 1/4"" from the front and sides according to the marks you made. Place one of the 42.75"" boards in between the 4x4 table legs, making sure the holes along the long side of the 1x4 are facing down toward the tabletop. Attach the 1x4 to the tabletop and to each of the two legs using 1"" pocket hole screws.
Step 5: Attach Remaining Apron and Legs
Repeat balancing the remaining two 4x4 legs on the remaining empty corners of the tabletop, inset 1/4"". Place a 21.5"" 1x4 board between the legs on the short sides of the table and attach to the tabletop and the legs with 1"" pocket hole screws as in the step above. Finish by placing the remaining 42.75"" piece between the legs and attaching to the tabletop and the legs.
Make your project easier with metal outdoor table legs/bases from Flowyline, why not?
Metal outdoor table legs and bases from Flowyline Design are highly crafted by handmade metal furniture makers, so they are prolonged to use, unique look, contemporary elegance, are budget-saving, easy-setting, and are easy to care for.
Go especially well with any of your table or benchtops, be it the live edge, wood, or epoxy, be it your custom table, dining table, console table, or oval butcher block table.
These metal table legs and bases are always packed nicely, ready to be delivered to spruce up your living space, and come equipped with adjustable levelers hidden well in the feet. All you need to do is to bolt the base on your table or benchtop and go.

