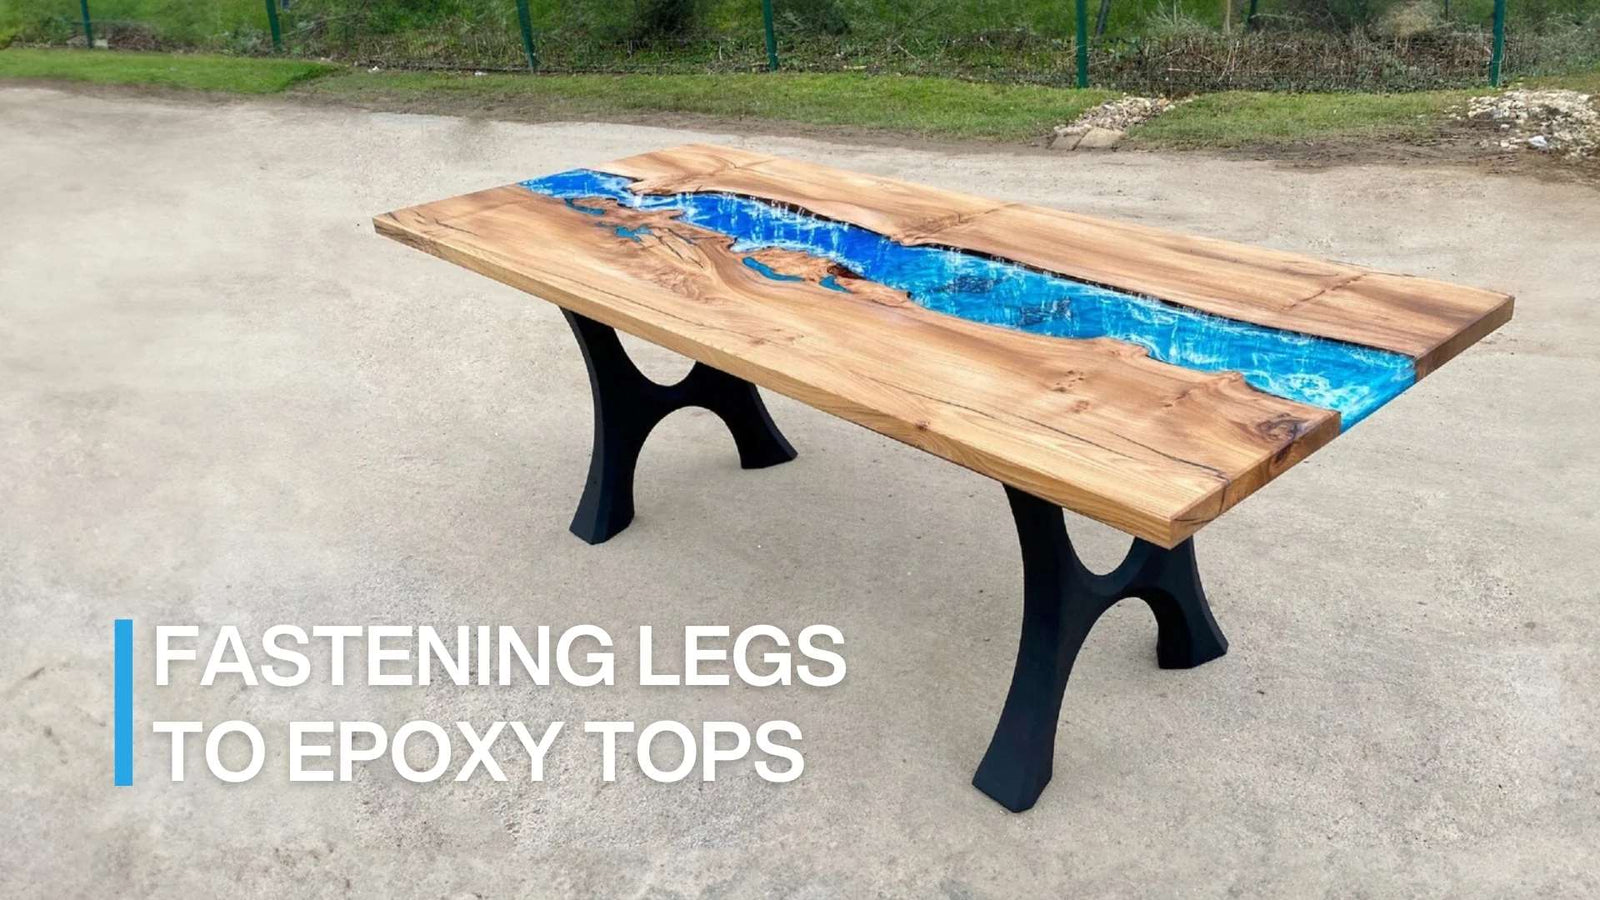
Attaching metal legs to an epoxy resin table is not a difficult task, it requires a little bit of planning and consideration for the process before you begin, though. Whether you are still have confusion about attaching table legs to the epoxy resin table, we’re going to share with you some useful tips "how to attach table legs" below:
What Tools Do You Need?
- Hand drill
- Tape measure
- Brad point bit
- Stop collar (optional)
- Threaded inserts
- Countersink bit
- T-handle Allen wrench
- Glue of choice (optional)
- Furniture bolts
- Blue thread-lock (optional)
How To Start Attach Legs To A Table?
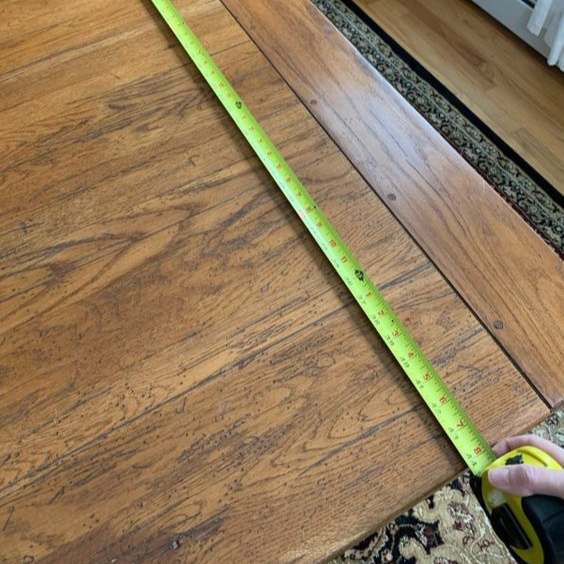
Step 1: Measuring Your Table Tops
You need to ensure you order the correct legs based on your particular tops. There is a big difference between tabletops so you have to measure dimensions carefully and assume points where the legs are attached. Many steel bases come with adjustable feet to give you convenient movements.
It’s an ideal thing that you need to measure dimensions carefully and assume points where the legs are attached - Credit: Pinterest
There are always people who sit at the ends of the table as well as the sides. So we recommend a minimum distance of 16” from the end of the table to the table leg to allow for a chair to be pulled up. If your table is over 96” you can push that back to 18-20”.
Step 2: Marking Your Holes
You mark the table leg mounting hole location with a drill bit. Then you set your legs in place and of course, it takes a lot of time to get them perfectly centered and in the correct position. You continuously take a bit and hammer/mallet and just tap the bit in the middle of each hole. The brad point bit is nice because it fits tight in your slotted hole. So you know the center of the bit will be in the exact center of the hole.

You mark the table leg mounting hole location with a drill bit in the correct position - Credit: Blacktail Studio
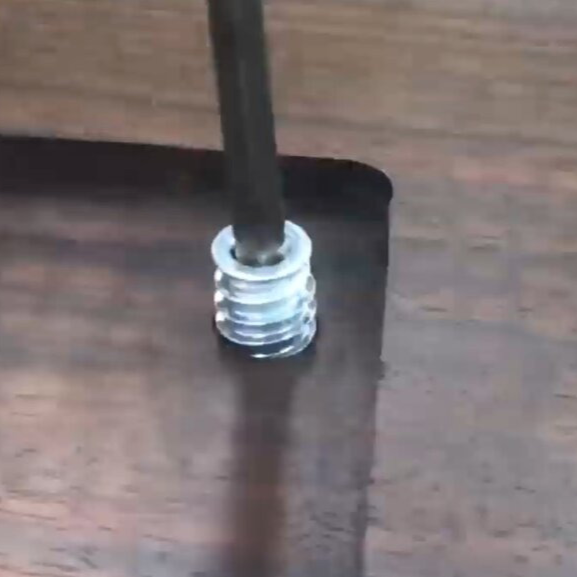
Step 3: Installing Threaded Inserts
Listen to the manufacturer's recommendations when it comes to choosing the drill bit size. You tend to use a too small size if you don’t follow their instructions. This is hazardous because it makes inserting them very difficult for one. Second, you can actually crack your insert. Or worse, tabletop. So actually listen to the manufacturer.
You have to pick the right size of the drill bit to help you insert thread effortlessly - Credit: Blacktail Studio
Step 4: Threaded Insert Installation In Your Resin Top
A brad point bit and stop collar make installation almost foolproof. Just try and drill your hole straight up and down. You don’t want your insert going in at a 30-degree angle. If you don’t have a stop collar, a piece of tape works as a good depth reference. Just drill all your holes at once. While not entirely necessary, using a countersink to bevel the top of the hole helps prevent any chip-out when installing the insert.
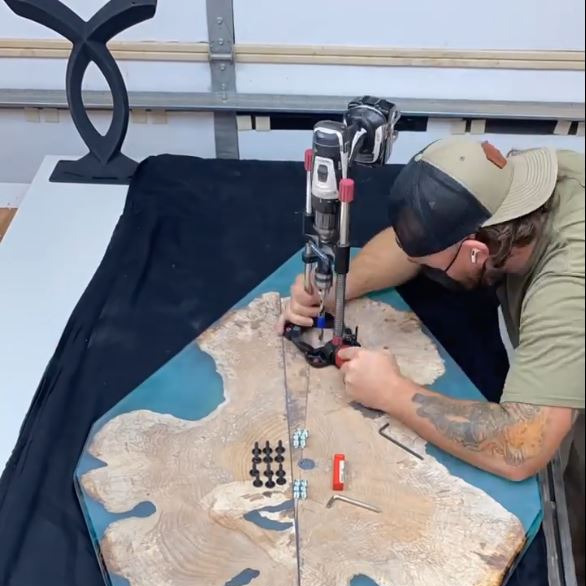
Some people like inserting threads by hand with a T-wrench while others like installing them with a drill or impact driver online - Credit: Cutting Edgewood Design
The Allen-style steel inserts are very strong. So you aren’t too likely to strip them out. Unless you are putting them into a solid Ebony slab for some reason. We preferably recommend inserting them by hand with a T-wrench. But we see a lot of people install them with a drill or impact driver online and it seems to work all right for them. Versus just slamming them into the slab. Also, you’d like to put a dab of glue on the insert to help it slide in, and give a little more staying power. You can use wood glue, but epoxy or CA glue would actually be stronger.
Step 5: Attaching The Legs To The Table Top
We have to torque our bolts down as tight as we can and have our top split the same as if we had just screwed it down.
If you only want to get your bolts snug to your base plate, you’ll go all the way tight, then back it off about a quarter turn. This allows the top to remain secure but still move seasonally.
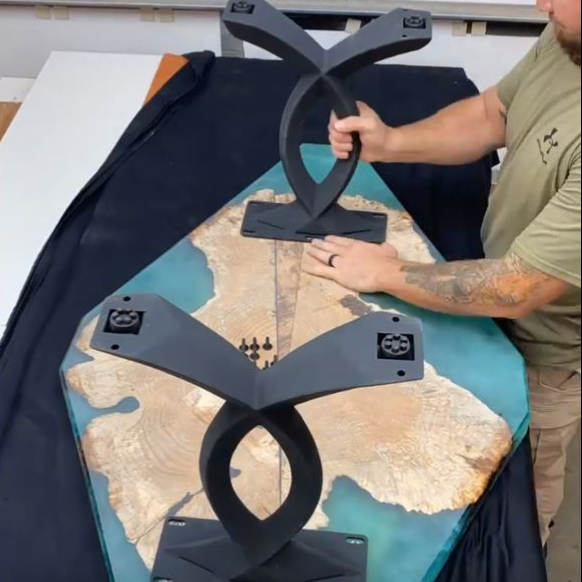
We have to torque our bolts down as tight as we can in order to limit the wobbling - Credit: Cutting Edgewood Design
If you want to go a step further, you can add a blue thread lock to your bolts to make sure they don’t wiggle loose. Paste wax or nylon washers can also assist in letting your bolts glide across the base plate.
Step 6: Checking On Them Every So Often
It is not a bad idea to check the torque on your bolts once a year or so. Just to make sure one or more haven’t gotten stuck in place. Negating all this hard work of ours. If you did everything correctly from the start, they will likely be perfect for years to come through.
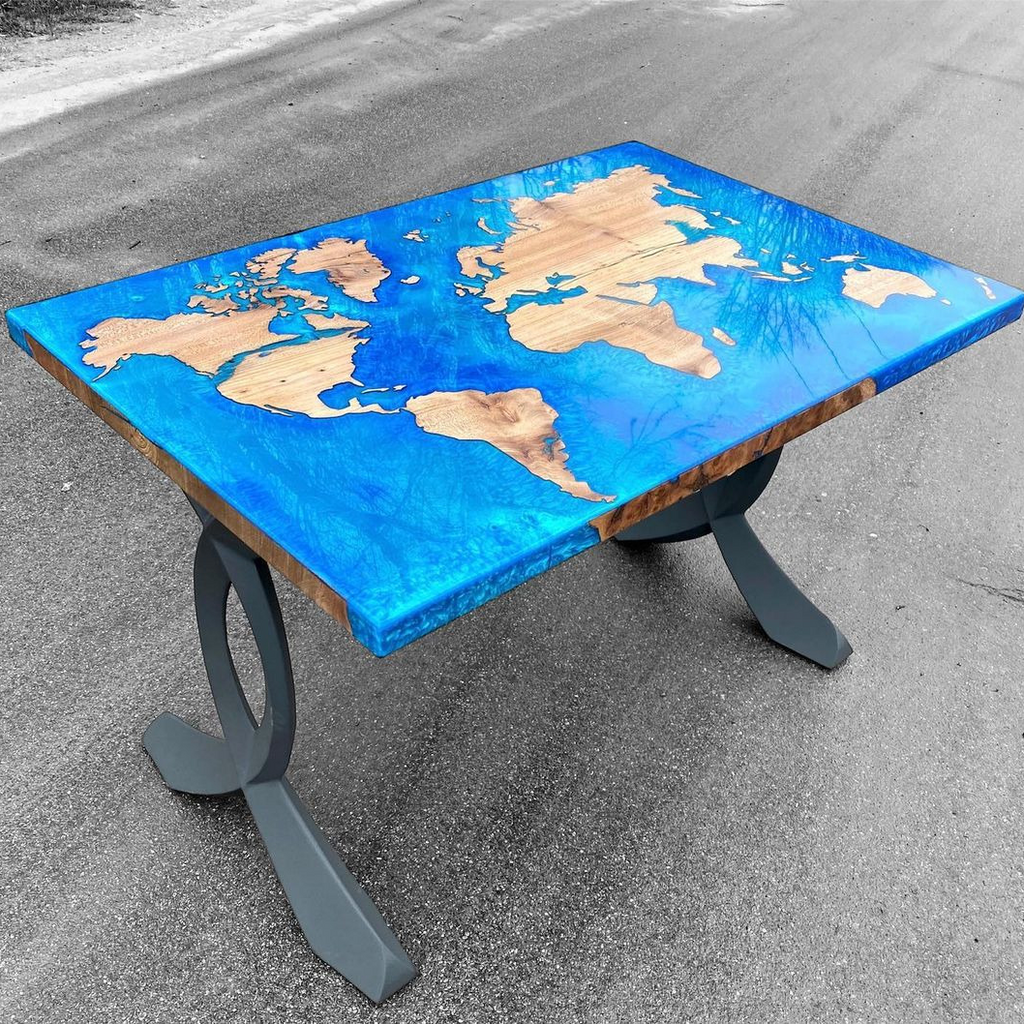
The most important thing you should notice is that you need to find table legs that greatly fit your epoxy tables - Credit: Flowyline Design
Name of product: 108 Curva Bench Legs
The most important element that you should notice is that you need to find table legs that greatly fit your favorite tables. Nowadays, people prefer metal materials due to their consistency and strength, especially furniture that is required to stay sturdy to help us hold essentials like tables and table legs. Metal table legs offer us a higher capacity with various significant designs so we can pick metal legs for your table.
However, there are many stores that sell metal table legs. If you are wondering where to find a reputable store, then Flowyline Design is the choice for you.
Related Post:
- How to Attach Metal Legs to Marble Top?
- How to Attach Metal Legs To A Wood Table?
- DIY - How Do You Attach Metal To Granite?
- How To Attach Glass Table Top To Metal Table Legs
Knowing how to attach legs to a table is a fundamental skill for any DIY enthusiast or furniture builder. By following the right techniques and selecting the appropriate hardware, you can transform a simple tabletop into a functional and aesthetically pleasing piece of furniture.