
One of the most essential elements that may be the most noticeable piece of furniture and increase the aesthetic value of your home design in the quickest and most straightforward manner is the table. As a result, creating DIY tables and table legs at home is becoming more and more common. For individuals looking to produce their own works of art to decorate their homes, we'll provide easy directions on how to make tapered table legs in this blog.
There are many different forms and materials used to make tapered table legs, such as plastic, metal, etc. Due to its durability, the wooden table leg is a great option, and you can easily find this type of material from woodworkers on both offline and online platforms. You'll find detailed directions for making wooden tapering table legs in the section that follows.
The benefits of tapered table legs
- Aesthetic value: Metal table legs have long been a popular design choice because of their classic and elegant appearance. Due to their delicate, thin shape, which adds a touch of elegance to any table, these legs are an excellent choice for both traditional and contemporary houses.
- Stability: Because of their unique form, the tapered table legs equally distribute the weight of the table and its contents. This design feature ensures that the table maintains its stability and balance even while being used to support heavy objects.
- Simple to install: By carefully following some guidelines and techniques, we may manufacture the tapering table legs at home and use some tools to attach them to the tabletops.
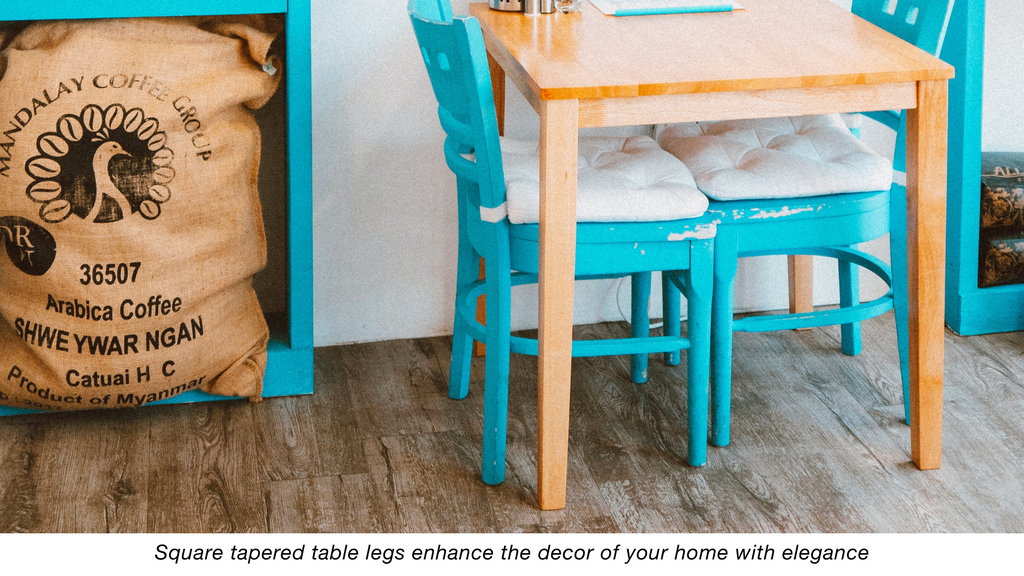
Square and round tapered table legs are the most popular forms for this sort of leg. Both legs have the characteristic of gradually getting smaller as they approach the ground.
The section below will list the supplies and tools we'll need to be ready for DIY square tapered table legs, which require manual skill and a few specific techniques.
Required Materials
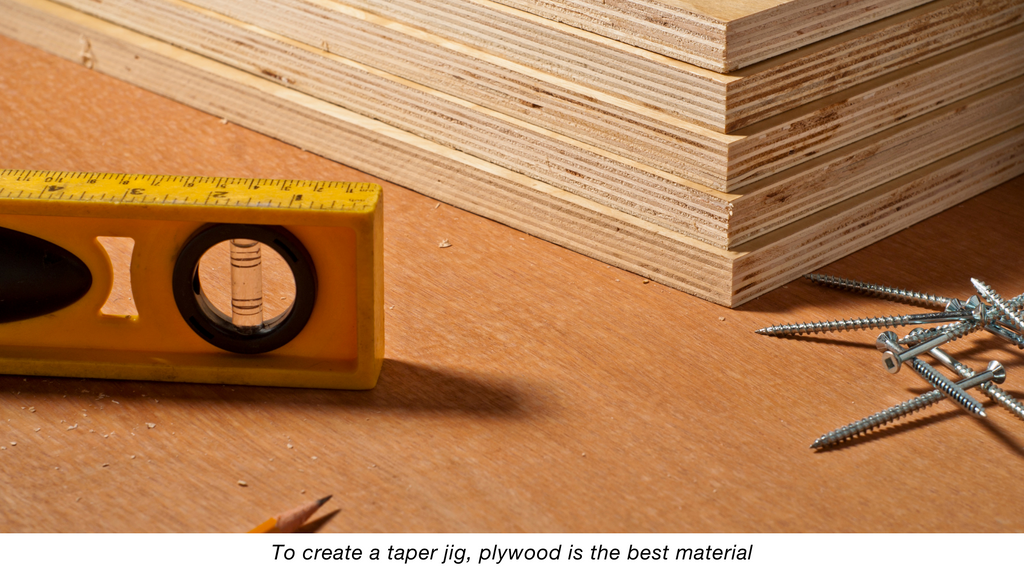
1. A 3/4 inches plywood base (40"L x 11"W);
2. Two 3/4 inches pieces of plywood scrap (40"L x 2,5"W);
Credit: ©JSABBOTT on Canva.com
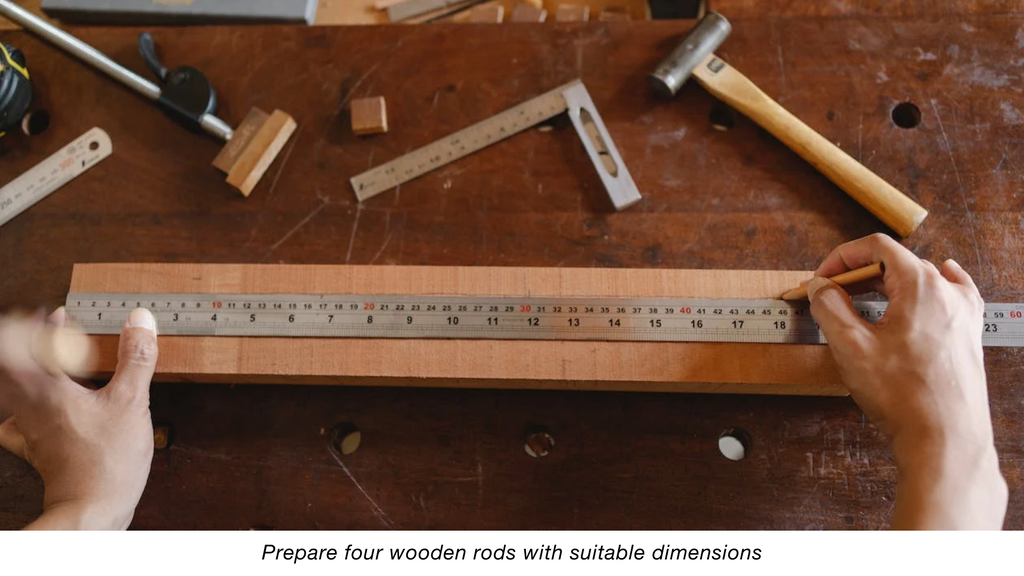
3. Four square wooden rods of the appropriate length (red oak, hard maple, cherry, and pine wood are some ideal wood types to make the table legs) (1 3/4"W x 1 3/4" H);
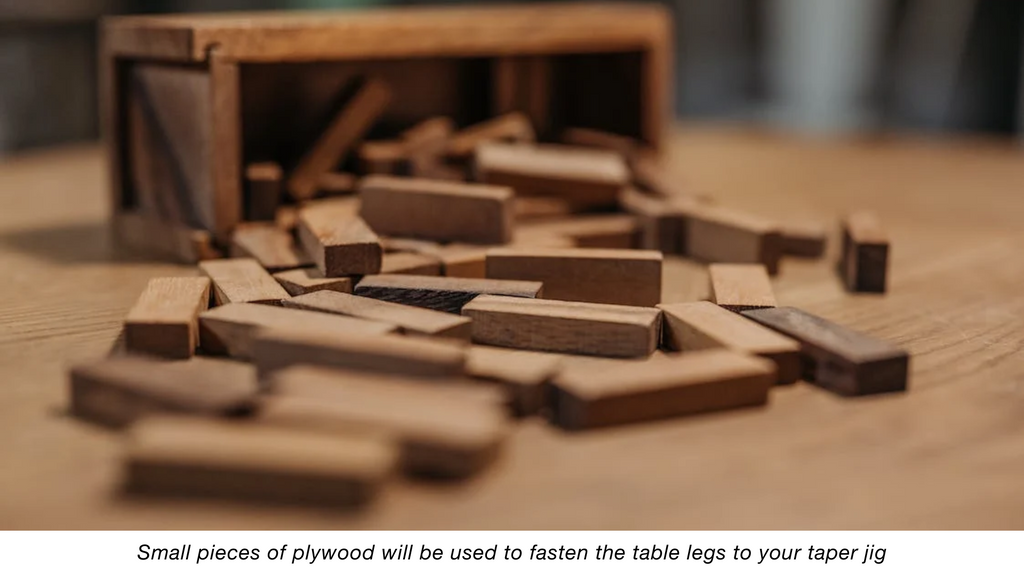
4. Two small plywood blocks;
5. Wood oil, paint and brushes, or spray paint (optional).

Essential Tools
- A measuring tape;
- A pencil;
- Wood glue;
- A nail gun;
- An electric drill;
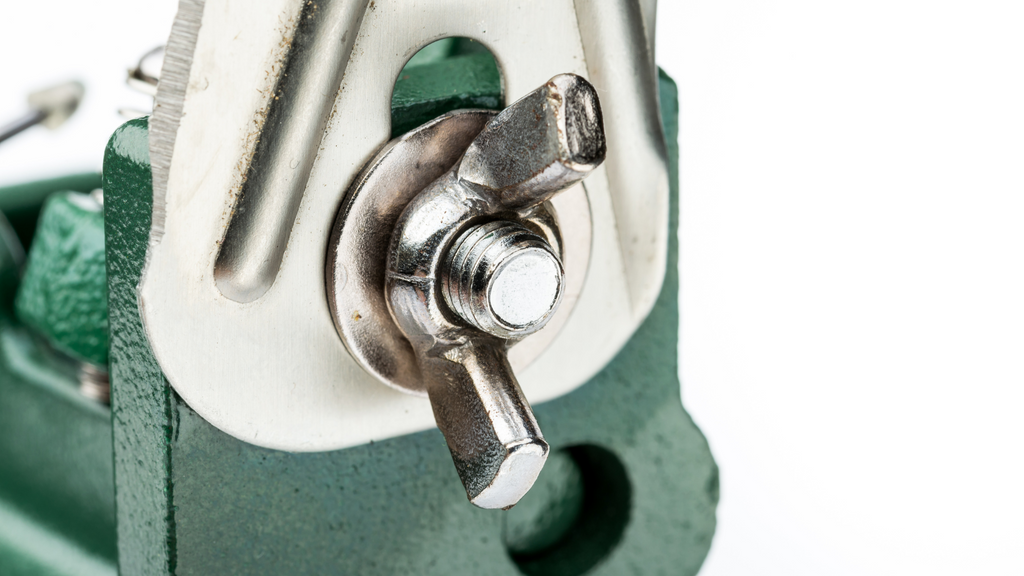
- Two wing screws;
- Screw-driver machine;
- A circular saw;
- A hand saw (optional);
- Sandpapers.
How to Make Tapered Table Legs: Step-by-Step Instructions
Step 1
Measure 1 inch over the bottom of a square wooden rod and make a mark.
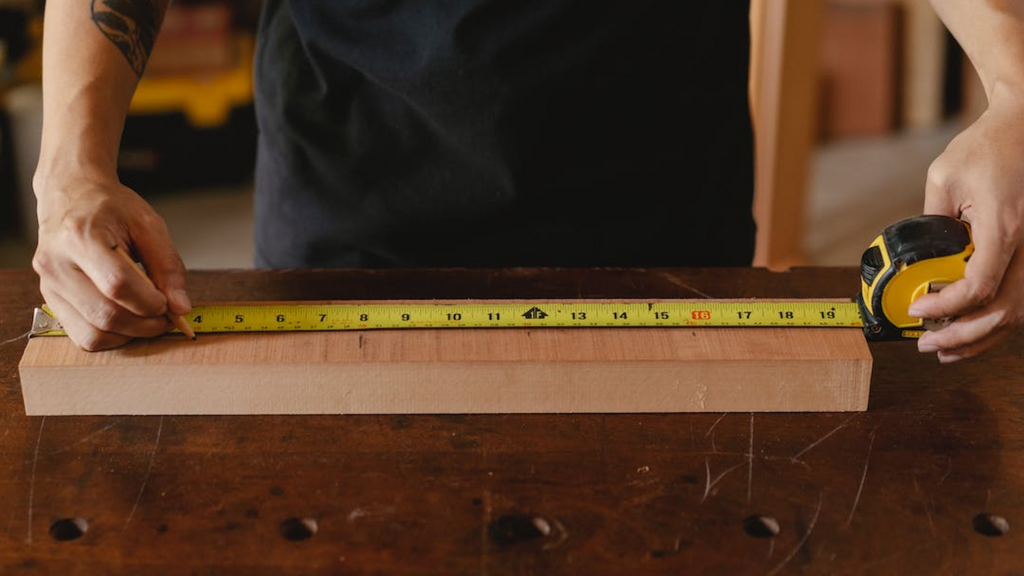
Step 2
Place indicated leg on the plywood base (keeping it level at the top and hanging the leg over 3/4 inches at the bottom). Then, using a pencil, draw a line around the wood rod.
Step 3
Then attach two 3/4 inches pieces of plywood scrap (40"L x 2,5"W) along the lines specified above by the wood glue and screw-driver machine. Then use your circular saw to cut off the loose ends.
Step 4
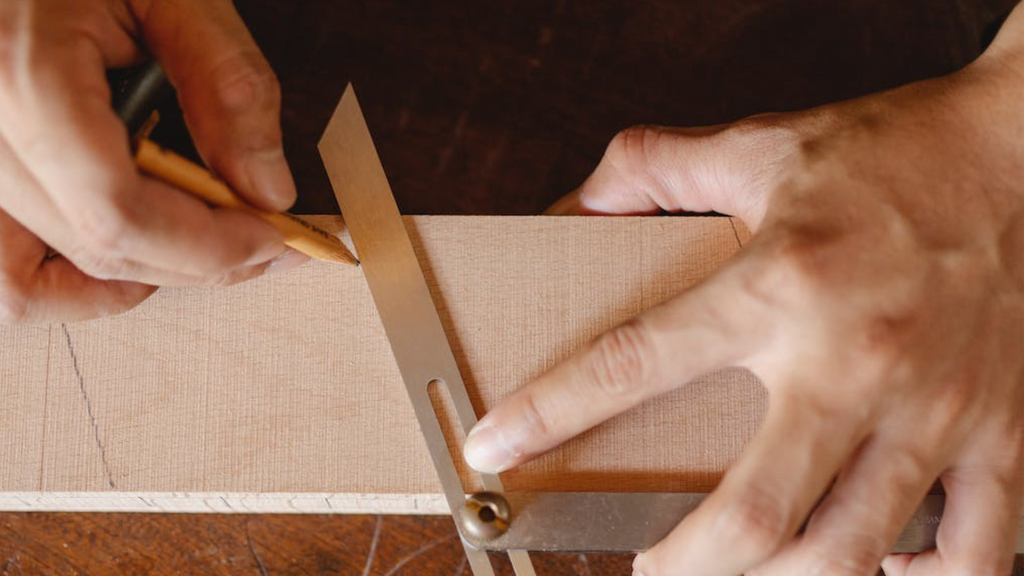
Make two marks, one each at 8 and 24 inches from the jig's bottom. Then, take a measurement of 1 3/4 inches and mark the same locations as previously. Make holes at these locations.
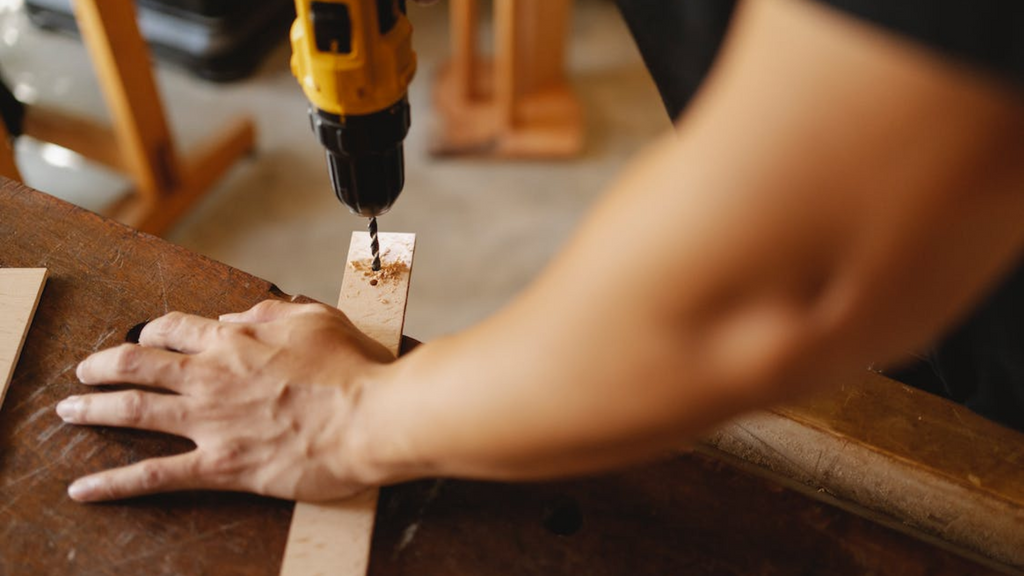
Step 5
Drill a hole in the middle of the two little plywood blocks we previously created. Then, give each component a bird's mouth form and use wing screws to fasten them to the jig (at the positions shown in Step 4).
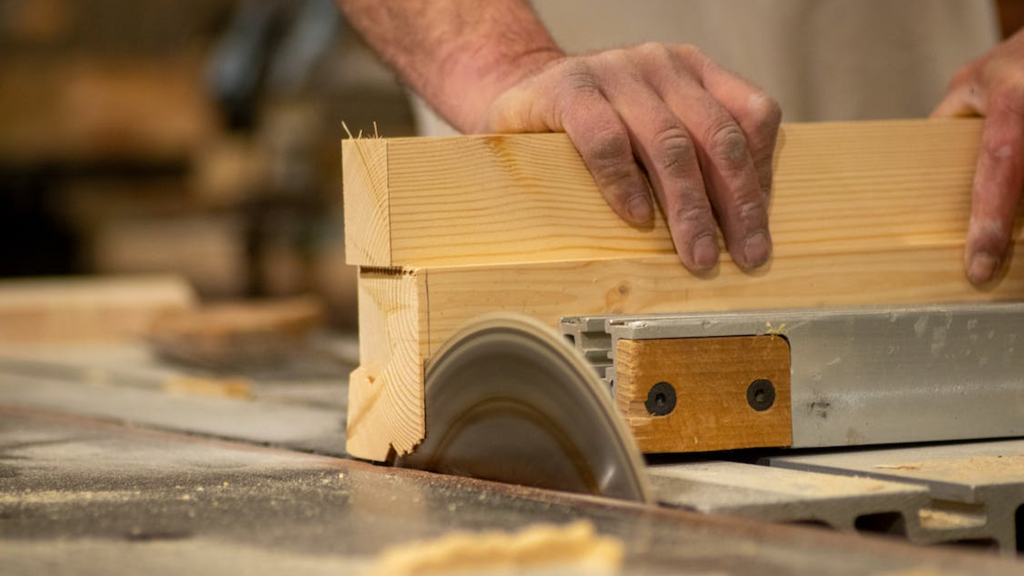
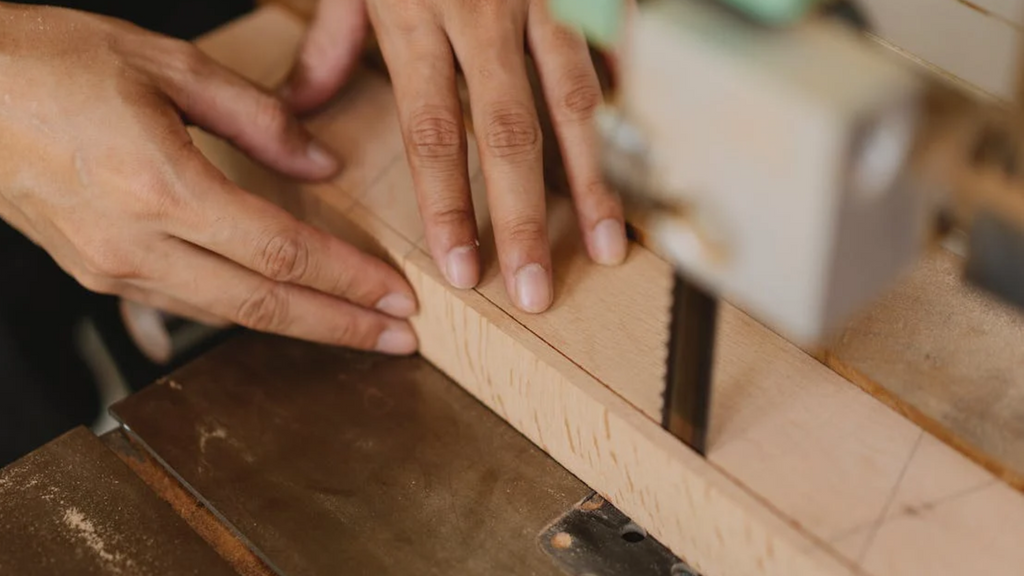
Step 6
After fastening your table legs to the jig with two pieces of plywood in Step 5, begin sawing them into a tapered form.
Please click the video below to view a description of more particular institutions:
Finishing Touches
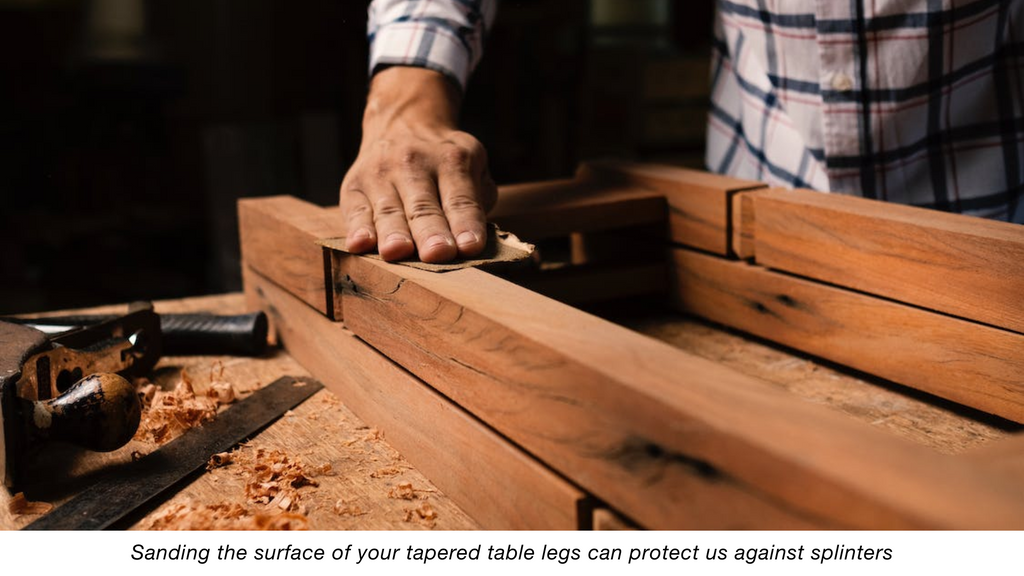
Sanding and Smoothing
We may avoid getting wood splinters and maintain the aesthetic value of our tapering legs by sanding or smoothing the table legs. To smooth off the roughness on the surface of your table legs, you can simply use sandpaper.
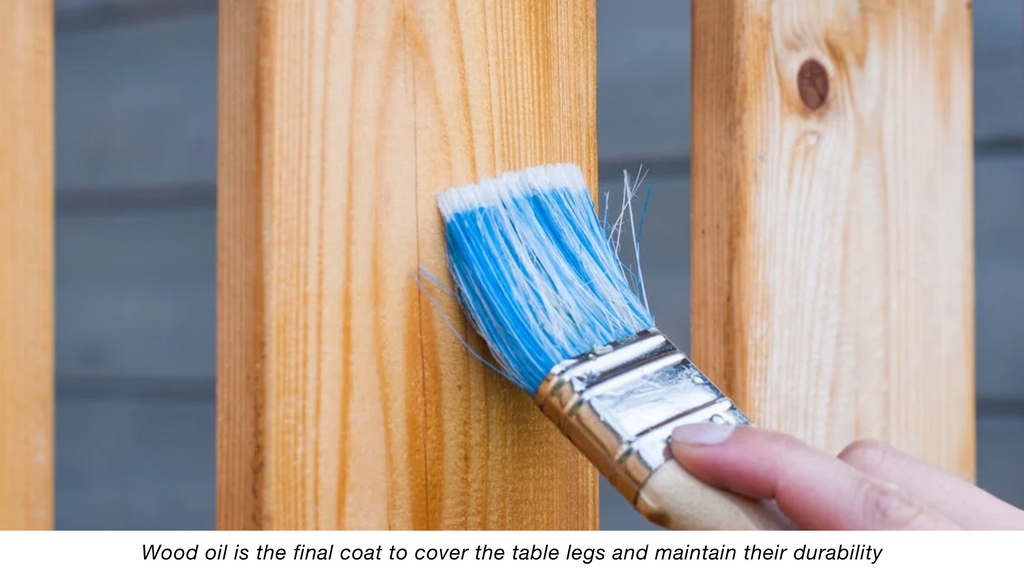
Applying Finish
The table legs can be coated with wood oil after final sanding to ensure their longevity, or you can paint them to give them a more opulent appearance.
Troubleshooting and Tips
It takes a range of equipment, materials, and methods to make tapered table legs at home. Even though it looks like it would only be appropriate for woodworking specialists, it is entirely feasible to make tapered table legs at home if we carefully follow the directions.
When working on any project at home, we must also use the tools carefully to prevent damage. For our safety, gloves and eye protection are recommended. We hope that this blog will be helpful to you.
