
Small, low tables called "coffee tables" are used for serving coffee or displaying books and magazines. To make the ideal centerpiece for your living area, we can mix several types of tabletops and legs. In order to save time and discover distinctive designs to improve the aesthetic value of the space, many people select plastic and metal table legs. For those who want to cut costs and foster our inventiveness, we can absolutely build the coffee table legs ourselves at home. DIY coffee table legs may serve as both useful furniture and a decorative element for the entire living space. In this article, you may find directions on how to make coffee table legs at home.
Design Considerations
Coffee table legs come in a variety of designs, including hairpin, turned, and tapered table legs. Each of them is exquisite and valuable in terms of aesthetics. Aside from that, the X-shaped wooden coffee table leg is an excellent choice for DIY projects while still maintaining the value, harmony, and exquisiteness of the overall room décor.

X shaped wooden coffee table legs enhance the value for the overall room decor
Credit: Pexels
A coffee table leg should be approximately 16 inches tall. Before learning “how to make legs for a coffee table”, we need to gather the equipment and supplies listed in the section below:
Gathering Materials and Tools
List of required materials
- Wooden beams (3,5"W x 3,5"L x 16"H) (04);
- Wood glue (01);
- Sawdust;
- Mounting plates (04);
- Thread inserts and bolts;
- Wood oil/ paint and brush (optional).

Needed materials for making coffee table legs at home
Credit: Pexels
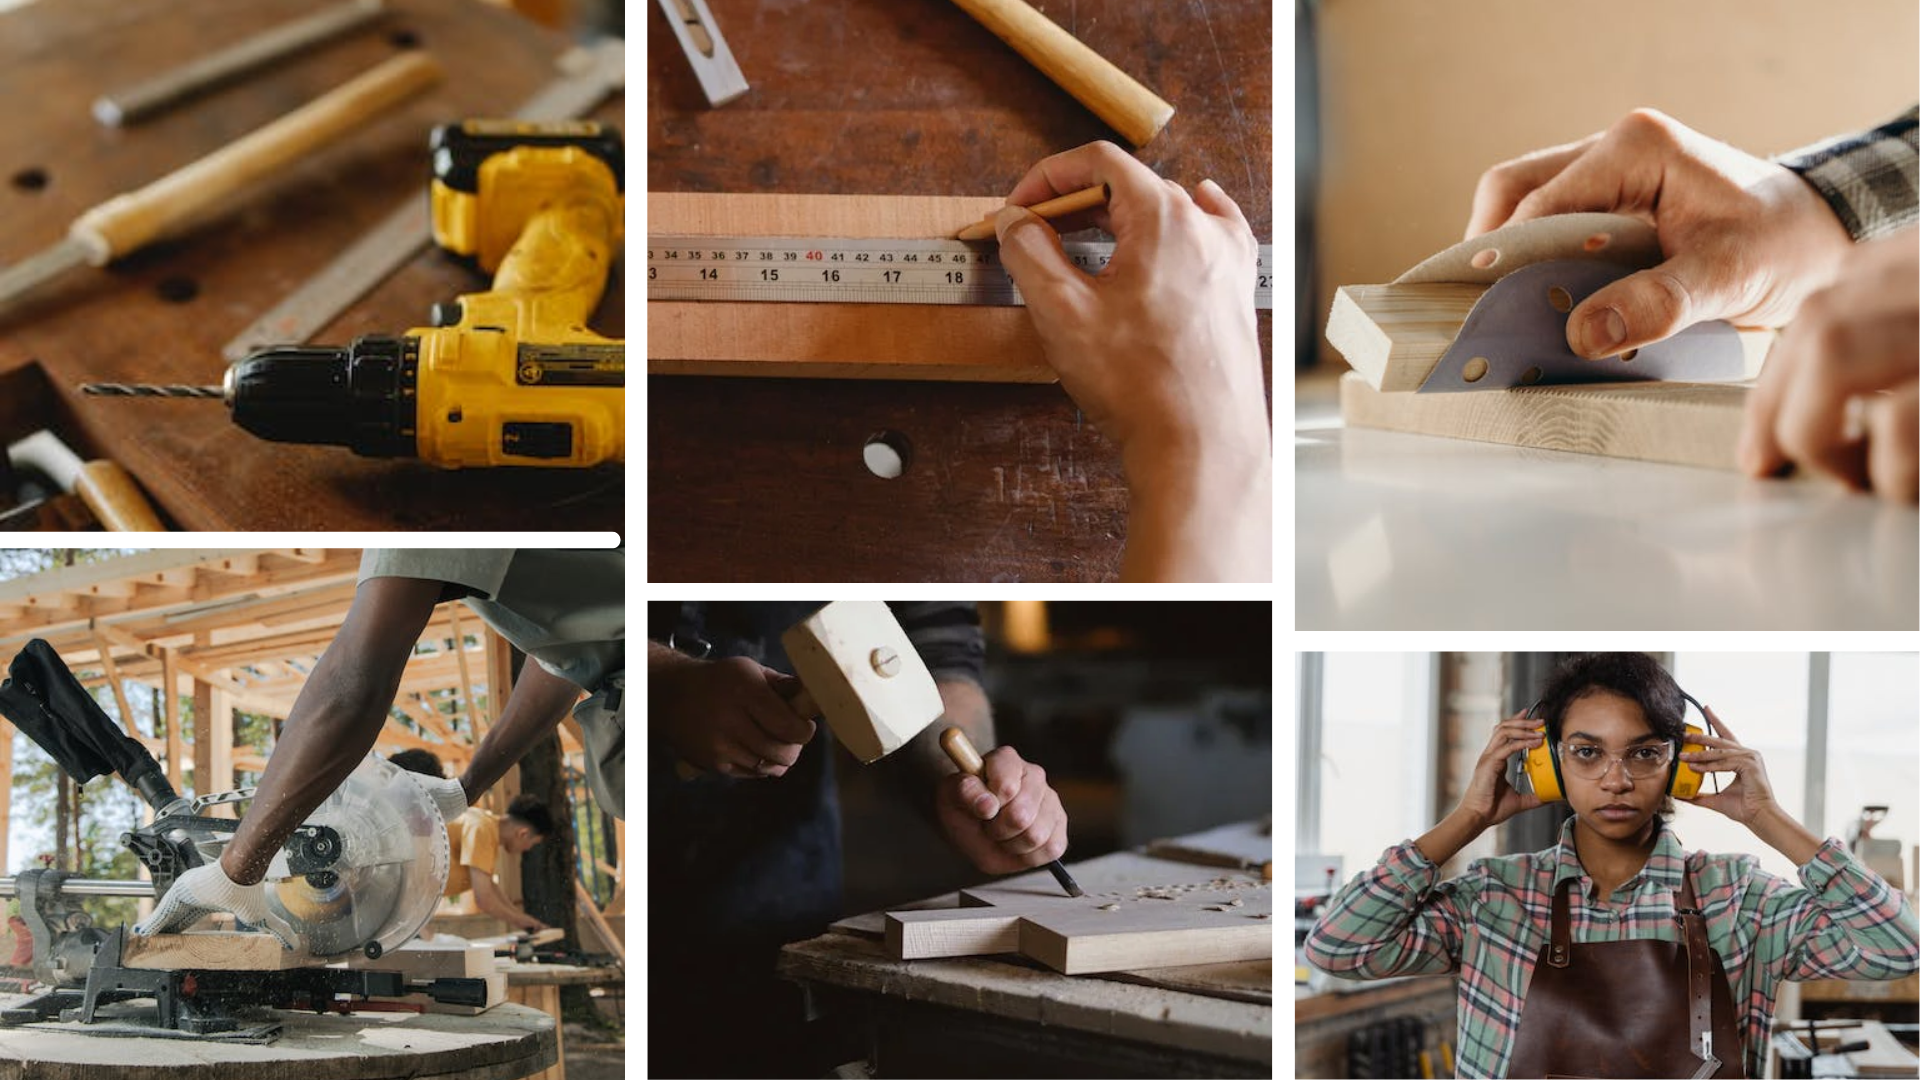
Essential tools needed for the project
- Electric screwdriver (01);
- Milter saw (01);
- Measuring tape (01);
- Pencil (01);
- Ruler (01);
- Chisel (01);
- Clamp (02);
- Sandpapers (optional);
- Glass and gloves (optional).
Required tools for building DIY wooden X shaped table legs
Credit: Pexels
Step-by-Step Instructions
Step 1: Measure your wooden beams
By using a measuring tape, ensure that the 04 wooden beams are the same size. Then, mark the center of the beams (at 8"L).

Make a mark at the middle point of each wooden beam
Credit: Pexels
Step 2: Cut both sides of the beams
Cut both sides of the beams with your miter saw at a 45-degree angle.

Cut both sides of your beams at a 45 degree angle
Credit: Pexels
Step 3: Pinpoint the area
Measure 1,5 inches on either side of the beams' central point, then draw a line at those measurements. You will see a designated area after completing Step 3 which will be removed form your DIY table legs in the next stage.

Measure on either side of the wooden beams
Credit: Pexels
Step 4: Remove the specified area
For your miter saw, set the depth stop at 1,75 inches. Then, make a cut every few millimeters with the miter saw to remove the specified region from Step 3.

Set your miter saw’s depth stop and remove the marked area
Credit: Pexels
Step 5: Smooth down the roughness
Use the chisel to smooth down the roughness after breaking off the remaining bits. Continue repeating this for the remaining beams.

Remove all the roughness by a chisel to smooth the area
Credit: Pexels
Step 6: Apply wood glue
After completing Step 5, apply wood glue evenly to the area that we sculpted in the previous steps.

After finishing the Step 5, add wood glue evenly to the designated area
Credit: ©EasyBuy4u on Canva.com
Step 7: Glue two timbers together
Glue two timbers together. Then repeat with the remaining beams, sanding the wooden table legs if necessary. To give the coffee table legs wood DIY a more appealing appearance and to increase their endurance, you can also apply wood oil or paint them.

Glue two wood timbers together and sand them for a more appealing appearance
Credit: Pexels
Step 8: Fix the table legs
Fix the table legs with clamps and let them dry for a day. The mounting plate can be attached to the underside of the table legs in the meantime.
You can also add an iron pipe at the center of each X table leg to enhance stability for the entire structure.

Fix the table legs with clamps and let them dry for a day
Credit: ©Jupiterimages on Canva.com
Step 9: Apply wood stain
You’re on the final steps to finish a DIY coffee table!
After finishing the X table legs, you can add specialized wood oil to protect the wood or wood stain for a more attractive result. This step will harmonize the look of your coffee table. The wood stains come in a wide range of colors, so let’s choose your favorite one and turn the DIY project into a unique piece of art.

Apply wood stain to your coffee table legs
Credit: ©tab1962 on Canva.com
Step 10: Mark the location
When the table legs are completely dry, place them on the tabletop and mark the location where the X-shaped legs will be attached to the table.

Measure and mark the position that we will attach the wooden legs to the tabletop
Credit: Pexels
Step 11: Attach your X shape table legs to the top
Pre-drill holes in the appropriate locations, and then fasten the X-shaped legs to the tabletop with bolts and thread inserts. We're almost done with this step.

Fasten the table legs to the tabletop with bolts and threaded inserts
Credit: Pexels
Before using the coffee table officially, be sure to verify its capacity and stability. Checking the coffee table legs frequently can help you preserve and take excellent care of them. To keep wooden goods out of the weather and direct sunshine, the interior is the ideal place for putting them.
Should read: How to Attach Metal Legs To A Wood Table? A Easy Guide

Keeping out of the weather and direct sunlight is the easiest way to preserve your wooden furniture
Credit: Flowyline Design
Shop now: 315 Mamba Metal Table Base; 401 Wishbone Metal Table Legs
Choose the Suitable Coffee Tabletop
14 - 16 inches is the standard height of coffee tables. You can choose from many sizes and materials to complement your table legs as well as the living room decor. If your coffee table legs are 14 inches high, a 1,5 - 2 inch thick tabletop maybe the suitable dimension for a comfortable centerpiece in your living room.
FAQs
How tall should a coffee table leg be?
The suitable height of coffee table legs depends on your existing sofa as well as your personal requirements. You can easily find coffee table legs online and offline from 14 to 18 inches tall in the market with a broad range of designs.
At Flowyline, besides unique metal table legs, we also offer custom service, which allows us to adjust the height of our products to suit your specific needs.
How can I deal with uneven table legs
If this is a problem with your wooden table legs, you can try to shim them. Wood table legs may become uneven over time due to wear and tear. You can also try to rotate the table legs—the easiest solution for this issue.
For metal table legs, designs with adjustable levelers can greatly help you avoid this annoying problem.
Creative coffee table legs ideas
Are you a stylish home decor enthusiast struggling to find a truly distinctive design for your modern space? Flowyline has got you covered! Check out our best-selling coffee table leg designs, inspired by nature, which might be exactly what you're looking for:

Minimalist table legs for modern home

Table legs with unique shape for a more attractive look
Spending time at home creating DIY projects may help us save money while also increasing our creativity. The instructions above are 10 simple steps for how to make coffee table legs for beginners. We hope that you will all find this blog to be helpful.
If you're passionate about DIY, don’t forget to explore more useful tips, tricks as well as home decor ideas from hundreds of blogs on our website which may elevate your woodworking skill to a new level!