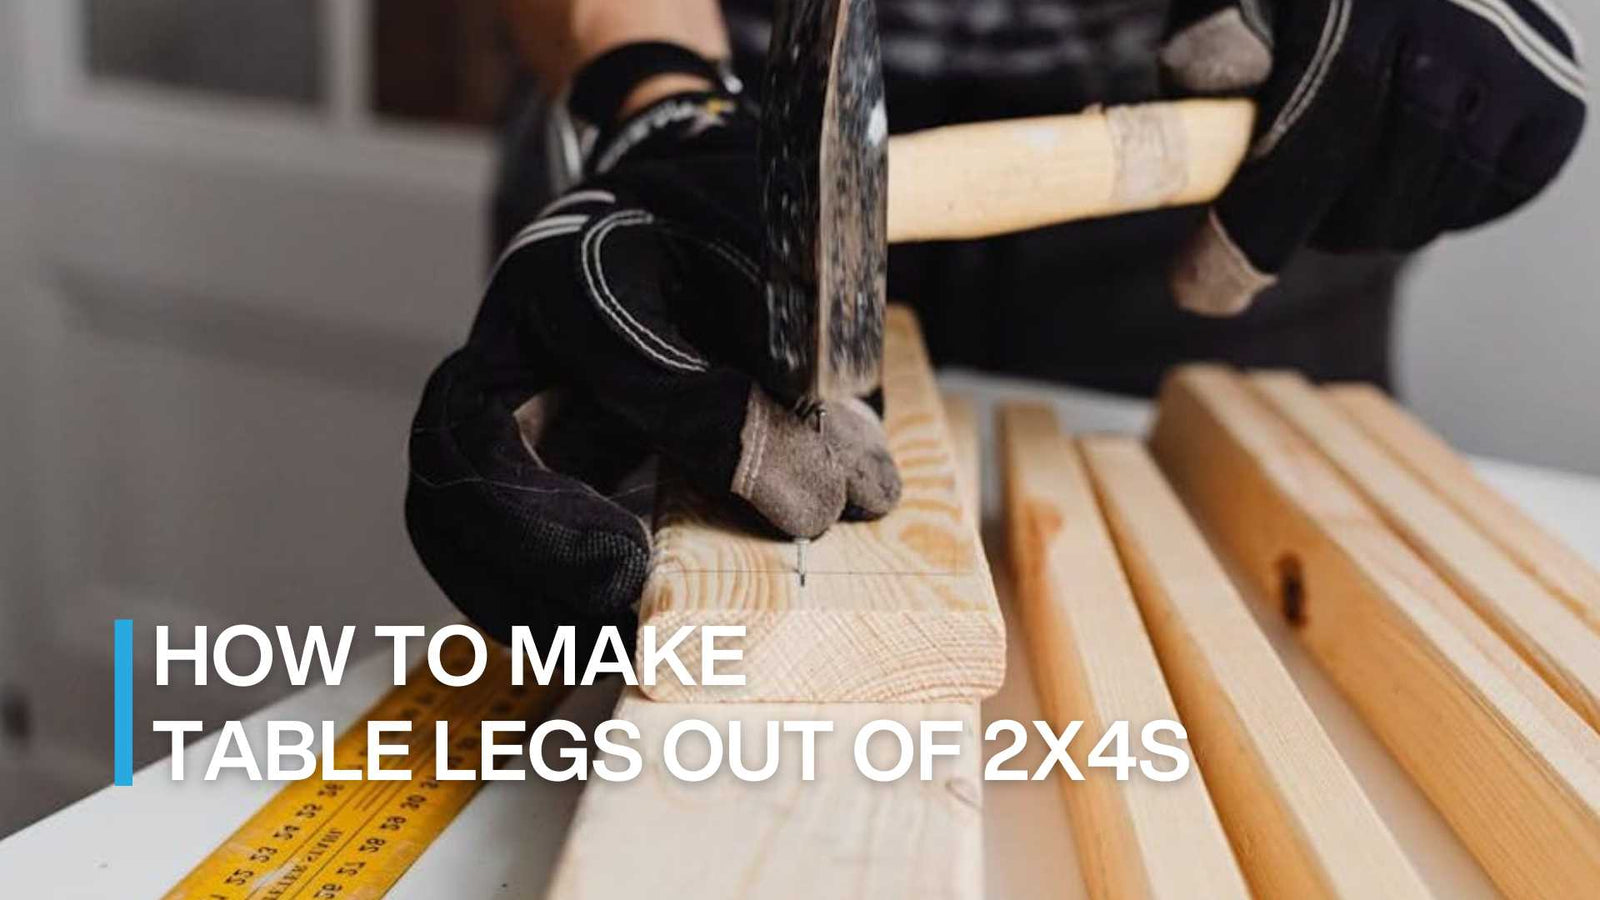
2x4 lumber is a type of wood that can save you money and inspire you to create many kinds of DIY furniture. With your own creativity, you can turn these simple wood pieces into stunning artwork for many purposes, such as making coffee tables, end tables, patio tables, and bedside tables. The process of making tables also creates opportunities for bonding between family members! In this blog, we will guide you on how to make table legs out of 2x4s, which can match standard dining table dimensions, and only in a few easy steps. Let's get started!

Required Materials and Tools to Make Table Legs Out of 2x4s
- 2x4 lumbers
- Circular saw
- Sandpaper
- Screws
- Powered drill
- Measuring tape
- Pencil
- A carpenter's square

You also need to prepare enough protective clothing such as:
- Eyeglasses
- Gloves
- Mask

Remember to put on protective clothes
Credit: Karolina Grabowska
Step-by-Step Guide
DIY desk legs out of 2x4 lumber is an easy way to get the furniture you've wanted at minimal cost. Follow these instructions to turn ordinary wooden panels into stylish table legs with a personalized touch.
Step 1: Measure and Cut the Lumbers
- Determine the length of the table legs by subtracting the thickness of the tabletop from the height of the table. Measure and mark this length on 04 pieces of 2x4s for the posts. Use a saw to cut the 2x4s to the appropriate length (for example 29 inches). ①
- Continue to measure and cut the other 02 angled top pieces (45 degrees at both ends). They will be the top supports of your table legs (you can cut them 28 inches in length). ②
- Cut 02 more pieces to 28 inches in length. they will be the bottom supports of your table legs. ③
- Next, you will need 8 pieces of supports (12 inches) which are 45 degrees angle at both ends. ④

Step 2: Sand the 2x4s
After cutting the 2x4s, use sandpaper to smooth the rough edges. This will prevent any splinters and will also make the legs look more finished.

Step 3: Assemble the Wood Pieces
- Glue 2 pieces of ① together. Then glue a piece of ② and ③ as the top and bottom supports of your table leg.
- After finishing the above process, glue 04 pieces of ④ to the table leg. They will connect the post to the top and bottom supports of the leg.
- Then, use a drill and wood screws to settle the position of all the wood pieces.
- Do the same process with the remaining leg of your table.

Step 4: Finish the Legs
You can paint or stain the legs to match your tabletop. Allow the paint or stain to dry completely before attaching the table legs to your top. Don't forget to check the stability of the legs before using them.

You can follow the steps in this video for more specific instructions on how to make table legs out of 2x4:
If you don't have enough time to make your own DIY table legs or you simply want to find some exquisite design to complement your amazing tabletop, here are some best-seller items from Flowyline Design. Those metal legs and bases are made of steel and have matte black powder coating, which is best for your DIY desk legs. Thanks to the basic black shade they can go easily and harmoniously with most of the home decor concepts and types of tabletop material.


Learning how to make table legs out of 2x4s is a simple and cost-effective way for your DIY project. With some basic tools and materials, you can build sturdy and attractive table legs for your beloved family members and friends. Remember to always measure twice and cut once to ensure the best results. Don't forget to share this article if you find it useful and sign up for emails to receive the latest information related to new products or attractive sale programs.

