Last month, a customer in Denver sent us photos of the picnic table they built following how to build a picnic table online tutorial. The benches sat at 15 inches high. Way too low. Their kids’ knees hit the table, and the adults had trouble standing up. They ended up rebuilding the whole thing.
In fact, most online tutorials get bench height wrong. The correct seat height is 17 inches, not 15. That two-inch difference is what separates a comfortable picnic table from one nobody wants to sit at.
I’m Alex from Flowyline Design. Since 2018, our team has worked with over 20,000 woodworkers building tables with metal table legs. Today, we’re walking you through how to make a picnic table (6-foot) using a method that actually works. With the corrections that matter!
Tools & Materials: Everything You Need to Build a Picnic Table
Our picnic table plans are designed for everyday builders. The tool list is short, and everything you need is available at any hardware store.
Before you start shopping, it’s recommended to run through both lists below and check what you already own. We think you already have at least half of these tools sitting in the garage.
1. Tools Required
Essential tools:
- Miter saw, or circular saw
- Drill/driver
1/2" drill bit (for carriage bolts) - Tape measure
- Speed square
- Pencil
- Level
- Clamps (at least 4)
- Wrench or socket set
- Safety glasses
- Work gloves
Nice to have:
- Random orbital sander (saves 2+ hours)
- Sawhorses
- Framing square
Total tool cost if buying: $180 — 280 (you’ll use these for future projects)
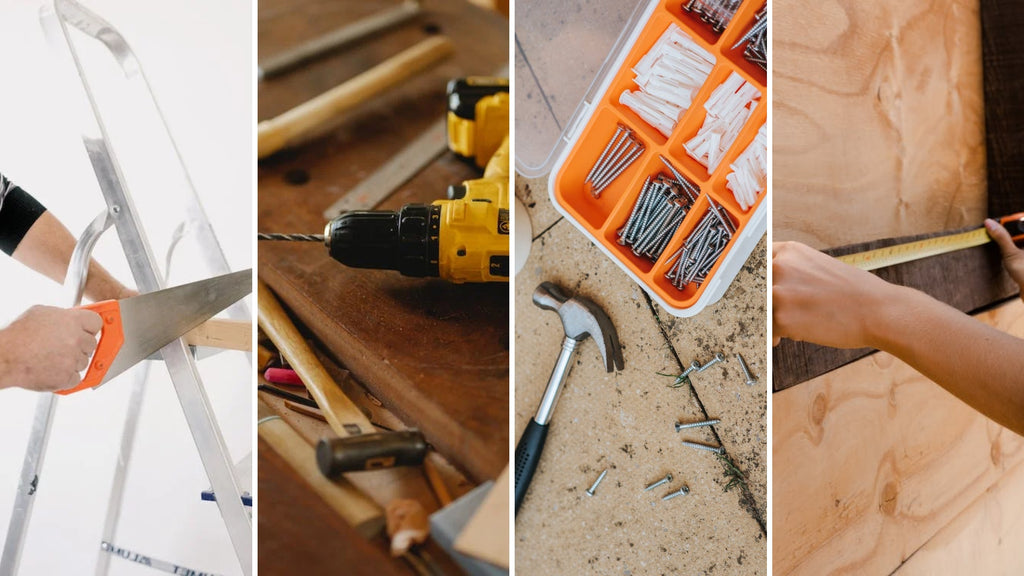
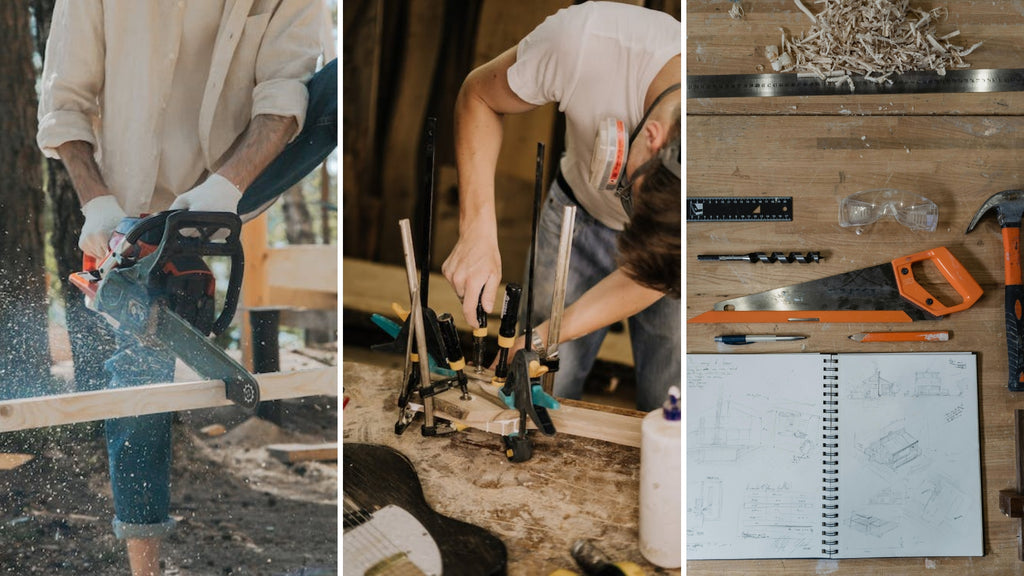
Tools required to construct a picnic table
Photo: Canva
2. Materials List
Lumber (Pressure-Treated):
- (5) 2x6 x 8' boards (tabletop and benches)
- (5) 2x4 x 8’ boards (legs and supports)
Hardware:
- (2.5 lbs) 2½" exterior screws
- (12) 3½" x ⅜" carriage bolts with washers and nuts
- (1 bottle) Exterior wood glue
Finishing:
- Sandpaper: 80-grit, 120-grit, 220-grit
- Exterior wood stain (optional)
- Exterior sealer or paint
Total material cost: $180 — 250, depending on lumber prices in your area
Plan Your Table
Decide on the size and sketch your table including measurements and the shape of the table. In this blog, we're guiding you how to make a picnic table with an 18"W x 24"L wooden table with 16"H metal legs.

Cut the Wood
Cut the wood to the required length with your saw. You can build a lovely picnic table by assembling many wood beams/slabs. Don't forget to prepare 04 pieces for your picnic table legs.
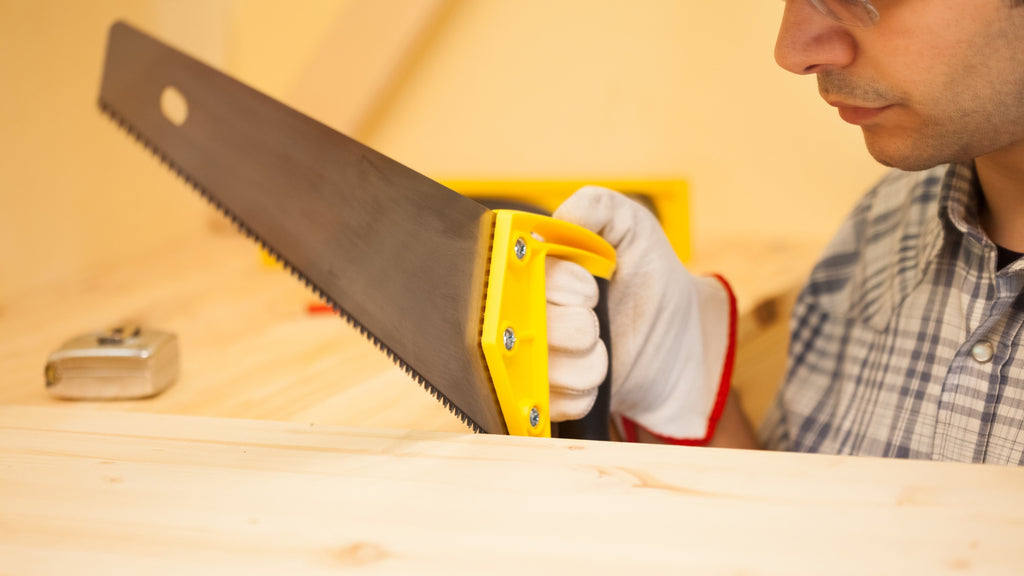
Assemble the Tabletop
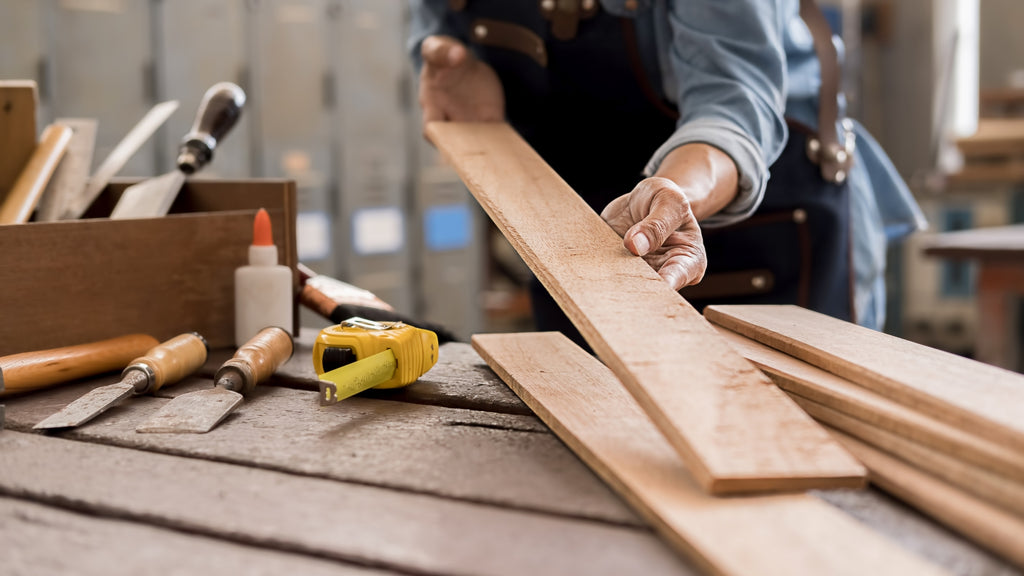
Lay the wood beams/slabs on a flat surface. Apply wood glue where they meet in the middle then screw them together. For the table made of small wood beams, you will need to create a rectangular frame to connect all the wooden pieces.
Attach the Legs
Attach hinges to the top of each leg. After that, position the legs on the underside of the tabletop. They should be about 14-16 inches from the ends of the table. Then, secure the legs carefully to the underside of the table with wood screws. This will allow the legs to fold under the table for easy storage and moving to many locations.
Sand and Finish
Smooth any rough edges and surfaces using sandpaper. You should paint or stain the table to protect it from the natural elements and give it a perfect look.

Building a picnic table is a rewarding DIY project that brings people together. With the right materials, tools, and step-by-step guidance, you can create a functional and beautiful addition to your outdoor space. In this comprehensive tutorial, we'll walk you through the process, from selecting the perfect wood to assembling the table. Whether it's for family gatherings, outdoor meals, or simply enjoying nature, your handcrafted picnic table will become a cherished centerpiece for years to come.
Safety Tips
- Always wear safety glasses and gloves when cutting wood.
- Use clamps to hold wood in place while cutting them.
- Ensure tools like saws and drills are in good condition
- Maintain a tidy area to prevent trips and slips
- Avoid wearing loose clothing that could get caught in machinery
- Avoid performing in wet or hazardous conditions
- Adhere to instructions from kits or plans carefully
Our Outdoor Table Legs for Your Picnic Table
Flowyline Design has a hundred table leg and base designs and many of them are suitable for small and big picnic tables. Here are some recommendations with unique and lovely table leg designs for gorgeous and appealing picnic tables:
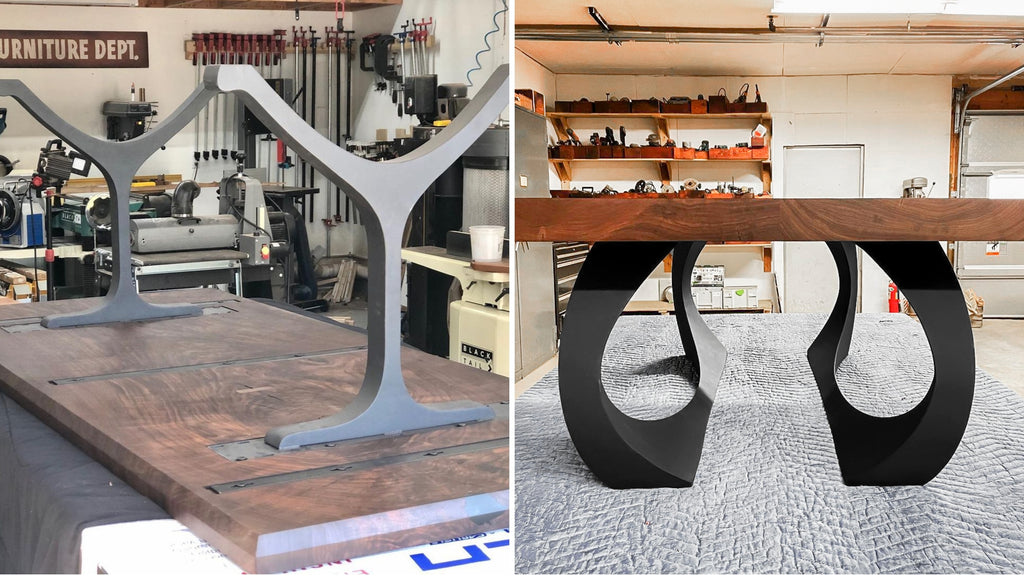
401 Wishbone Metal Table Legs
401 Wishbone is designed to stabilize on uneven surfaces, making them it for outdoor settings. The matte black finish brings a modern look that matches any outdoor decor, enhancing the overall ambiance. Pair these legs with a wooden slab for a natural touch, and consider draping a table runner across the tabletop to complete the inviting outdoor dining experience.

307 Tulipe Metal Design Furniture
The Tulipe design is indeed suitable for a picnic table. It's a table base that seamlessly blends industrial edge with modern appeal. This design can enhance both the aesthetics and functionality of your table. The solid construction ensures that your table remains steady and unwavering when holding heavier items.

418 Curva 28H Metal Table Legs
Curva table legs with their distinctive design help improve both the aesthetic value and the stability of your picnic table during your time on a trip. This leg design can bring a touch of freshness and creativity to the entire table.

FAQs
1. How Many 2x6 Do I Need for a Picnic Table?
For a standard 6-foot picnic table using this plan, you need 8 boards total. Four 2x6x8 boards for the tabletop and four 2x6x8 boards for the benches.
Buy one or two extra just in case. You might split a board during cutting or find a bad knot once you get home. Lumber is cheap. A second trip to the hardware store on a Saturday is not.
2. Is it Hard to Build Your Own Picnic Table?
No, this is one of the best beginner woodworking projects you can take on. You need a saw, a drill, and the ability to measure straight.
The trickiest part is cutting the 30° leg angles accurately, and even that becomes easy once you do a test cut on scrap wood first. Most first-time builders finish in a full day, including sanding and finishing.
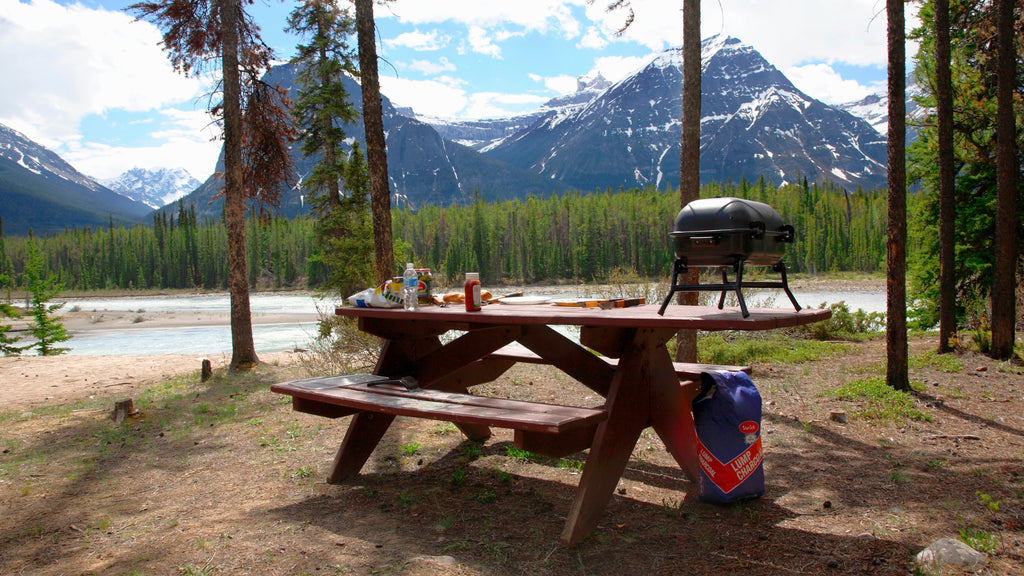
How to build a wood picnic table
Photo: ©Tom Fowlks on Canva.com
3. What’s the Best Type of Wood to Use for Building a Picnic Table?
Pressure-treated pine is the most practical choice for most people. It’s affordable, widely available, and it handles weather well.
Cedar is worth considering if your budget allows. Naturally rot-resistant, looks great, and doesn’t need chemical treatment.
On the other hand, white oak is the premium option if you want a table that lasts 20 years or more with proper care.
Whatever you choose, avoid untreated pine or regular construction lumber because it’ll rot within a couple of seasons outside.
How to Build a Picnic Table: Build It Right, Use It for Years
After making a picnic table, we've noticed the same patterns. Here's what separates tables that last from ones that don't:
- Use straight lumber (spend 10 extra minutes at the store)
- Pre-drill screw holes (prevents splits)
- Correct bench height (10" down)
- Exterior hardware (screws and bolts that won’t rust)
- Apply finish (stain and seal, or at minimum just seal)
- Sand everything (especially edges)
Time investment: 8 hours
Cost investment: $180 — 250
Value: Outdoor gathering space for a decade+
That’s a pretty good return. And, if you have any questions about how to build a picnic table, please feel free to contact us anytime, and check our new blogs for more information. Thank you for reading!

