
How to make an epoxy table might sound complicated, but it’s actually much easier when you follow the right process. From choosing the right wood and mixing the epoxy resin, to pouring and finishing the surface — everything can be done right at home. You just need a bit of patience and attention to detail.
Many people assume that only professional craftsmen can create a beautiful epoxy table. But with Flowyline’s 6-step guide, you can confidently craft your own DIY resin table. Read more!
What You Will Need to Make An Epoxy Table?
Before diving into how to make an epoxy table top, you’ll need to prepare the following tools and materials:
| Tools and Materials | Why You Need |
| Wooden slab | Choose hardwood like walnut, oak, or live-edge wood |
| Epoxy resin and hardener | We recommend some popular brands such as TotalBoat, West System, and ProMarine |
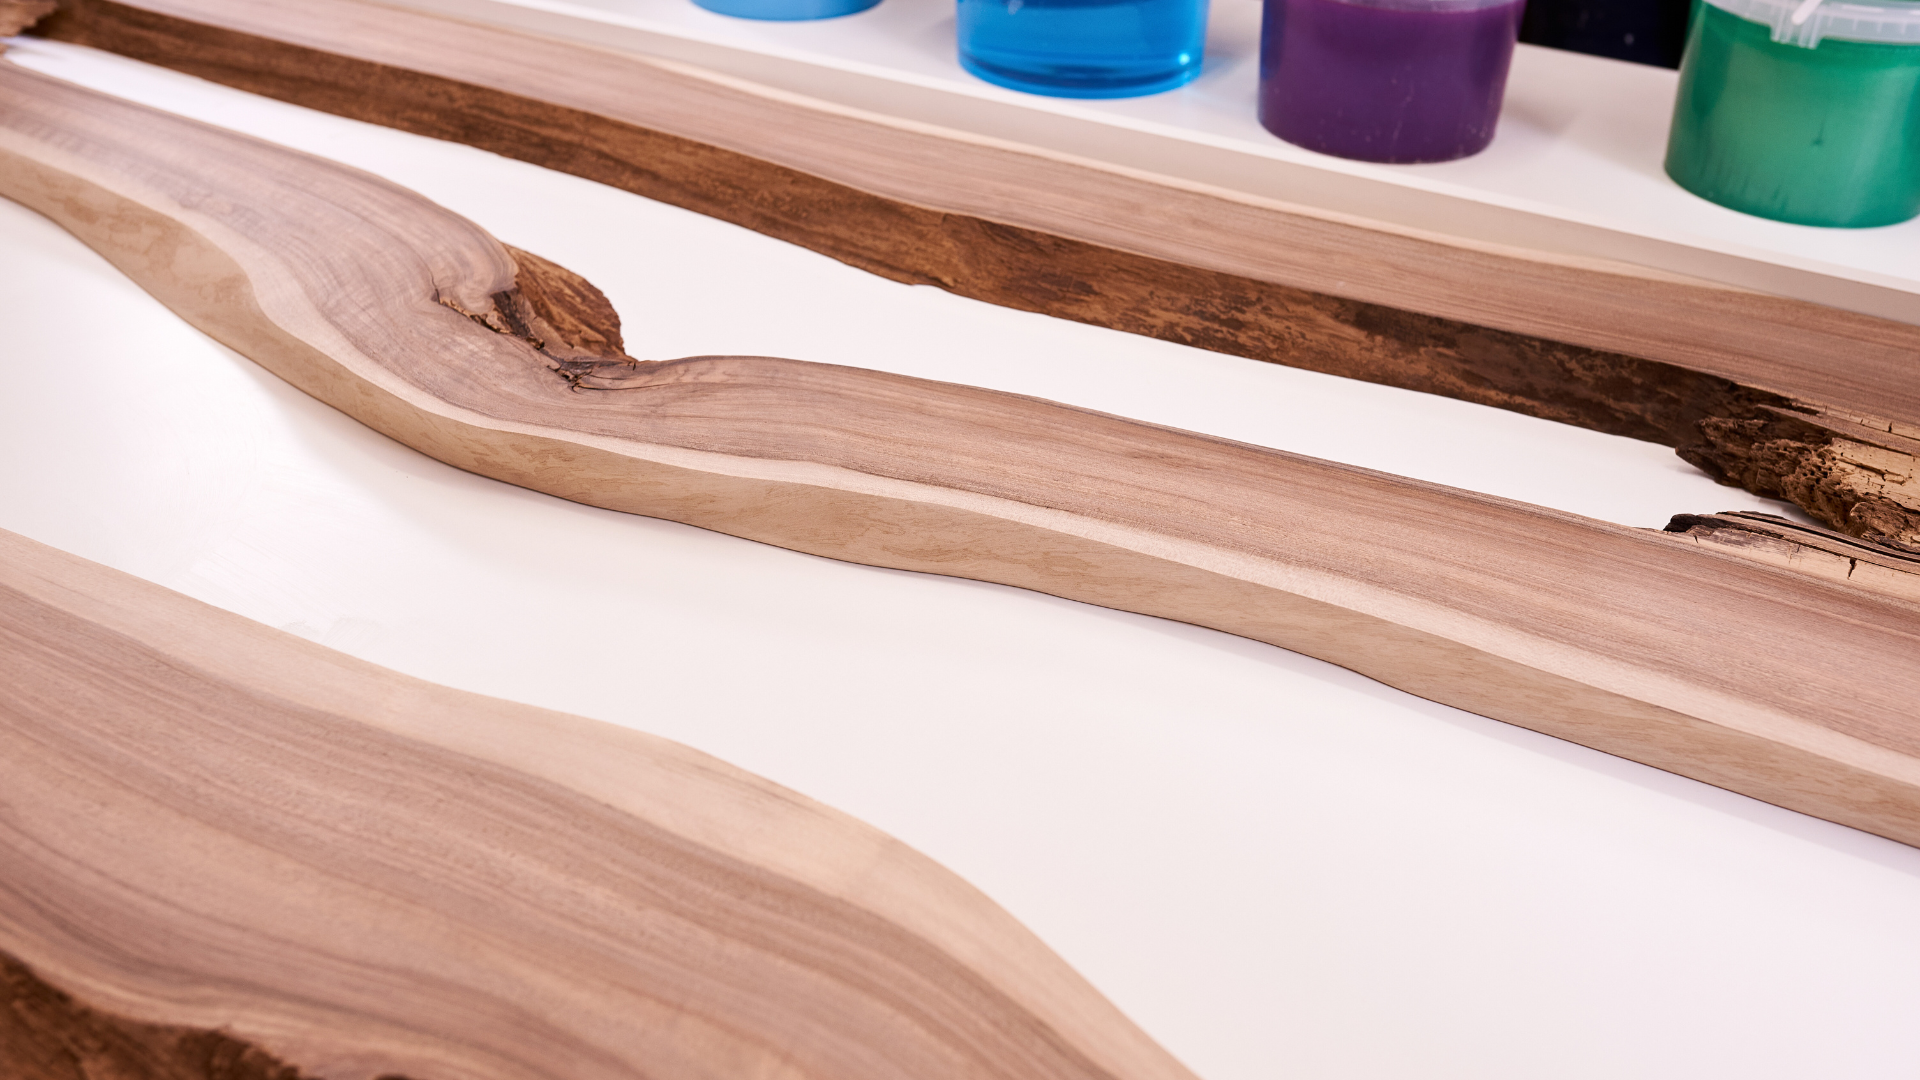
| Pigments or dyes | Add color to your epoxy resin |
| Rubbing alcohol (90%) | Clean and help the epoxy adhere better |
| A mold and mold release | Shape your epoxy table the way you want |
| A drill, a circular saw, and a face milling cutter | Trim or adjust the wood shape |
| Sandpaper or a power sander | 80 — 220 grit: Smooth surface before pouring 120 — 320 grit: Level surface flaws 220 — 320 grit: Matte finish 400 — 600 grit: Satin finish |
| A heat gun or a blowtorch | Remove air bubbles from your epoxy resin |
| A tape measure, adhesive tape, a pencil, a ruler, and a marker | Measure, mark, and protect from resin spills |
| A knife or a chisel | Scrape and chisel wood to give a smooth finish or remove excess glue |
| Silicon sealant and a gun | Apply silicone sealant to seal the edges and joints of the mold to prevent epoxy leaks |
| Polishing compound | Achieve a high-gloss finish and maintain the surface for long-term usage |
| Gloves, goggles, a mask, and an apron | Protect you from dust and harmful gases |
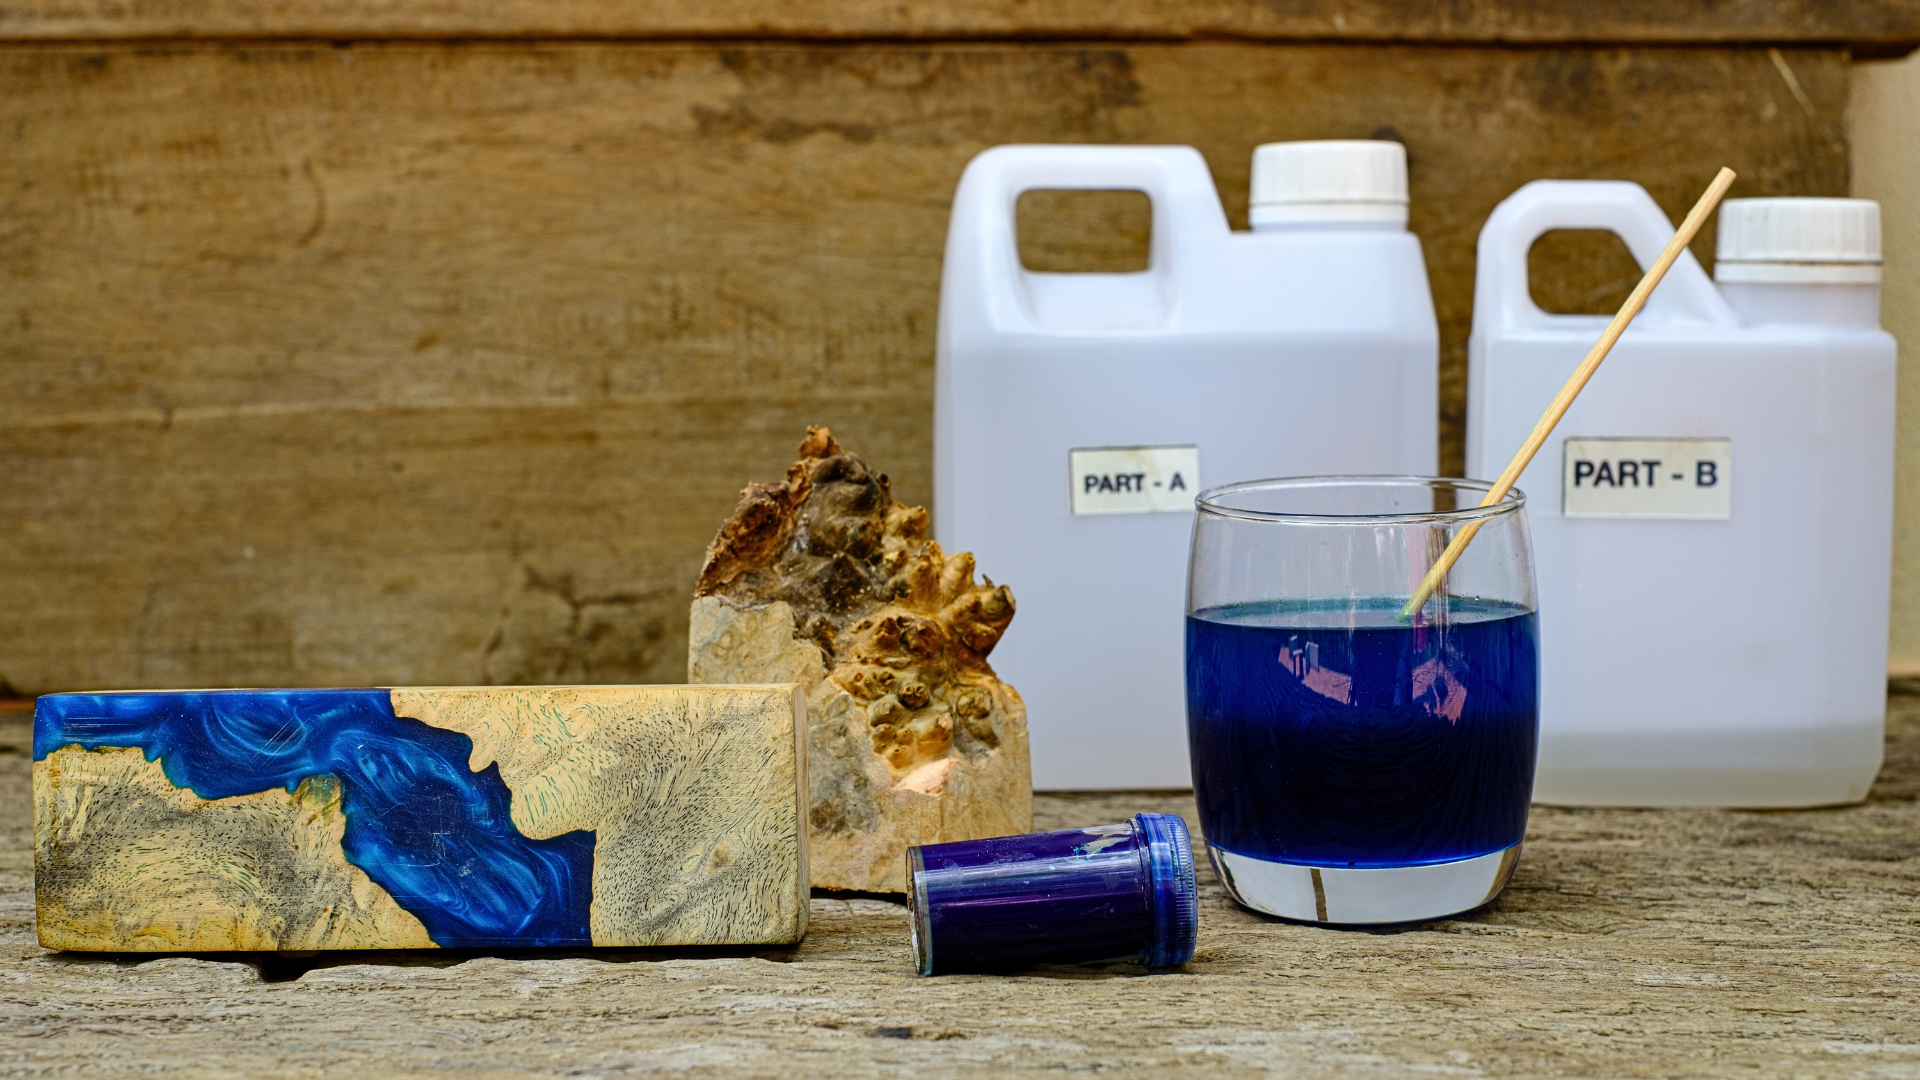
Tools and materials for how to make an epoxy resin table top
Photo: Freepik
Latest blog this week: 20+ Best Halloween Front Door Decorations to Haunt Your Neighborhood
How to Make an Epoxy Table: 6 Easy Steps to a Professional Look
Once you’ve gathered all your tools and materials, move everything to a spacious, well-ventilated area. It’s time to start creating your own unique epoxy table. Flowyline will walk you through each step in detail so even beginners can follow along with ease.
Step 1: Prepare Your Wood Tabletop
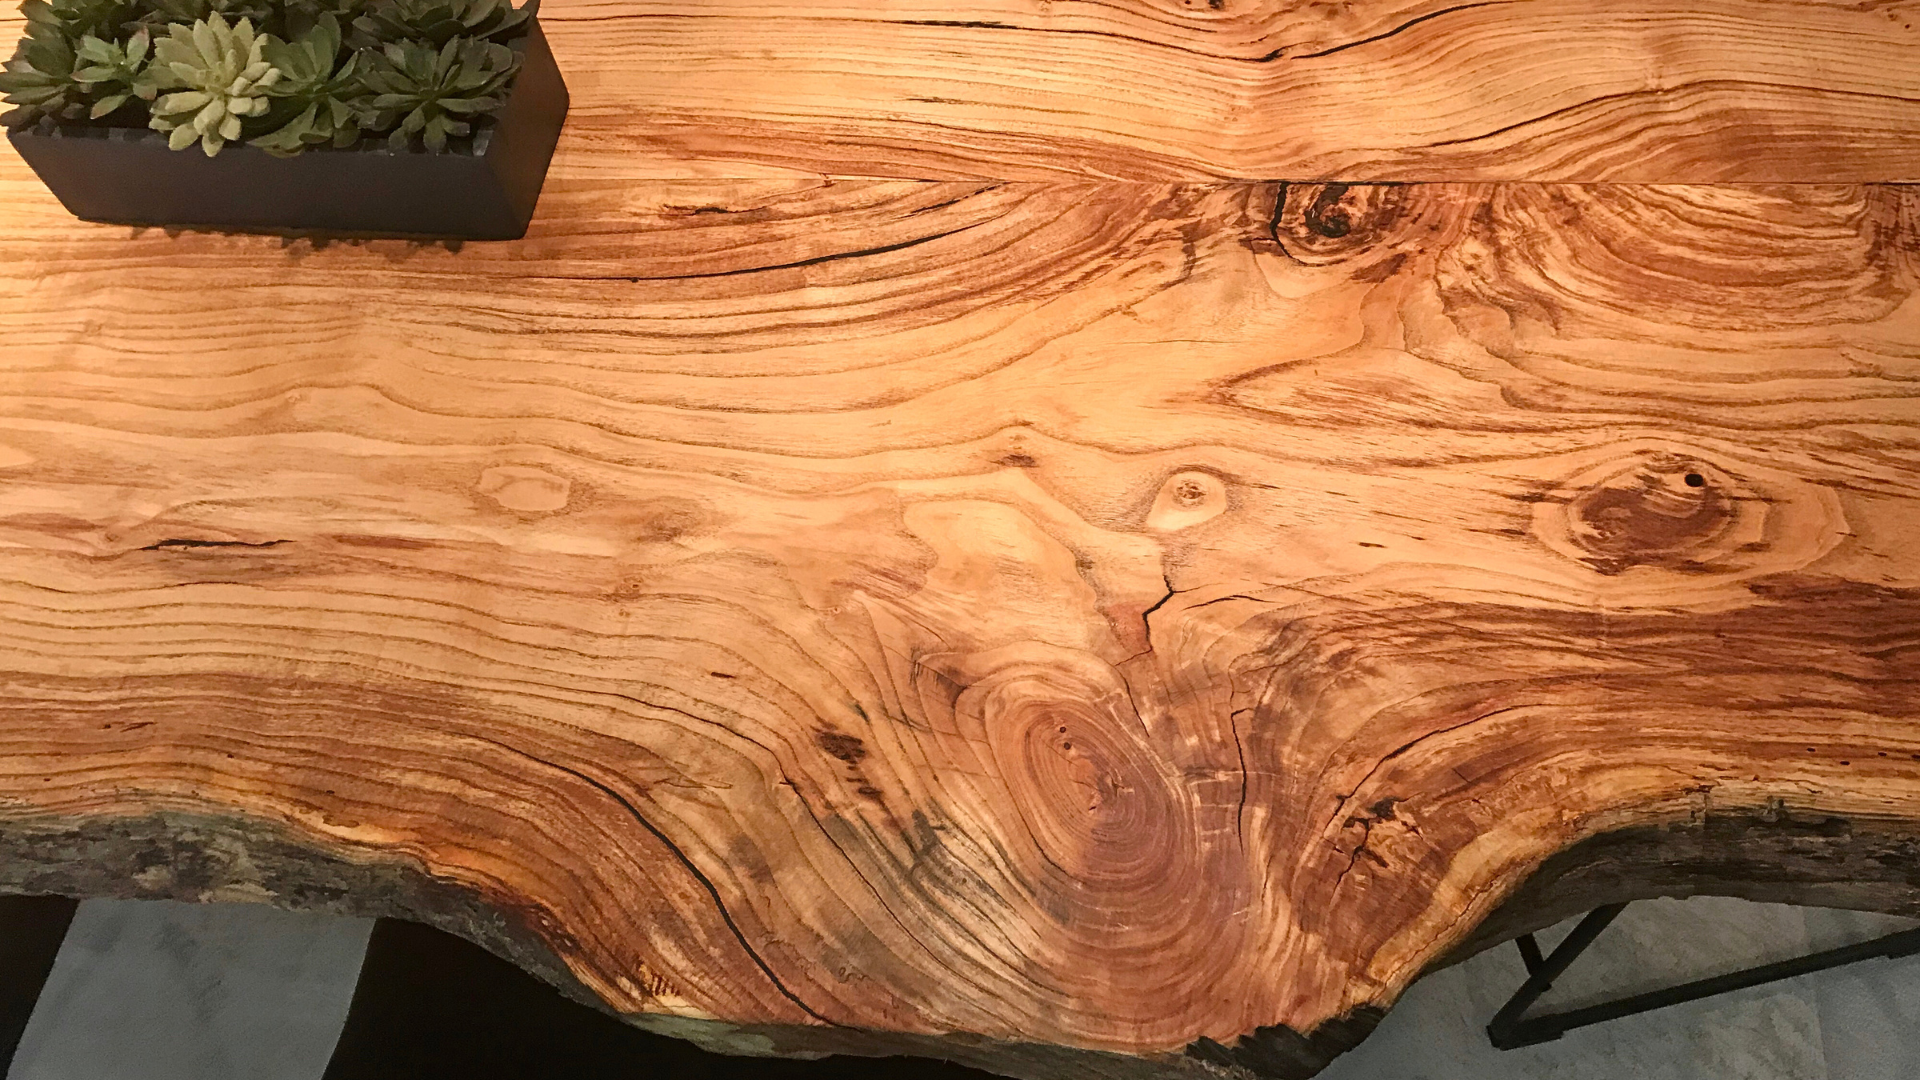
Choose dry wood for how to make an epoxy river table
Photo: Freepik
Start by cutting your wood to the size and shape you want. This is where your creativity comes into play. Think about the layout or how you want the epoxy to flow for cutting the wood.
Then, sand the surface with coarse grit (80 — 120) and smooth it out with fine grit (180 — 220). Don't forget to smooth the edges too! If your wood has large holes, don’t worry. You can always fill them with epoxy later on.
After that, use a tack cloth to remove all dust, and wipe the surface with 90%+ rubbing alcohol to help the epoxy adhere better.
Finally, make sure the wood is completely dry (lower than 10% moisture) before moving to the next step. Why does it need to dry? Some of the following reasons will explain this:
- Causes bubbles and prevents the resin from curing properly, resulting in a tacky or soft finish
- Prevent the resin from bonding well with the wood, leading to peeling of the epoxy layer and reduced durability
- Expansion or contraction, causing the table top to crack or warp
- Clouds or discolors the resin, affecting the table's look
Step 2: Build Your Form
Build a form to hold the wood slab in place
Photo: Freepik
The next step is creating a mold to shape your epoxy table. Follow these steps:
- Cut the frame to match the standard size and shape of your table. We usually use melamine boards to build the mold since they’re cheap and easy to find.
- After assembling the mold, make sure to apply silicone along all the edges to prevent any leaks
- Then, coat the inside of the mold with a release agent so it’ll be easier to remove later. You can also use adhesive tape as a substitute if you don’t have a mold release agent. However, keep in mind that tape may leave marks when removed
- Next, place the wood slab in the mold, and adjust the positioning according to your desired layout
- Finally, we apply a bead of silicone around the wood and along the pouring area. This will help guide the epoxy in the right direction and prevent it from seeping into unwanted spots.
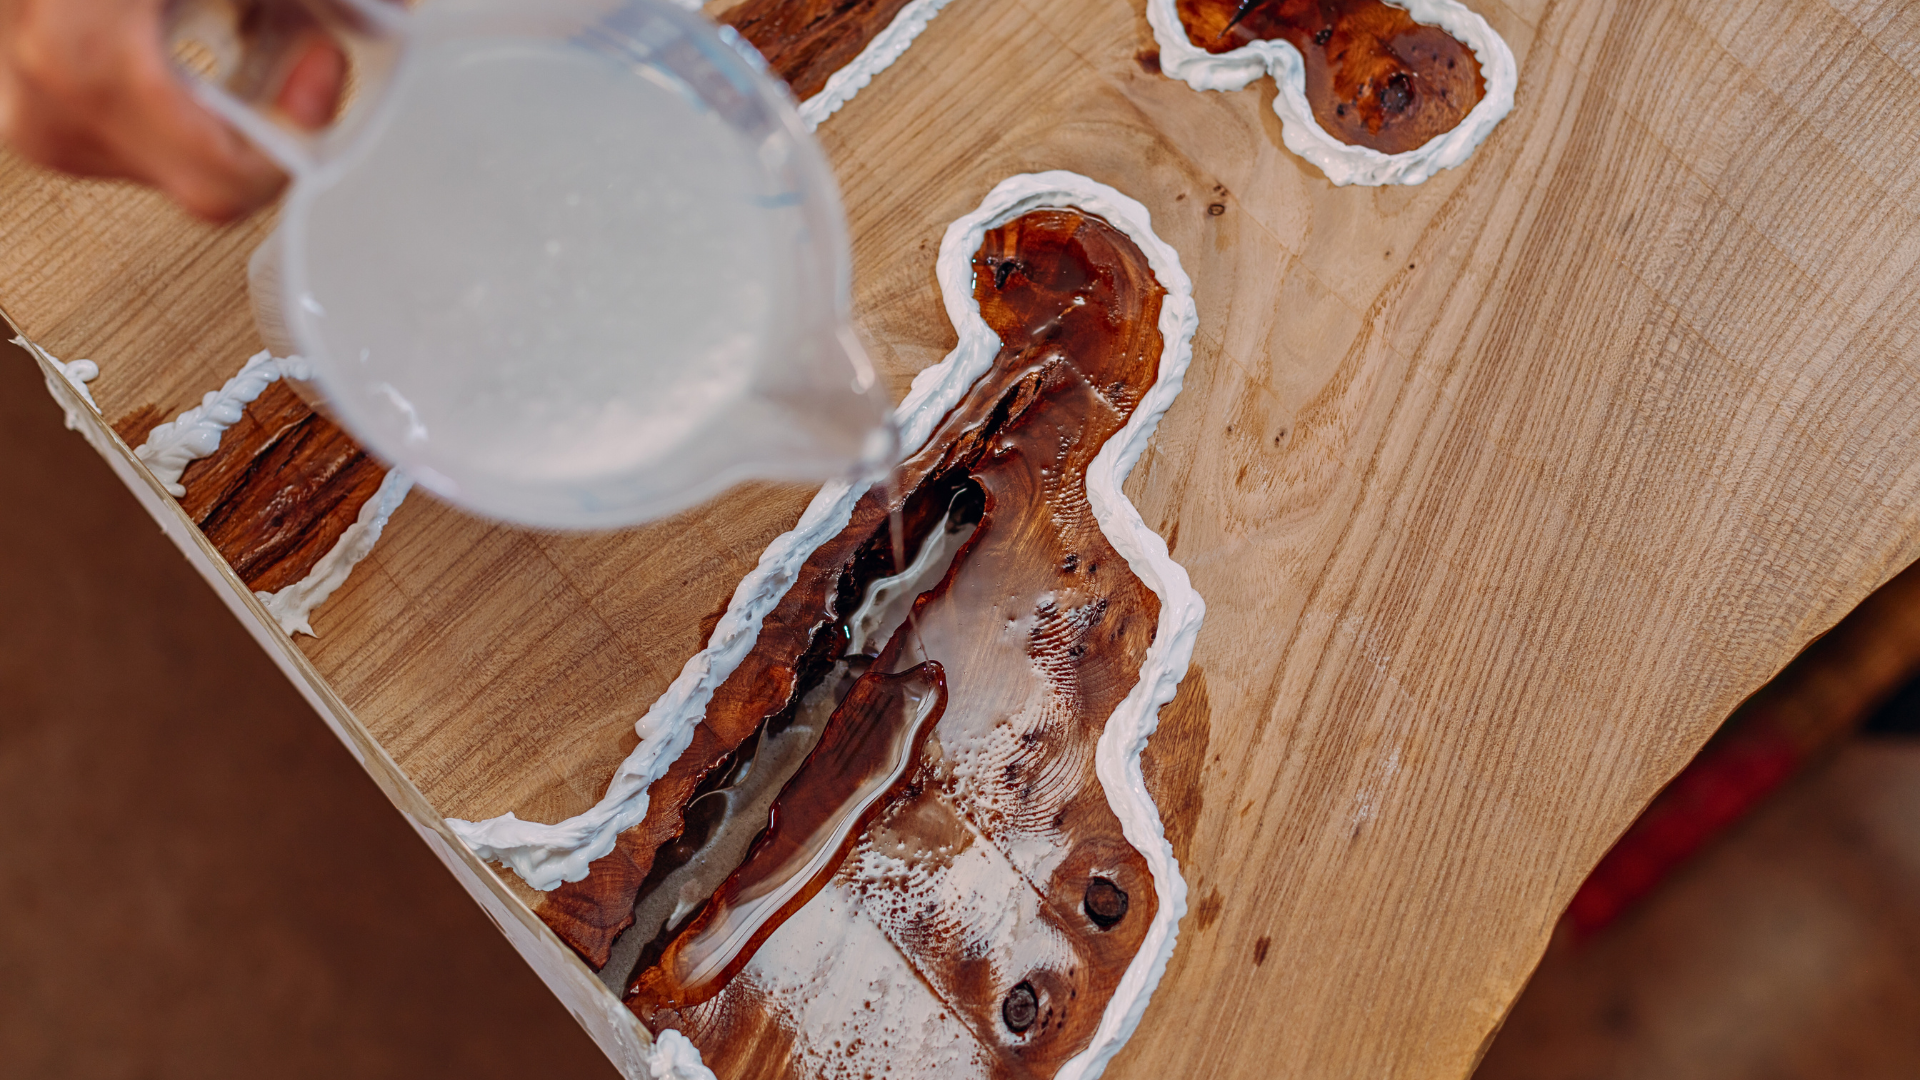
Create the silicon sealant lines to prevent epoxy resin from spilling into unnecessary areas
Photo: Freepik
Step 3: Mix Epoxy Resin and Hardener
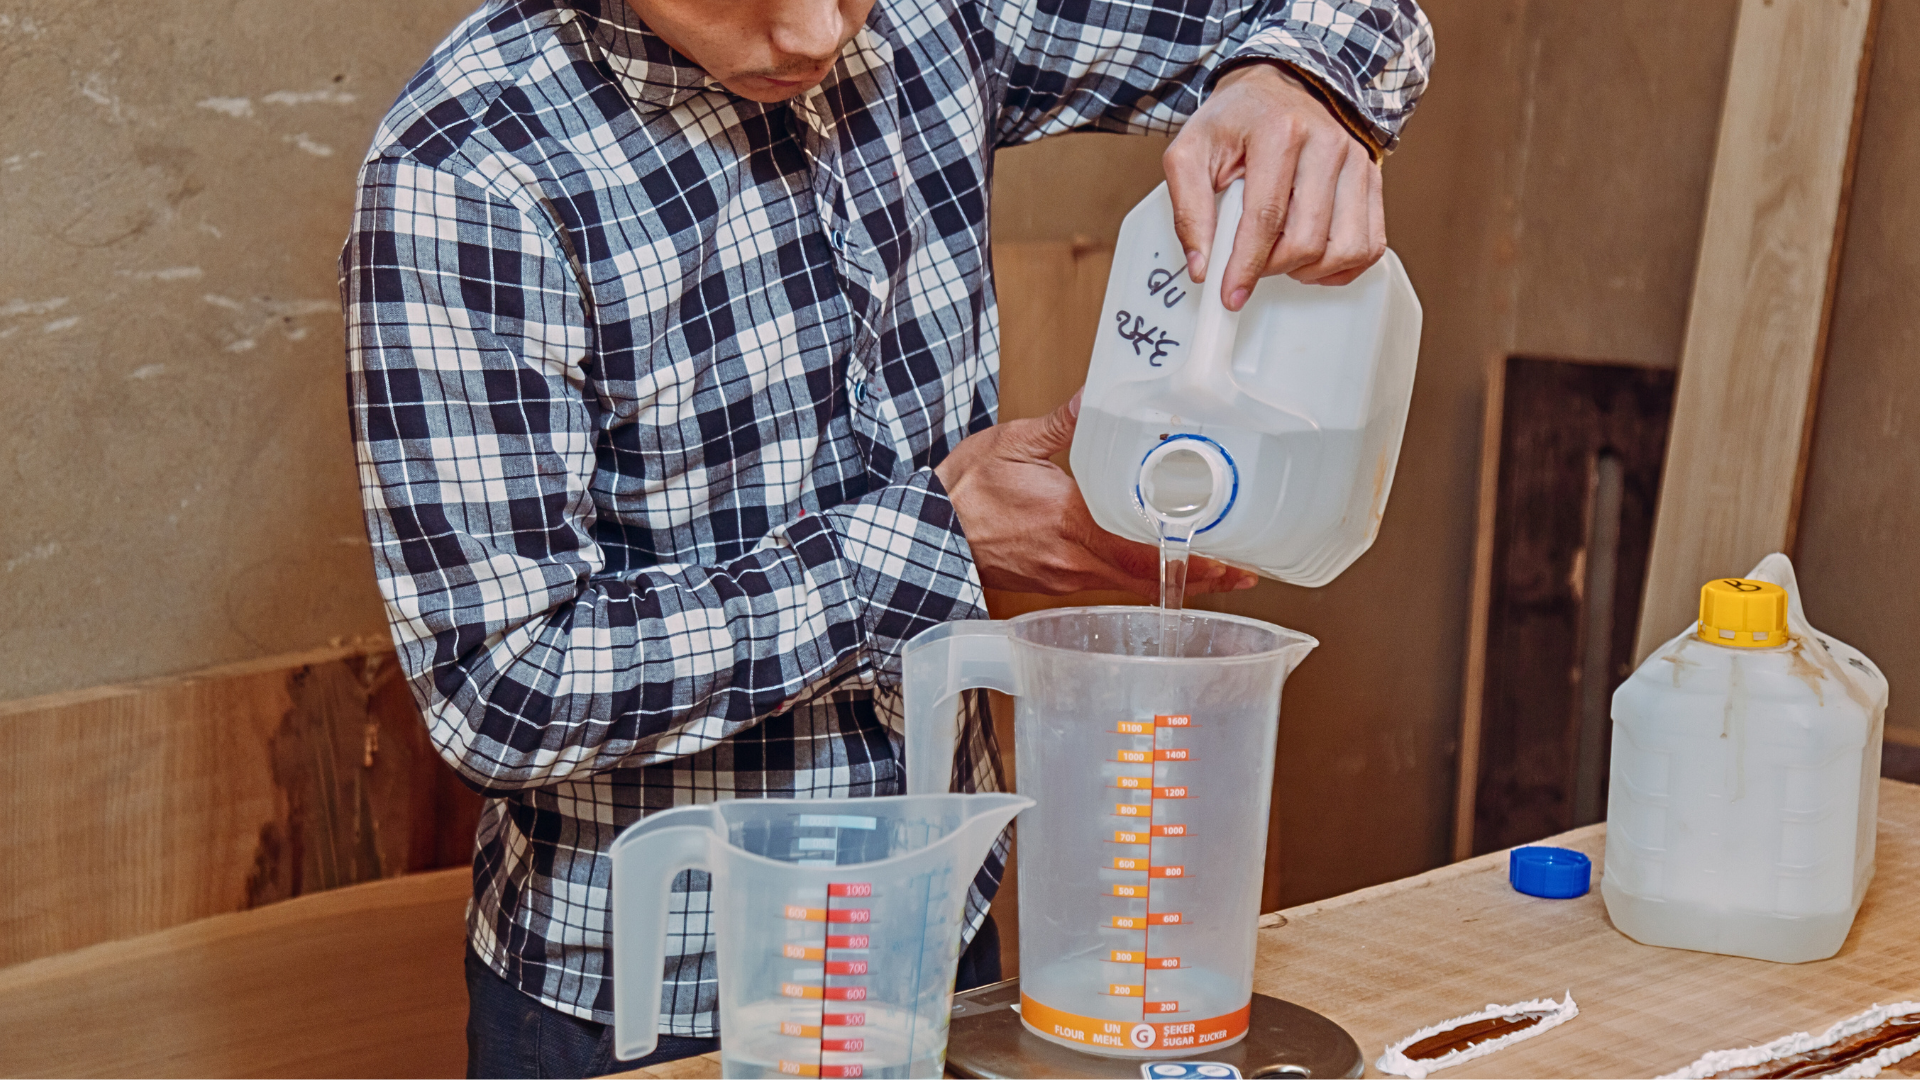
Mix epoxy and hardener in a suitable ratio for how to make epoxy resin table
Photo: Freepik
Now it’s time to get your epoxy ready. At this stage, you'll probably have a lot of questions, like what's the best epoxy and how much epoxy do I need? As for the best epoxy, we've already done a thorough analysis.
You can learn more at: What Is the Best Epoxy for Table Tops?
We'll focus on showing you how to calculate the amount of epoxy you need.
Basic formula
| Epoxy Volume = (Length × Width × Depth) - (Wood Area) |
For example, your table frame has an area of 48” x 24”, a thickness of 3”, and the wood you measured is 48” x 10”. Then, according to the formula, we have:
Epoxy volume = ( 48 x 24 x 3) - (48 x 10 x 3) = 2,016 sq in ≈ 8.73 gallons
It is recommended that you add 10 — 20% to the calculated result just to be on the safe side. If you already know the amount of epoxy you need, here are detailed mixing instructions.
- Follow the instructions on the package to measure and mix the correct ratio of epoxy resin and hardener. The usual ratio is 2:1 (2 parts resin to 1 part hardener).
- Stir well about 3 — 5 minutes, until there are no streaks or lumps.
- Add some pigments or dyes if you want to color your epoxy resin.
Got a tip for you! Let the mixture rest for about 10 — 15 minutes before moving to the pour step. This mixture will bubble, and you can use a heat gun or a blowtorch to remove it.
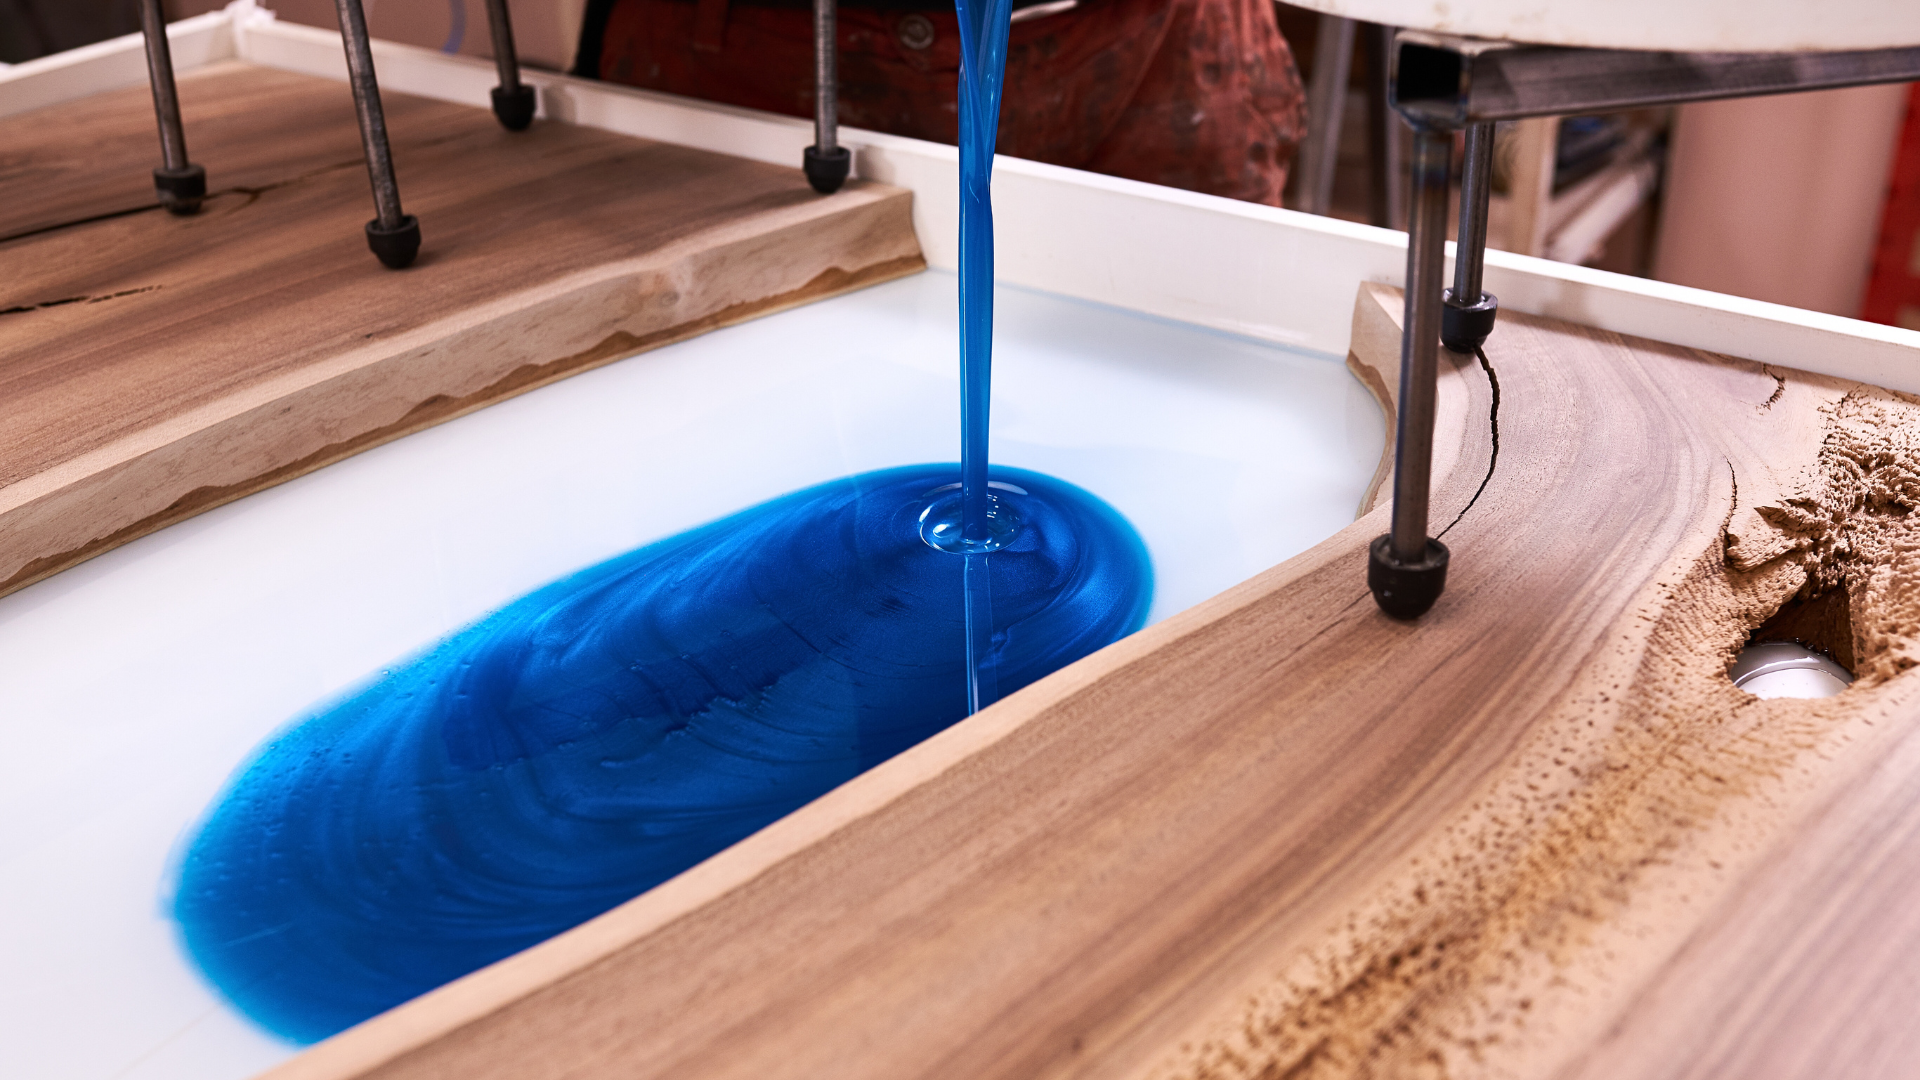
Step 4: Pour Your Mixture Into the Mold
We have come to the most interesting how to make an epoxy table part: pouring the epoxy. This is the step that determines the final result, so take your time and do it correctly.
- Pour slowly and evenly over the wood and the gaps in the mold. Lower your epoxy container into the mold at least 3 inches to minimize the bubbles. You can use a syringe to fill the epoxy into the holes in the wood.
- Pouring many epoxy layers helps your tabletop achieve the needed hardness. The ideal thickness for each epoxy layer is 1/4 inch. If you use a specialized deep-pour epoxy, you can pour a layer about 2 inches thick.
- Use a wooden stick or a spatula to spread the epoxy resin evenly
- Then use a heat gun or blowtorch to gently pop all the bubbles
How to epoxy a table top
Photo: Freepik
All we have to do now is wait. The thicker the epoxy glue is, the longer it takes to dry. As a result, knowing the drying time of each layer is essential for handling it correctly.
Typically, epoxy will take about 72 hours to dry at an ideal temperature of 75°F to 80°F. However, the drying time of epoxy depends on many factors such as the type of epoxy, temperature, and humidity.
Step 5: Remove From the Mold and Sanding
Once the epoxy has completely dried, remove the table top from the mold carefully. Peel off any excess epoxy resin and silicon sealant with a knife or a chisel.
After that, check for any small holes or scratches. You can use epoxy to fill them and wait for it to dry completely.
Carefully remove the table top from the mold
Credit: Flowyline Design
Order now: Table Legs 423 Curva 28.2" H Dining Furniture Legs
Then, you need to sand the entire surface to smooth it out. Sand the surface and the edges of your table with sandpaper of different grits, starting from coarse (120 grit) to fine (400 grit). You will see the difference after each change from 120 to 180, 240, and 400.
You can also use an electric sander to save time, even better for how to make an epoxy table. Finally, wipe away any dust with a tack cloth to prepare for the next step.
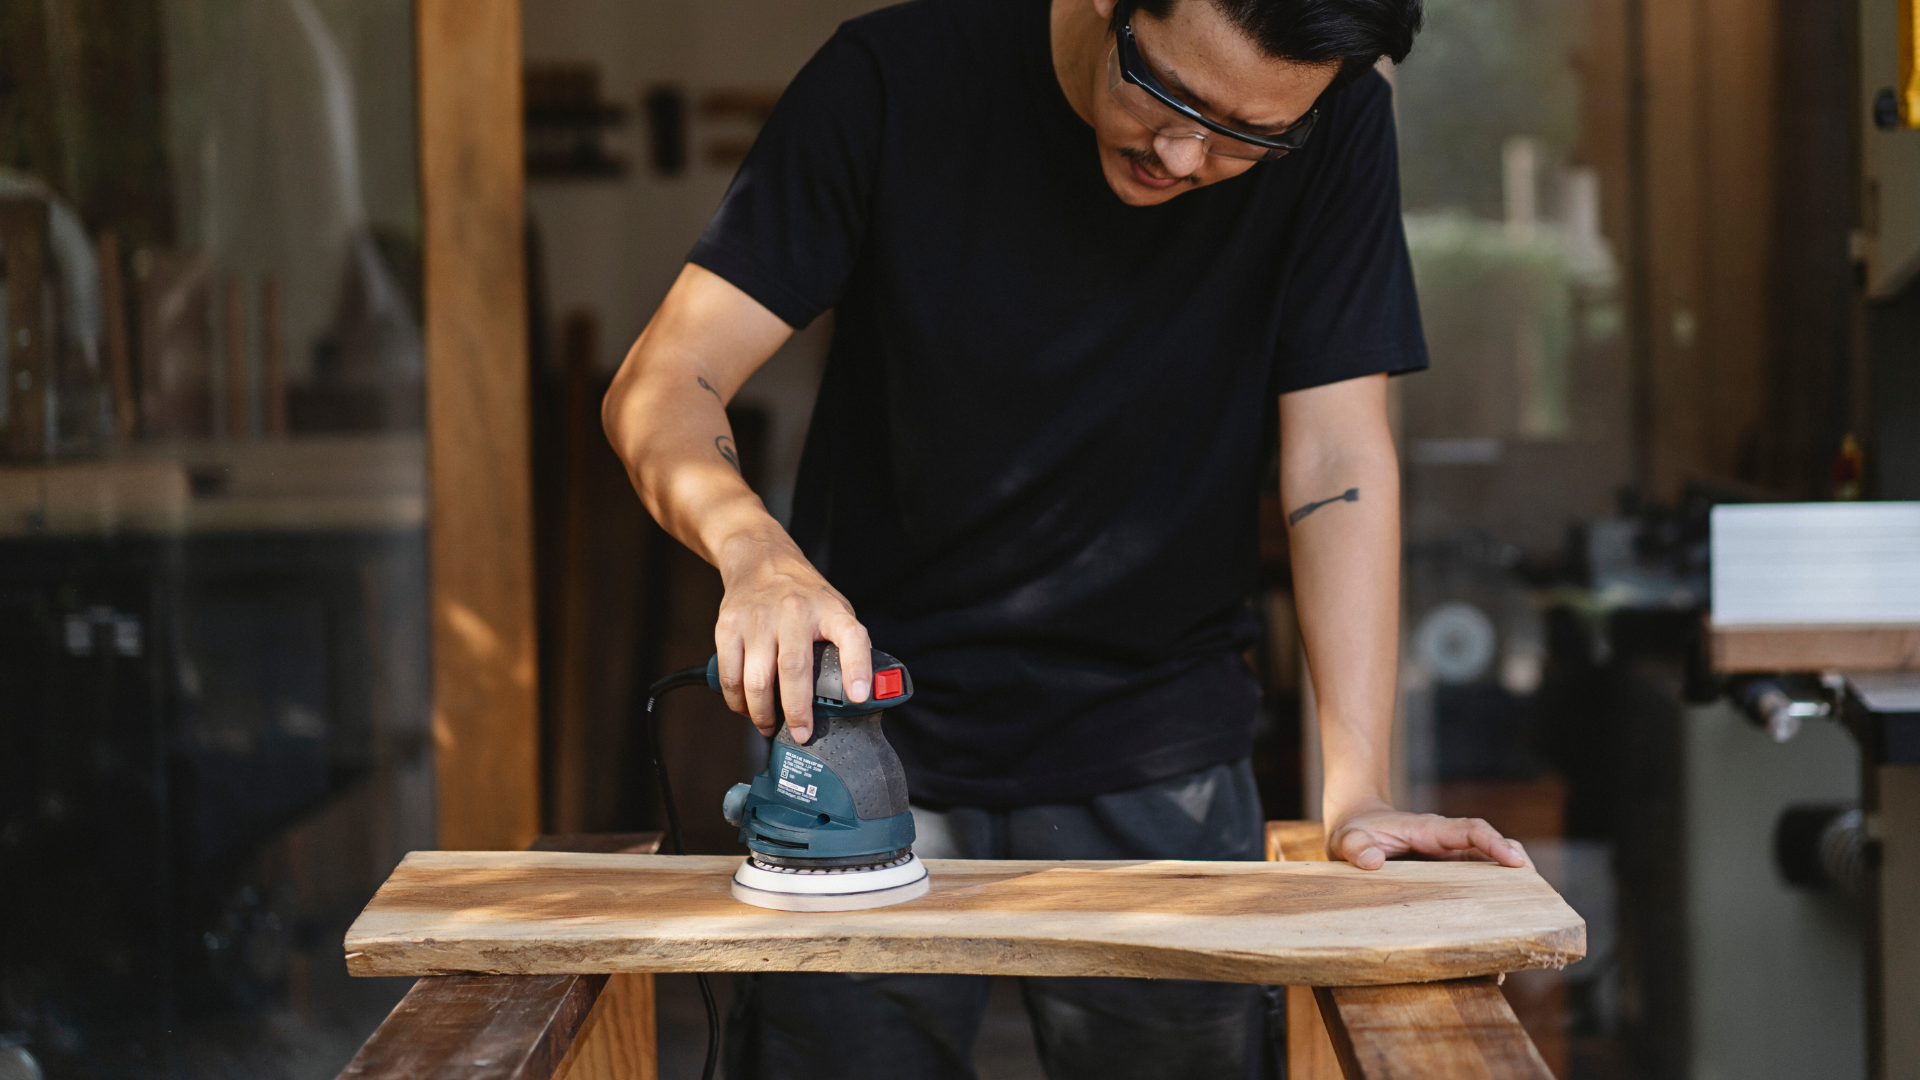
How to make epoxy table with sanding
Photo: Freepik
Read more: Blossoming Beauty: Crafting an Epoxy Tabletop with Real Flowers
Step 6: Polish the Tabletop And Attach the Legs
The next step is polishing to make the table surface look shiny and ensure better durability. You can simply add polishing compounds evenly to the tabletop and wipe them off, or use a lambswool pad for a perfect and polished finish.
Then, you just need to install the table legs to complete how to make an epoxy table. Choose any type of legs you want for your table, such as wood, plastic, or metal legs. Drill holes in the bottom of your table if needed, and attach the legs with screws or bolts.
So you have your own unique epoxy table. Congratulation!
Attach metal legs to your wood table top
Credit: Flowyline Design
Order now: Furniture Legs 410 Radix 28.4" H Metal Modern Table Legs
You might like: How to Attach Table Legs to Epoxy Table: A Guide for Beginners
4 Popular Types of Epoxy Tables
To inspire you with more creative ideas, we’ve compiled 4 popular epoxy styles used in wooden table design.
1. Swirl Epoxy
This type involves mixing multiple colors of epoxy resin together to create a swirling or marbled effect. This type is interesting because it uses sticks to create unique lines and patterns.
2. Translucent Epoxy
Translucent epoxy resin is clear or tinted. It is usually light-colored so that the wood underneath is still visible, but transparent enough to let light in and shimmer. Decorating with dried flower petals is also a good idea!
3. Solid Color Epoxy
The characteristic of this type is that it gives a dark, uniformly colored finish throughout the pouring process. This style creates a strong, bold feeling and creates a high contrast effect in the space.
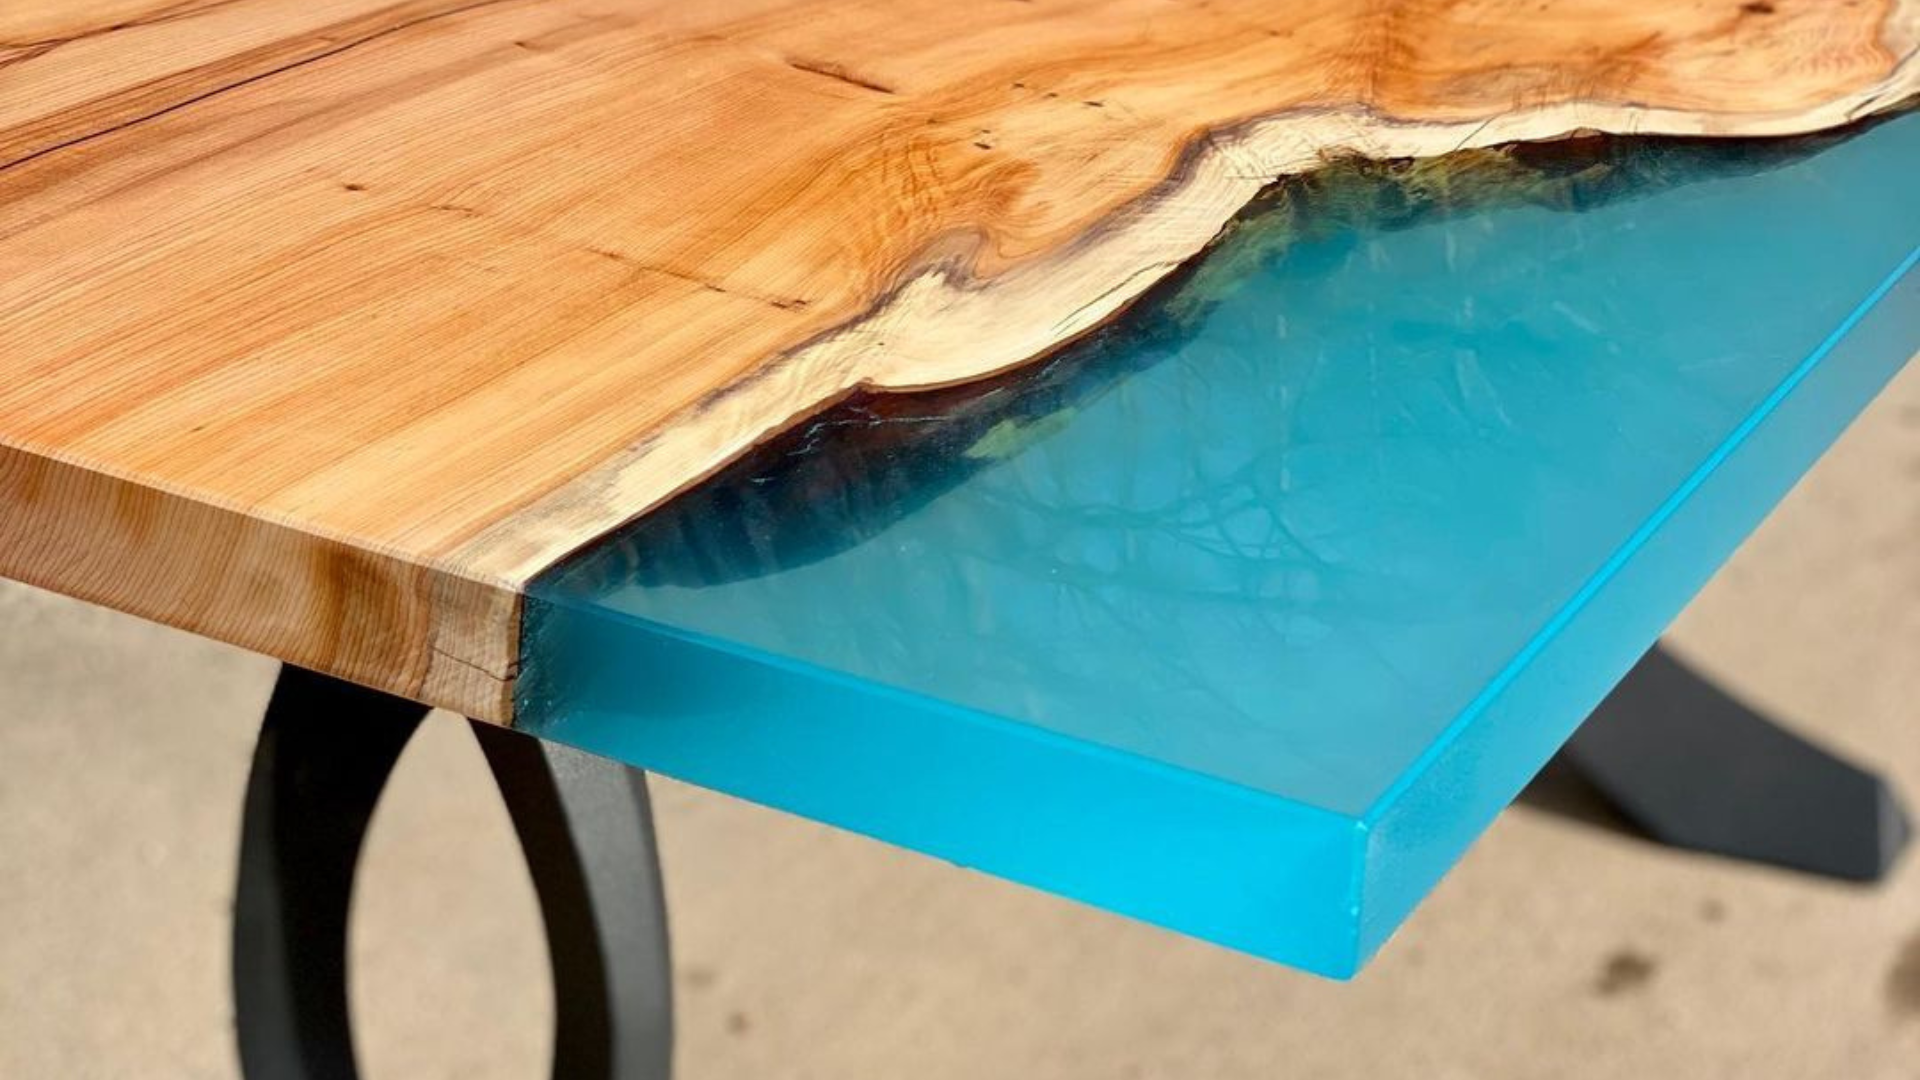
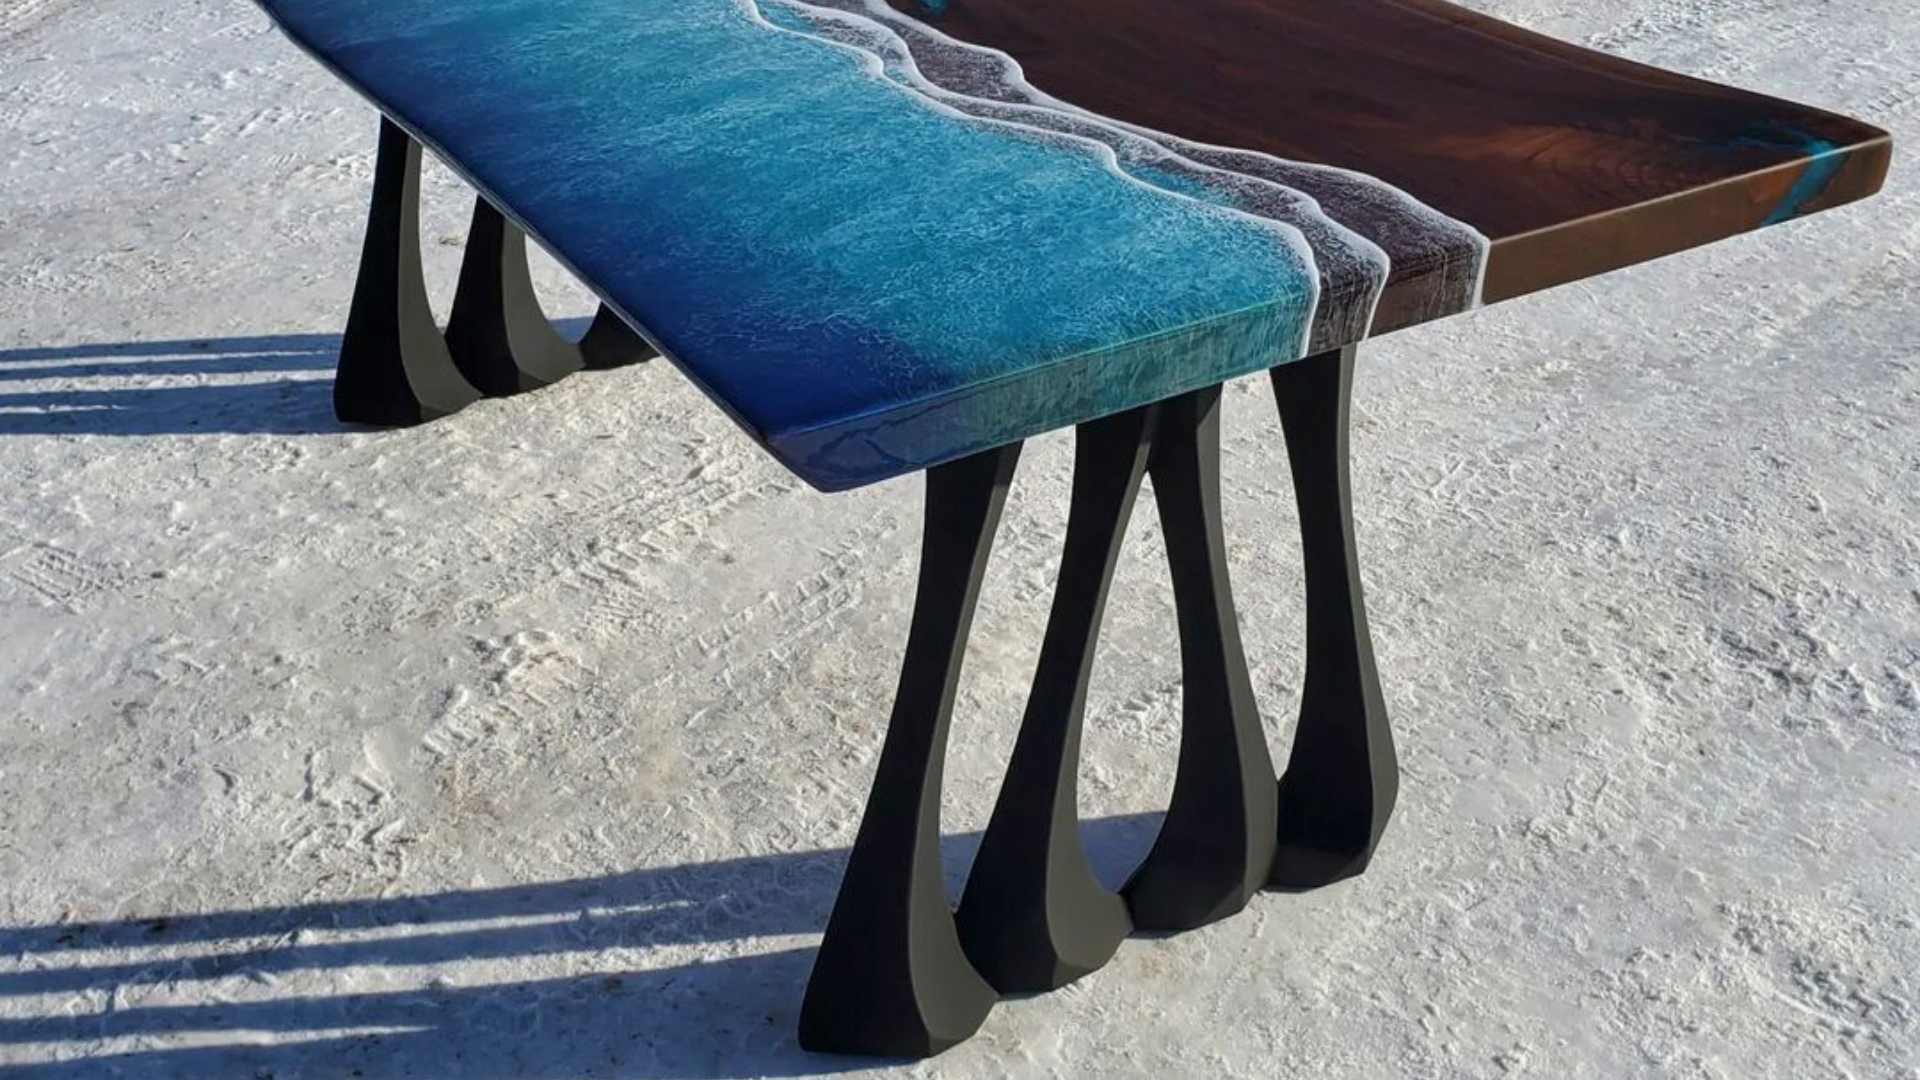
4. Resin River Table
A familiar table style with a river running through the middle of the two slabs of live-edge wood. This is the most common type of epoxy furniture style used, and it usually incorporates one solid color, swirl epoxy, or translucent epoxy.
The river can be designed to mimic natural water flows. There may be seashells, lotus flowers, and colorful pebbles in it. You can also make them glow with glow powder!

River epoxy table design
Credit: Flowyline Design
Shop now: Table Base 309 Herz 28" H Metal Pedestal Stand
Related blog: How To Build A Epoxy River Table
FAQs
1. How Much Does It Cost to Build an Epoxy Table?
The cost of an epoxy table depends on several factors, such as the type and amount of wood, epoxy resin, and other materials and tools needed. Typically, the cost can range from $200 to $600 for a basic epoxy table or up to $7000 for a more complex customization.
2. What is Needed to Make an Epoxy Table?
You’ll need basic tools and materials such as wood slabs, epoxy resin, hardener, molds, a heat gun, sandpaper, silicone sealant, polish compound, and table legs. You can refer to our material list above for a more complete list. Also, don’t forget to prepare additional safety gear.
Read more: The Essential Tools for Crafting Epoxy Tables
3. What are Common Epoxy River Table Mistakes?
Common mistakes when making an epoxy river table are:
- Not mixing the right ratio of epoxy resin and hardener
- Incorrect temperature
- Not waiting enough time according to the instructions
- Choosing a poor-quality product
Any mistake can make your epoxy river table not as perfect as expected.
4. What Wood is Best for Epoxy Tables?
The best woods for epoxy countertops are usually hardwoods like black walnut, oak, and maple. These woods are hard and durable, and have beautiful grain. Also, consider kiln-dried wood with a moisture content of less than 10% to ensure better adhesion.
How to Make an Epoxy Table: Final Takeaways
Creating your own epoxy table is easier than ever if you follow these steps.
- Step 1: Think about the desired layout and prepare the wood table top
- Step 2: Build your mold
- Step 3: Mix epoxy resin and hardener with the correct ratio
- Step 4: Pour epoxy into the mold and pop any bubbles
- Step 5: Remove the epoxy from the mold and sand to smooth the surface
-
Step 6: Polish the table top and attach legs
That's what you need for how to make an epoxy table! Tools and materials, steps, and inspiration ideas have been fully mentioned in this article. If you are looking for a table leg that matches your beautiful epoxy table, just email us at customerservice@flowyline.com. And don’t forget to check out our blogs to discover more DIY ideas. Thanks for reading!