Finishing a DIY project provides an undeniable sense of achievement. It’s this feeling of victory, of personal success, that makes the world of DIY so captivating. One such project that’s gaining popularity is the innovative use of epoxy resin in interior furniture design.
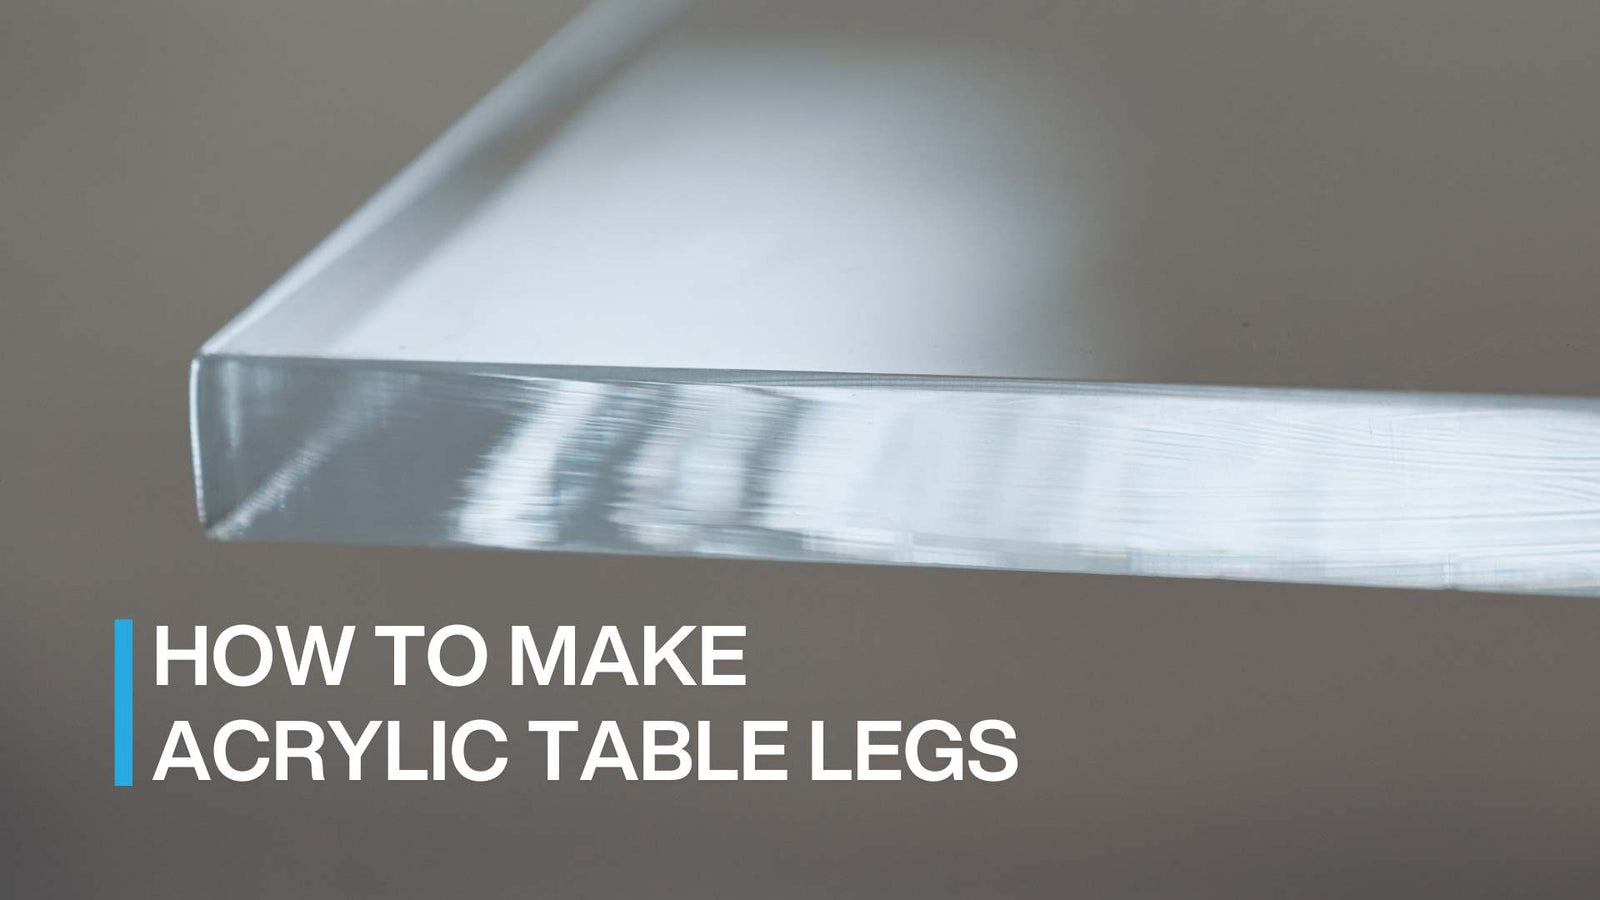
Transparent epoxy to create table legs aren’t just furniture - they’re crystal-clear, adding a unique and modern touch to your furniture. This process, which involves casting clear epoxy resin into a mold of your desired shape and size, is both creative and rewarding. Let’s delve into a step-by-step guide on how to make acrylic table legs, a project that’s sure to bring that feeling of DIY triumph.

Transparent table legs can add a touch of elegance and luxury to your living space
Credit: ©Mohamed salem on Canva.com
What Will You Need to Prepare?
- Clear epoxy resin
- Silicone/ wooden mold (table leg shape)
- Mixing cups
- Stirring sticks
- Gloves
- Protective eyewear
- Sandpaper (various grits)
- Polishing compound
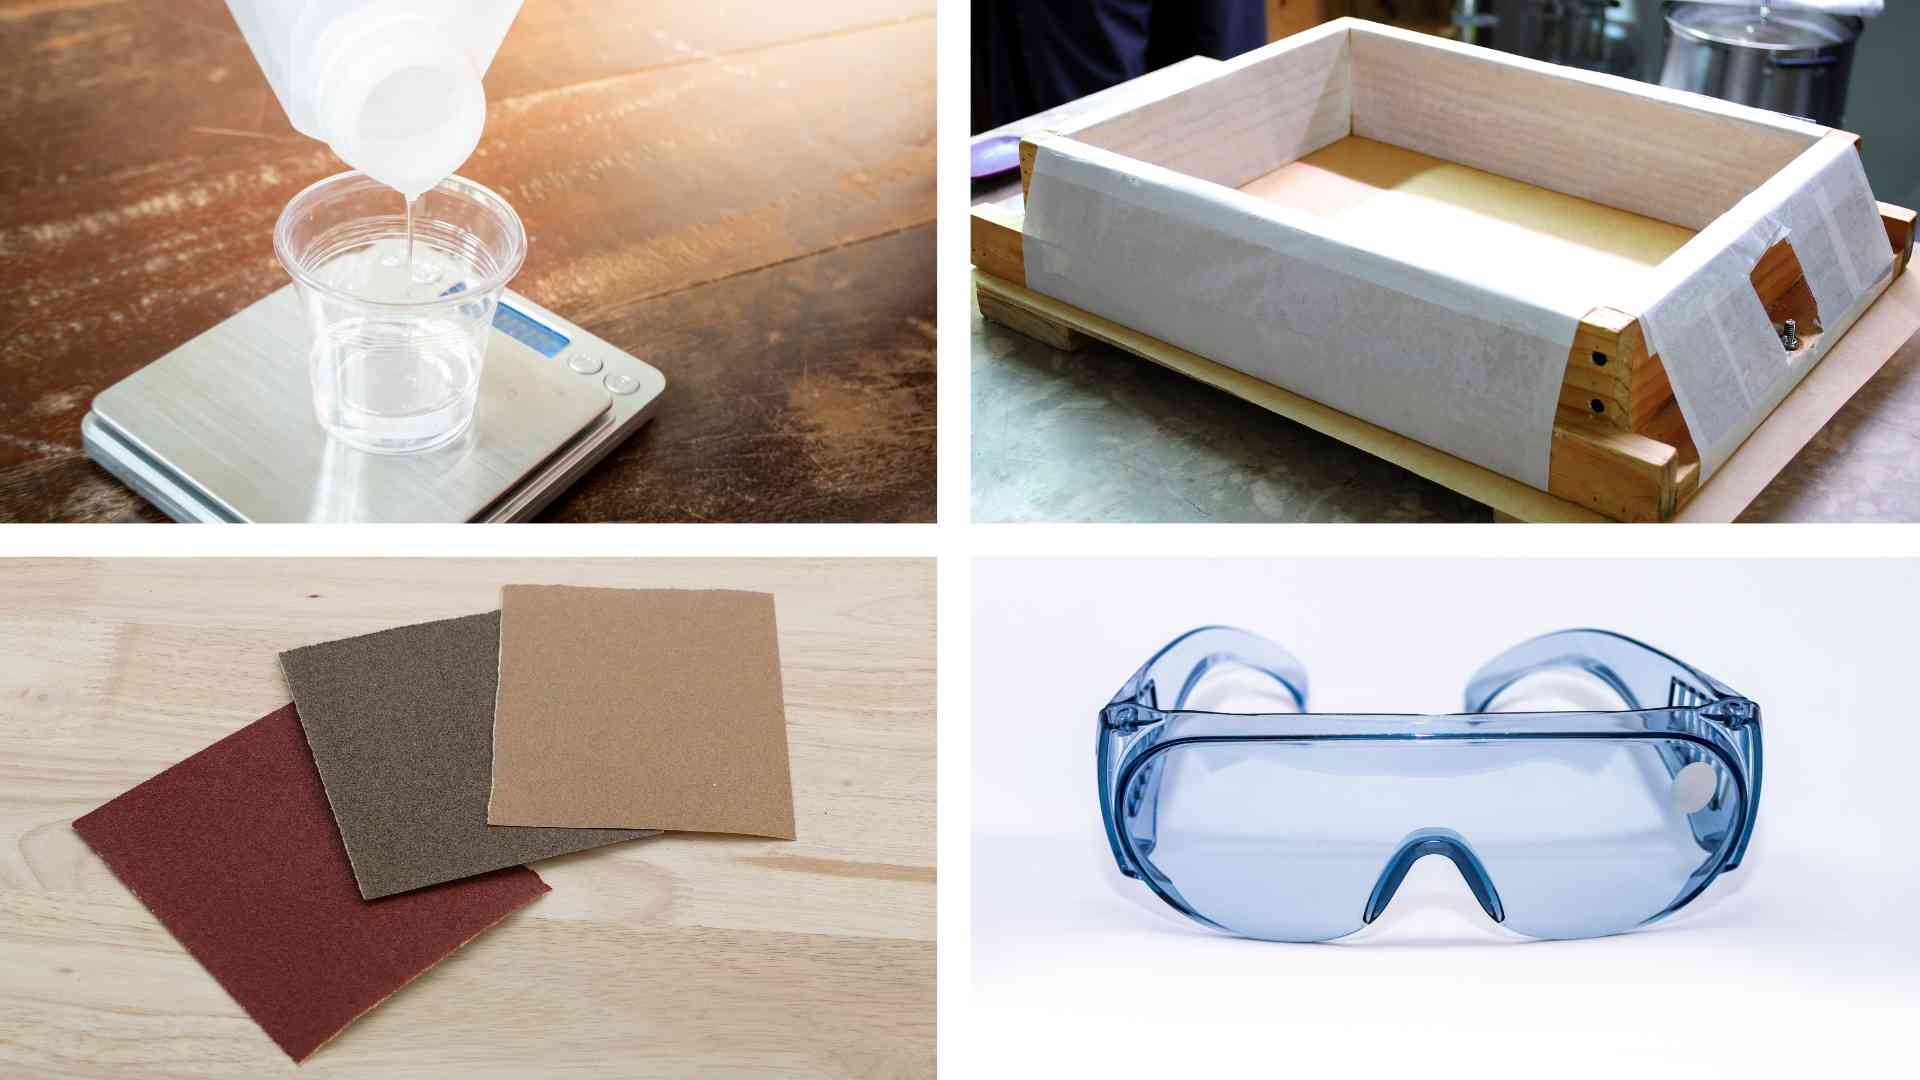
Some items you need to prepare when creating epoxy table legs
Credit: ©Hydrogenn; Kathy Byrd; AMLBox; Ionut Dabija's Images on Canva.com
Detailed Step-by-step Guide
Step 1: Safety First
Before starting, ensure you're in a well-ventilated area and wearing protective eyewear and gloves. It can help you avoid exposing your skin or eyes to epoxy resin.

Don't forget to prepare your eyewear and gloves
Credit: ©Зображення користувача Maksym Povozniuk on Canva.com
Step 2: Prepare the Epoxy Resin
Firstly, gather the epoxy resin and hardener, which are usually included in your epoxy resin package. It’s important to note that the typical ratio for mixing these two components is 3:1, a ratio that ensures the optimal curing and stability of your epoxy table legs. Begin the process by pouring the resin and hardener into a mixing container, adhering strictly to this ratio. Spend a few minutes stirring the mixture until it’s completely blended, a crucial step for the full combination of the resin and hardener, which is necessary for the curing process.

Gather epoxy resin and hardener with the proper ratio
Credit: ©Marina Cavusoglu's Images on Canva.com
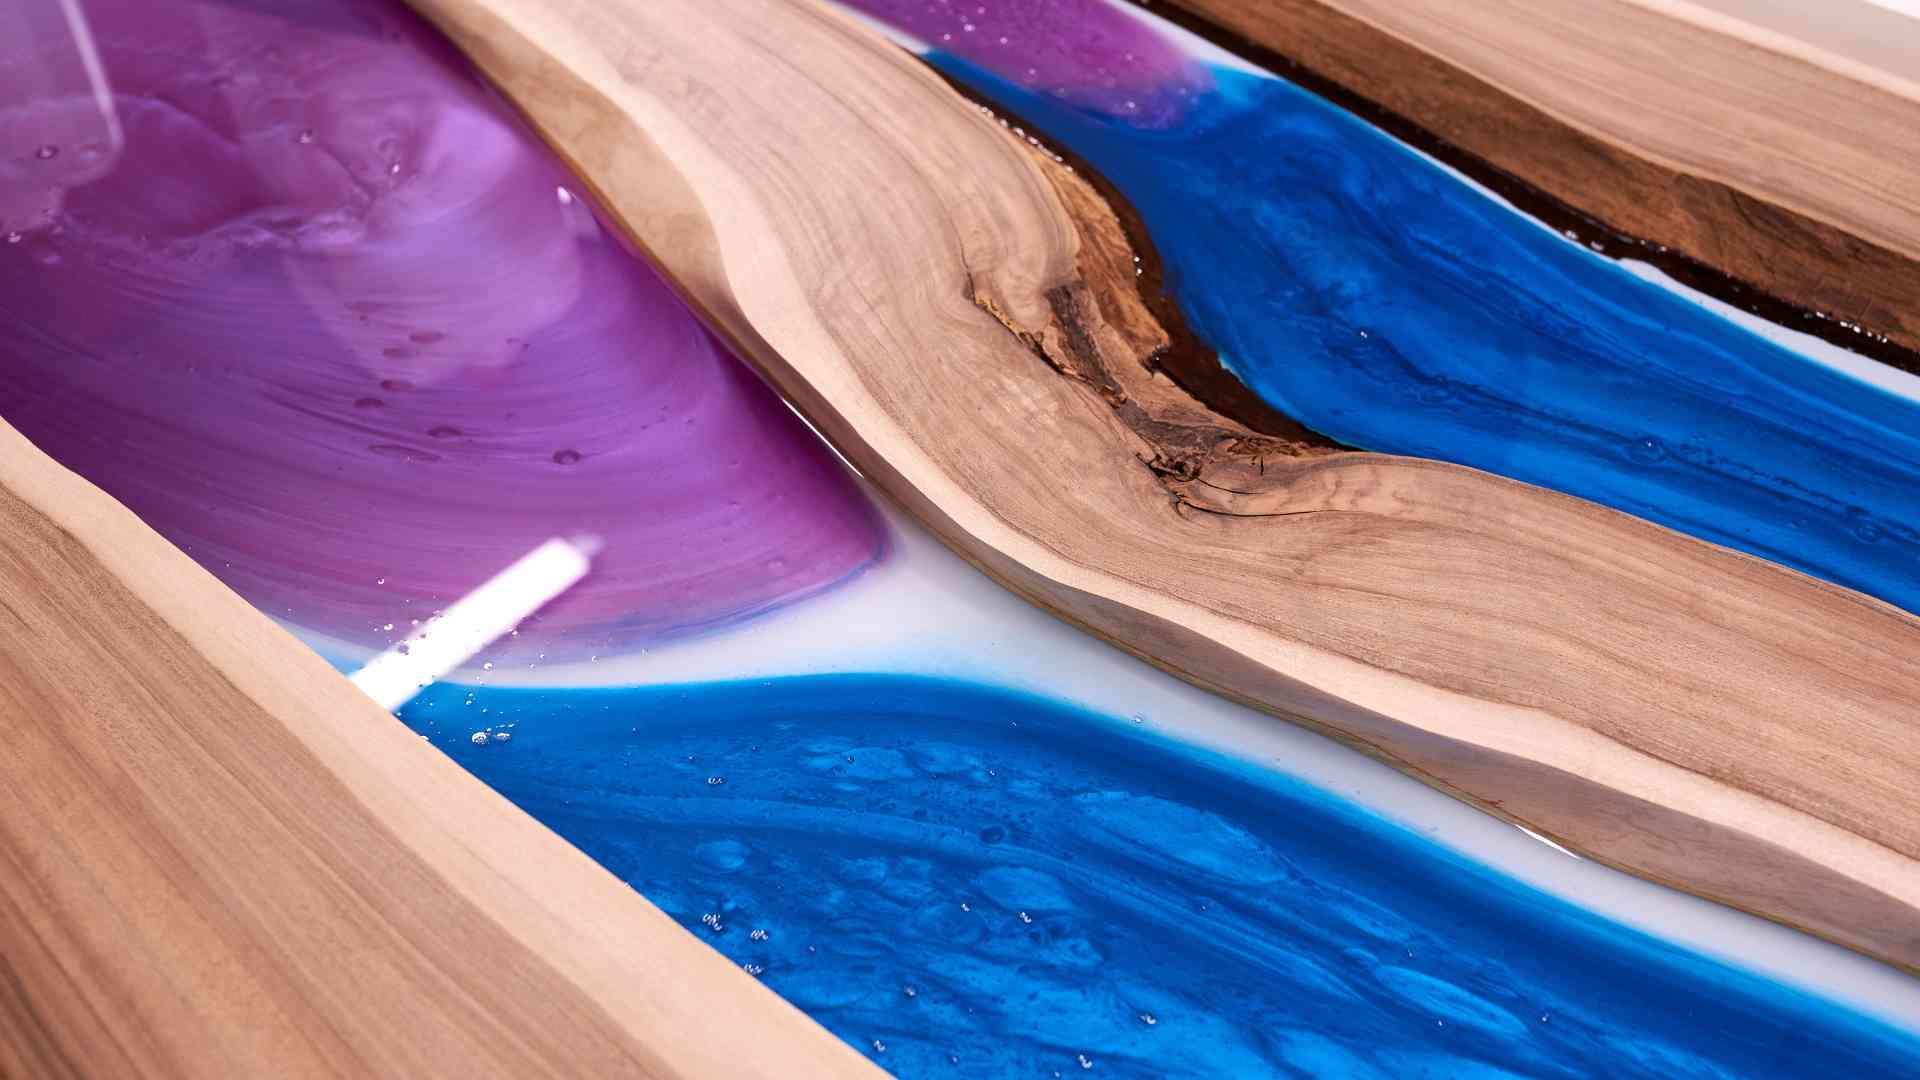
Step 3: Pour the Epoxy Resin
Slowly pour the mixed epoxy resin into your silicone mold. Ensure the resin fills the mold evenly and completely. To eliminate air bubbles, lightly tap the sides of the mold.
When creating crystal clear table legs, a substantial amount of epoxy resin is required, resulting in a deep and thick layer of epoxy. For complete curing of the epoxy, the coating should be up to 3-5 millimeters thick.
Timing is crucial in this process. Ideally, you should wait between 4-10 hours before applying subsequent flood coats. However, if time is of the essence, you can pour a new resin layer every 3-5 hours.
If more than 10 hours have passed since the last coat, prepare the surface for the next layer by lightly scuffing it with 222–300 grit sandpaper. Then, clean the surface with denatured alcohol or acetone before applying the next coat. This process ensures optimal adhesion and curing of the epoxy resin.
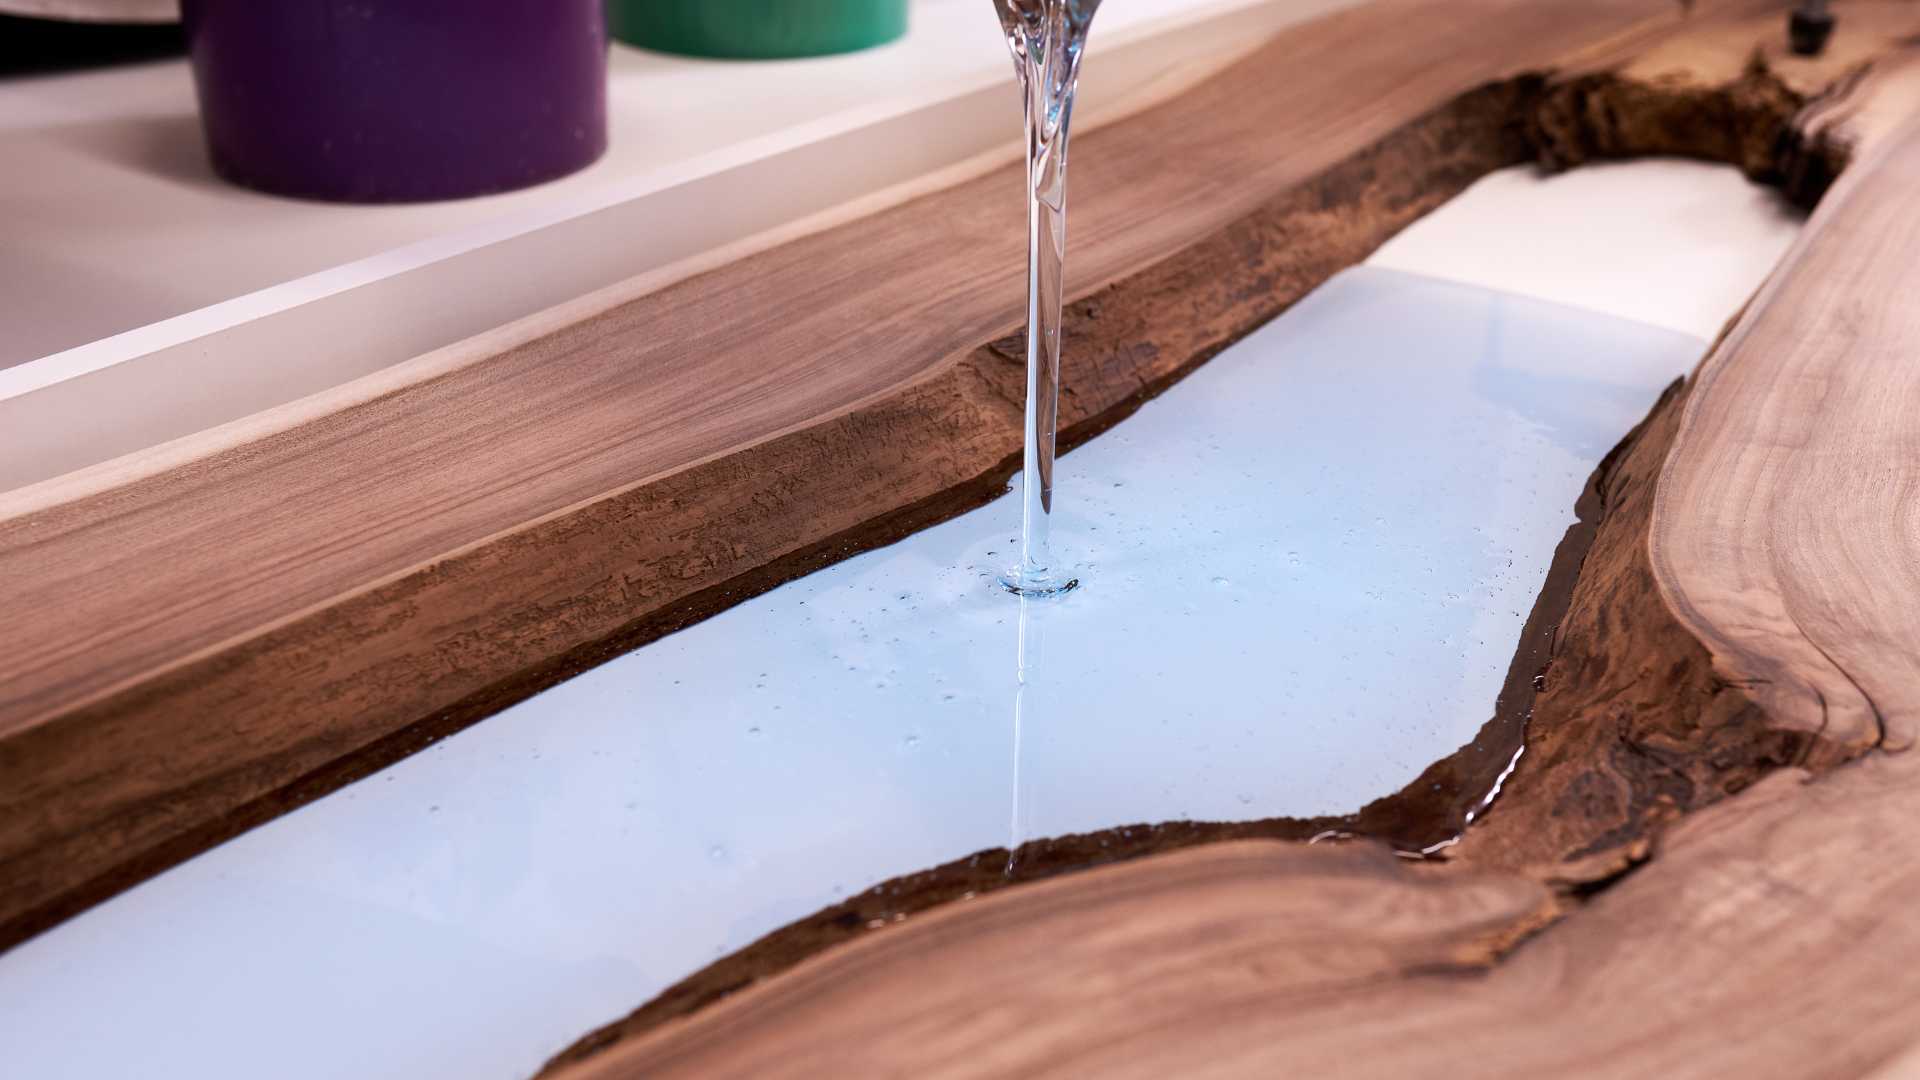
Some useful tips for pouring epoxy table legs
Credit: ©sandsun on Canva.com
Step 4: Let it Cure
Allow the epoxy resin to cure. The curing time can vary depending on the brand of epoxy resin you're using, but it typically takes at least 24 hours. Don't disturb the mold during this time.
Leave the epoxy liquid to cure for at least 24 hours
Credit: ©sandsun on Canva.com
Step 5: Remove from the Mold
Once the epoxy resin has fully cured, carefully remove the table legs from the silicone mold. The transparent legs should be clear and hard, but the surface might feel rough.

Take the epoxy table legs out of the molds
Credit: ©Neosiam on Canva.com
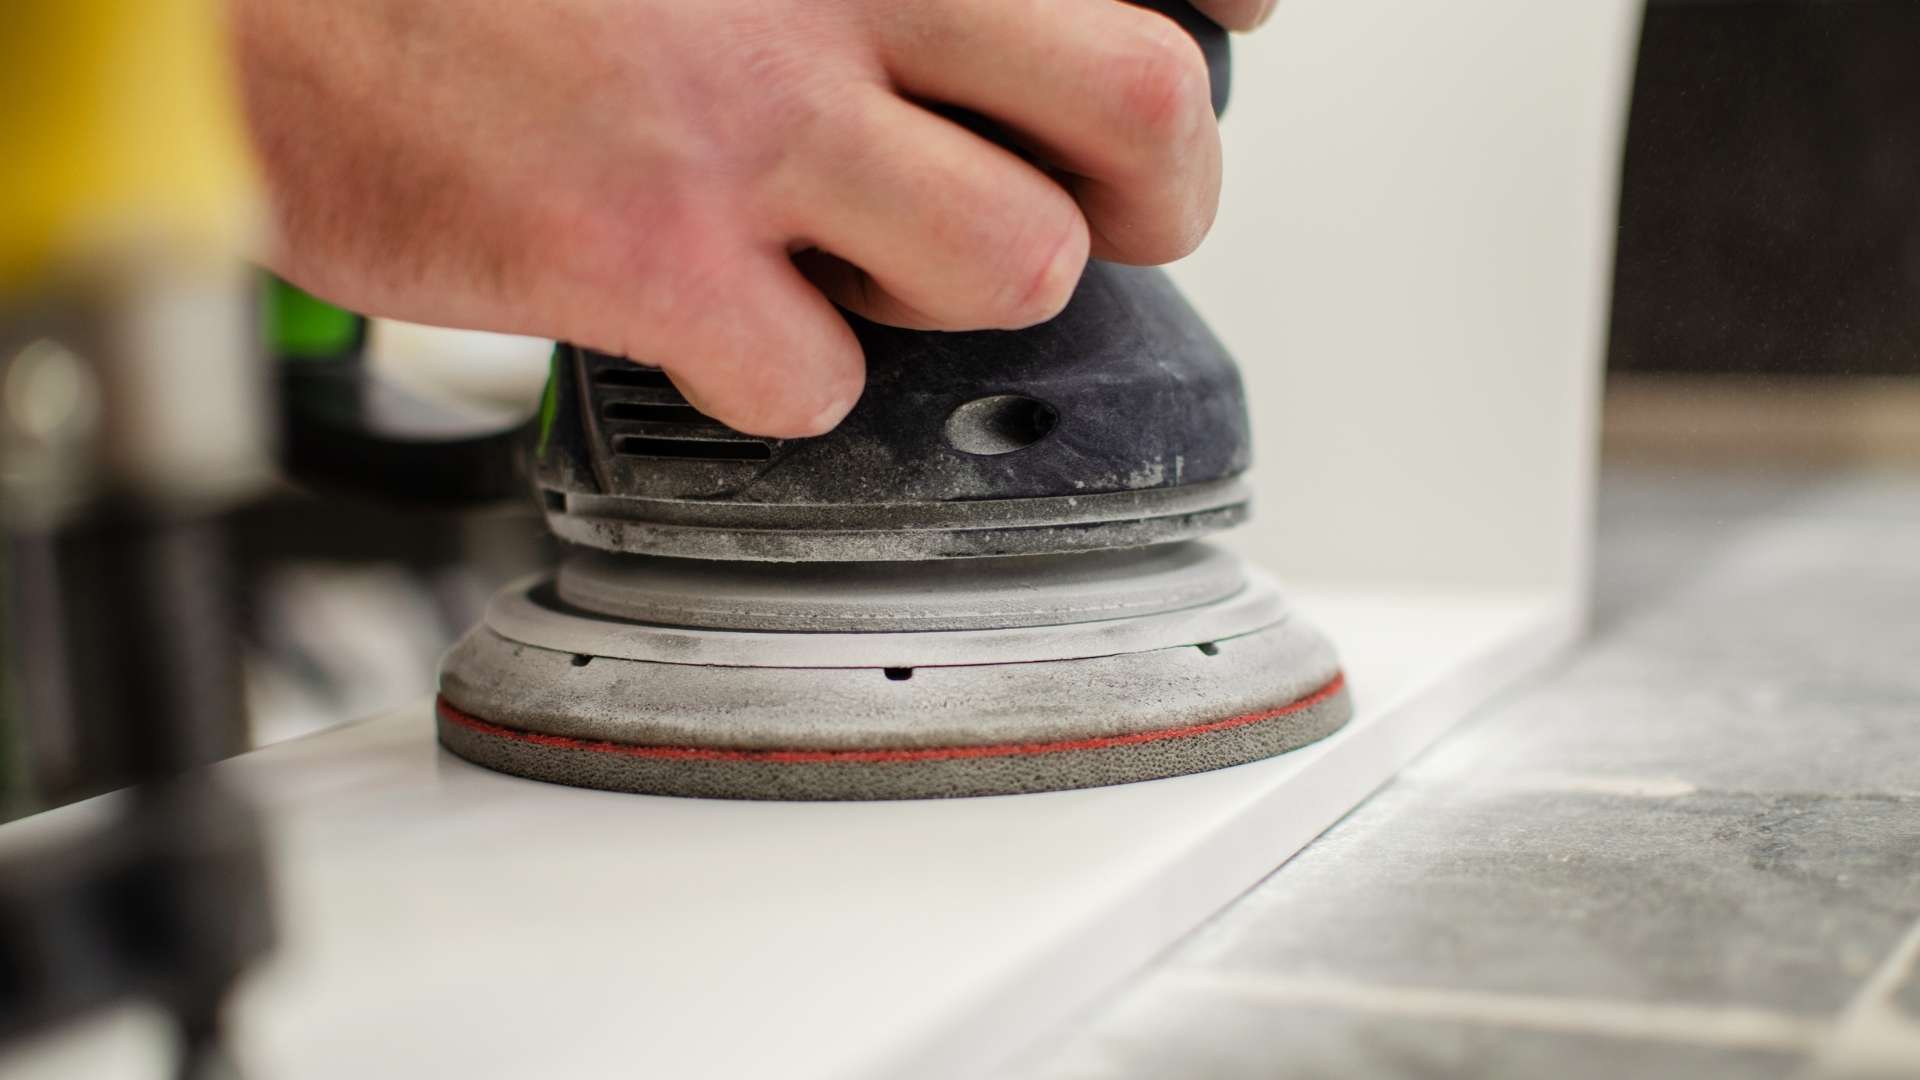
Step 6: Sand and Polish
Use sandpaper to smooth the surface of the table's transparent legs. Start with a lower grit sandpaper (60 grits) and gradually move to higher grits (220 grits) for a smoother finish. After sanding, apply a polishing compound to give the table leg a glossy, glass-like finish.
Sand the epoxy table legs for a smooth surface
Credit: ©Изображения пользователя SERSOL on Canva.com
Frequently Asked Questions (FAQ)
What Are Acrylic Table Legs?
Acrylic table legs are made from high-quality, strong, and clear acrylic. They are transparent, blending easily with any décor and giving a room a light, open feel. They don’t dominate the space but instead complement the room's design, making them great for smaller areas where heavy furniture can feel overwhelming.
In modern homes that focus on open spaces, natural light, and simple design, transparent legs fit perfectly. They can be used with many types of furniture, like coffee tables, dining tables, desks, and console tables, and bring a stylish yet subtle look to any room.
Are Epoxy Resin Table Legs Stable Enough to Support a Dining Tabletop?
Epoxy resin table legs can be stable enough to support a dining tabletop. The stability of the table depends on the design and construction of the legs. For instance, U-shaped legs that run the table’s length and are connected underneath can provide the necessary stability.
It’s also important to consider the hardware you use for your table. For example, non-slip feet can be adjusted to adapt to any uneven surface, which can enhance the stability of the table. If you prefer challenging yourself with a DIY project of making an epoxy table, we also have guidance from experts on how to make one!

The stability of epoxy resin table legs
Credit: ©Comeback Images on Canva.com
The quantity of epoxy required for creating crystal clear table legs
To calculate the amount of epoxy, you can use a simple volume calculation. You can simply multiply the length, depth, and average breadth of the pour and convert to liters. There are also online calculators available that can help you determine the exact amount of crystal you need based on your specific measurements.

There are online tools that can help us measure the appropriate epoxy resin quantity
Credit: ©BAKHROM on Canva.com
And there you have it! We hope this guide on how to make acrylic table legs will empower you to embark on your own DIY journey. With a blend of patience and precision, you can craft your own crystal-clear epoxy table legs. These unique pieces are sure to be a conversation starter in any home. We also eagerly await the unveiling your transparent epoxy table legs within our community. It's time for us to immerse ourselves in the world of DIY projects. Here’s to joyful crafting! Do not forget to share our tips and contact us via email at customerservice@flowyline.com for further support and special offers!