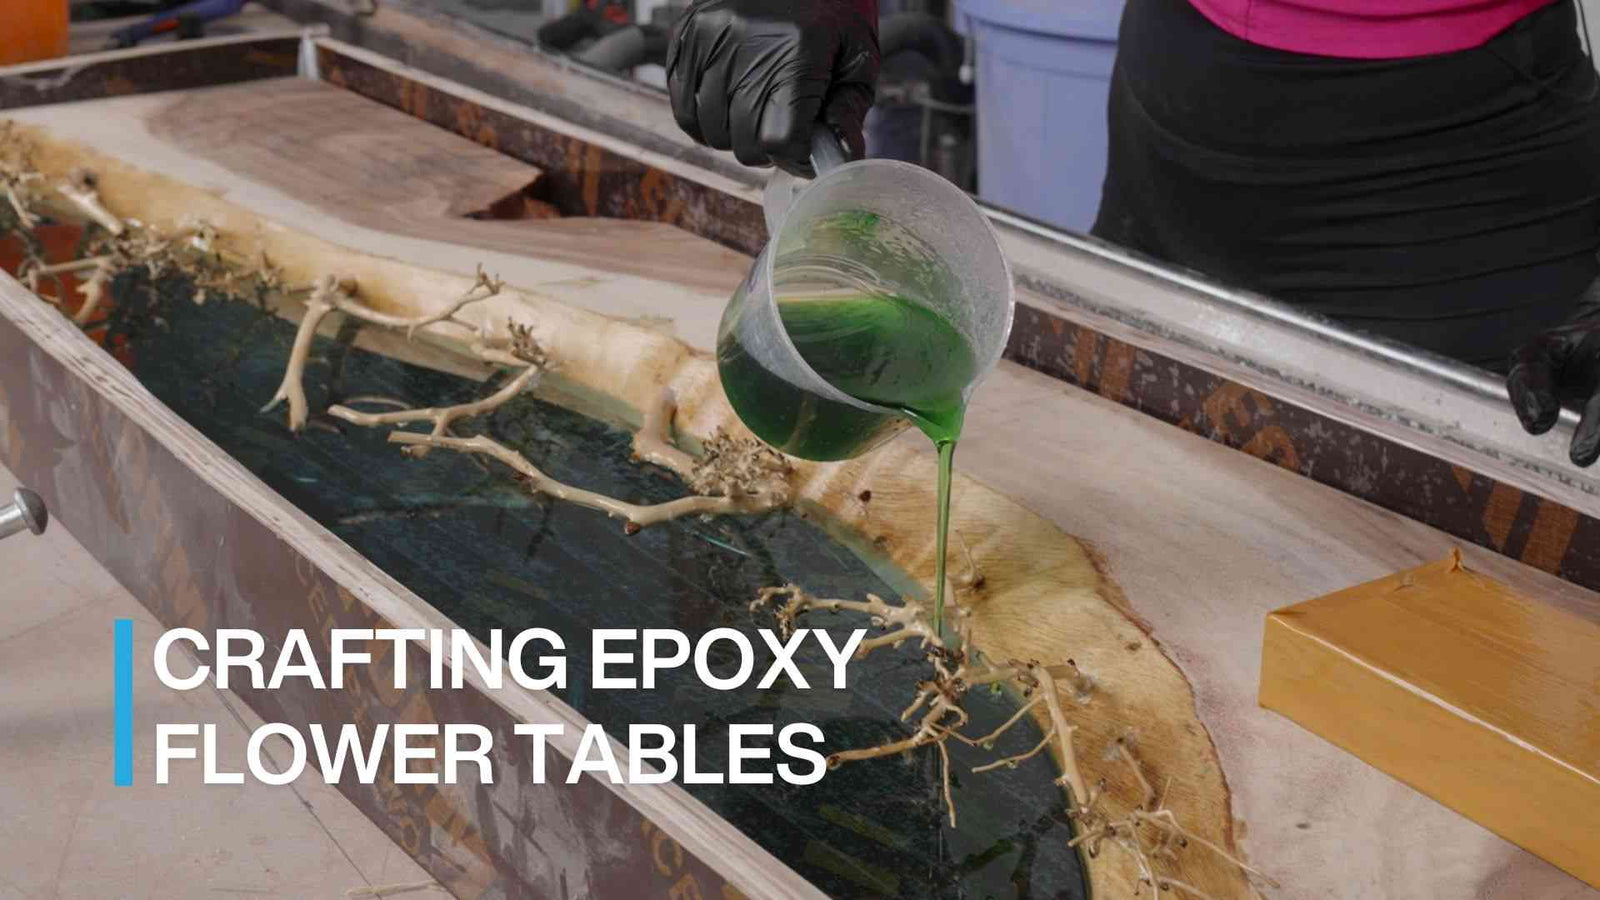
Creating a DIY epoxy tabletop with real flowers is a unique and creative way to add a touch of nature to your home decor. This project is more than just a visual treat; it’s an engaging and gratifying DIY journey that lets you create something truly unique. However, there will be hurdles along the way - the pesky bubbles, the rebellious floating flowers during the epoxy pour - but fear not! Flowyline’s blog is your trusty companion in this creative endeavor. We will provide a comprehensive, step-by-step guide to help you navigate through these challenges and craft your very own creative masterpiece. Let’s embark on this exciting DIY adventure together!
Materials Needed
- A wooden table or a wooden board
- Epoxy resin and hardener
- Real flowers
- Sealant spray
- Sandpaper
- Gloves
- Mixing cups and sticks
- Heat gun or torch
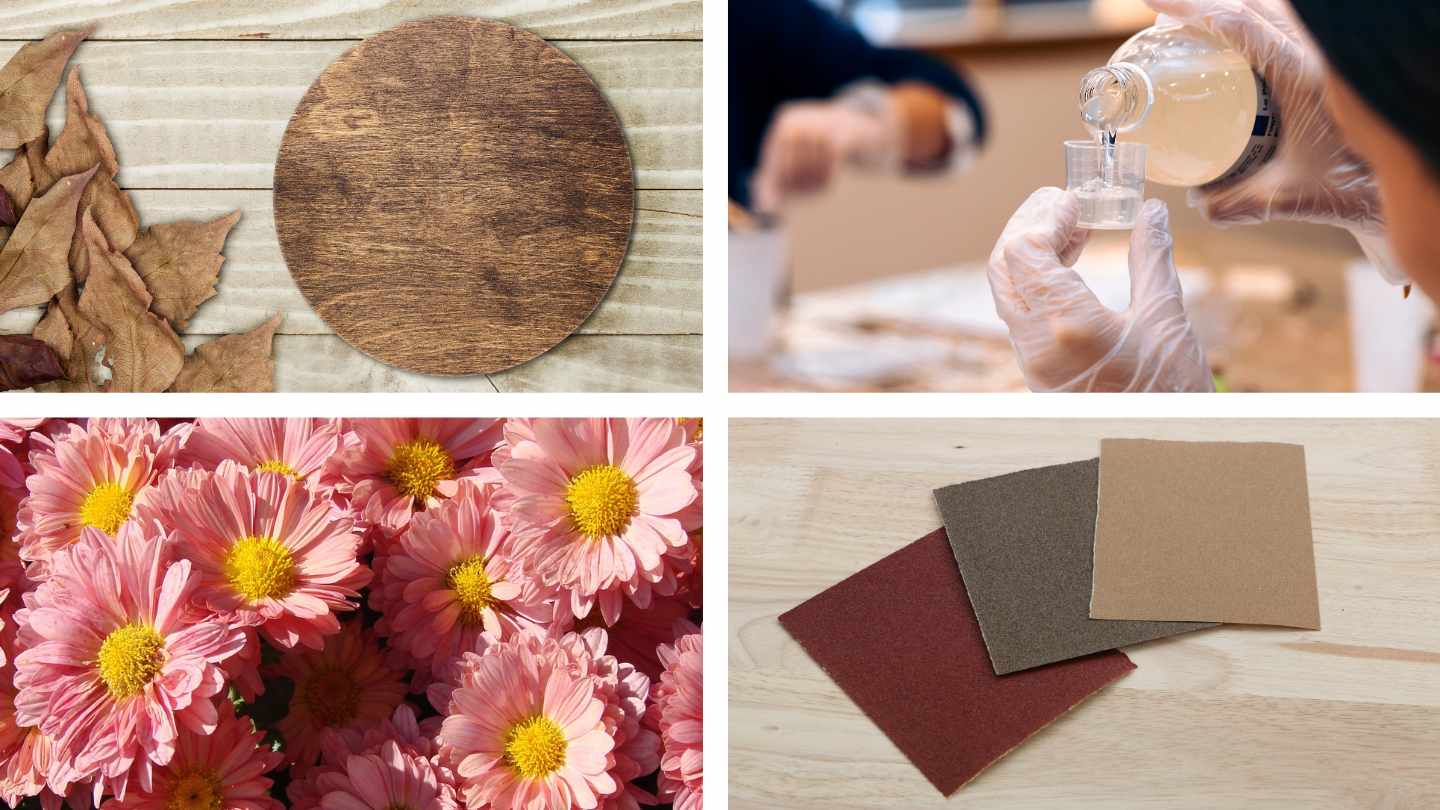
Required materials to make flower tables with epoxy resin
Credit: ©orbten studio; Alfonso Soler; PublicDomainPictures; AMLBox on Canva.com
Detailed Guideline
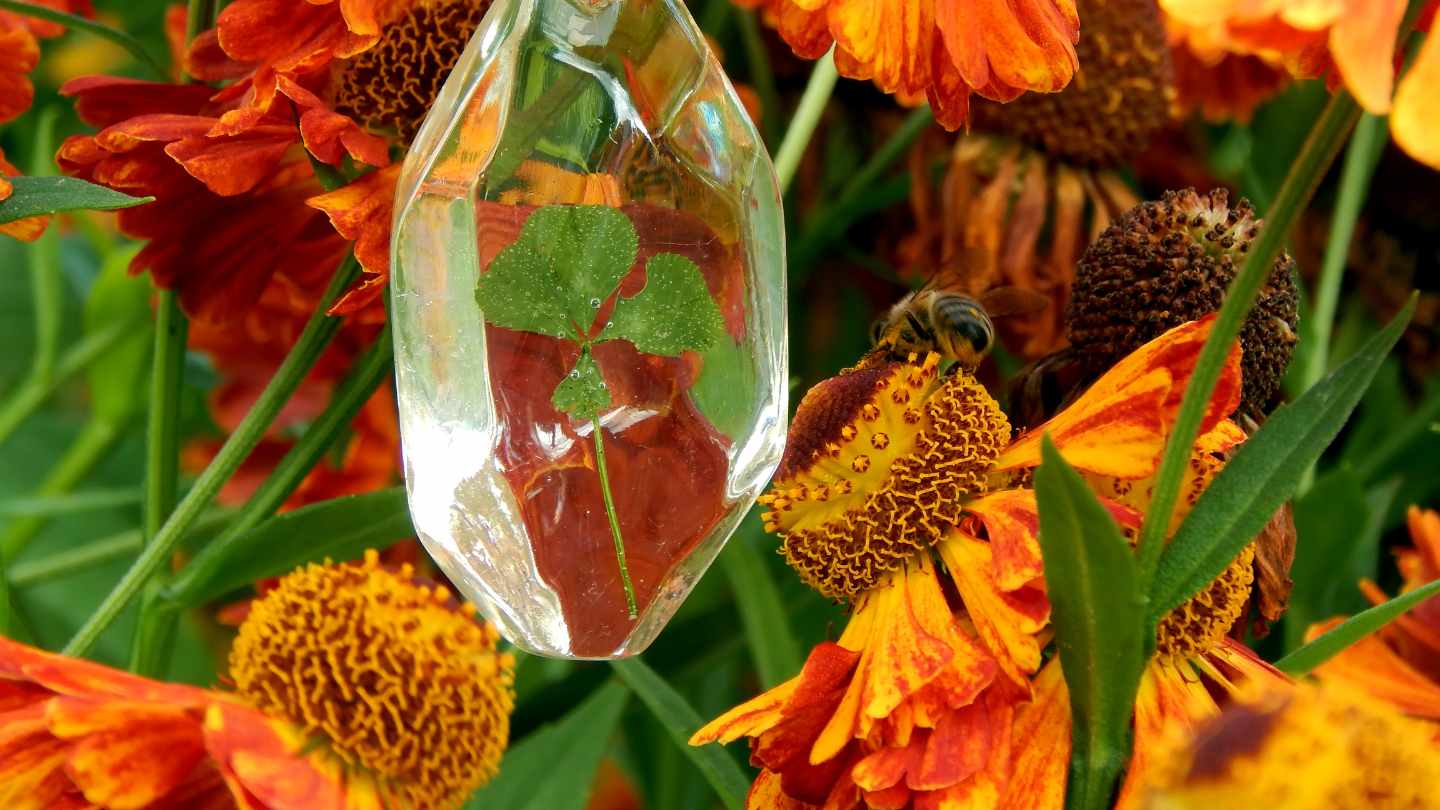
Step 1: Prepare Your flowers
First, you'll need to dry and press your flowers. This can take up to two weeks, so plan accordingly. Once your flowers are dry, spray them with a sealant to preserve their color and prevent the epoxy from soaking into them.

Dry your favorite species of flowers
Credit: ©Qwirki & Co. on Canva.com
Step 2: Prepare your table's surface
Gently sand your table or board, smoothing away any rough patches and removing any remnants of a previous finish. Ensure it’s impeccably clean and thoroughly dry before you embark on the epoxy adventure.
Consider enhancing the natural beauty of the wood with a stain, creating a rich, dark canvas for your floral artistry. This technique allows you to create a striking contrast, as light-colored flowers dance on the dark table, crafting an eye-catching centerpiece that is sure to captivate and charm.
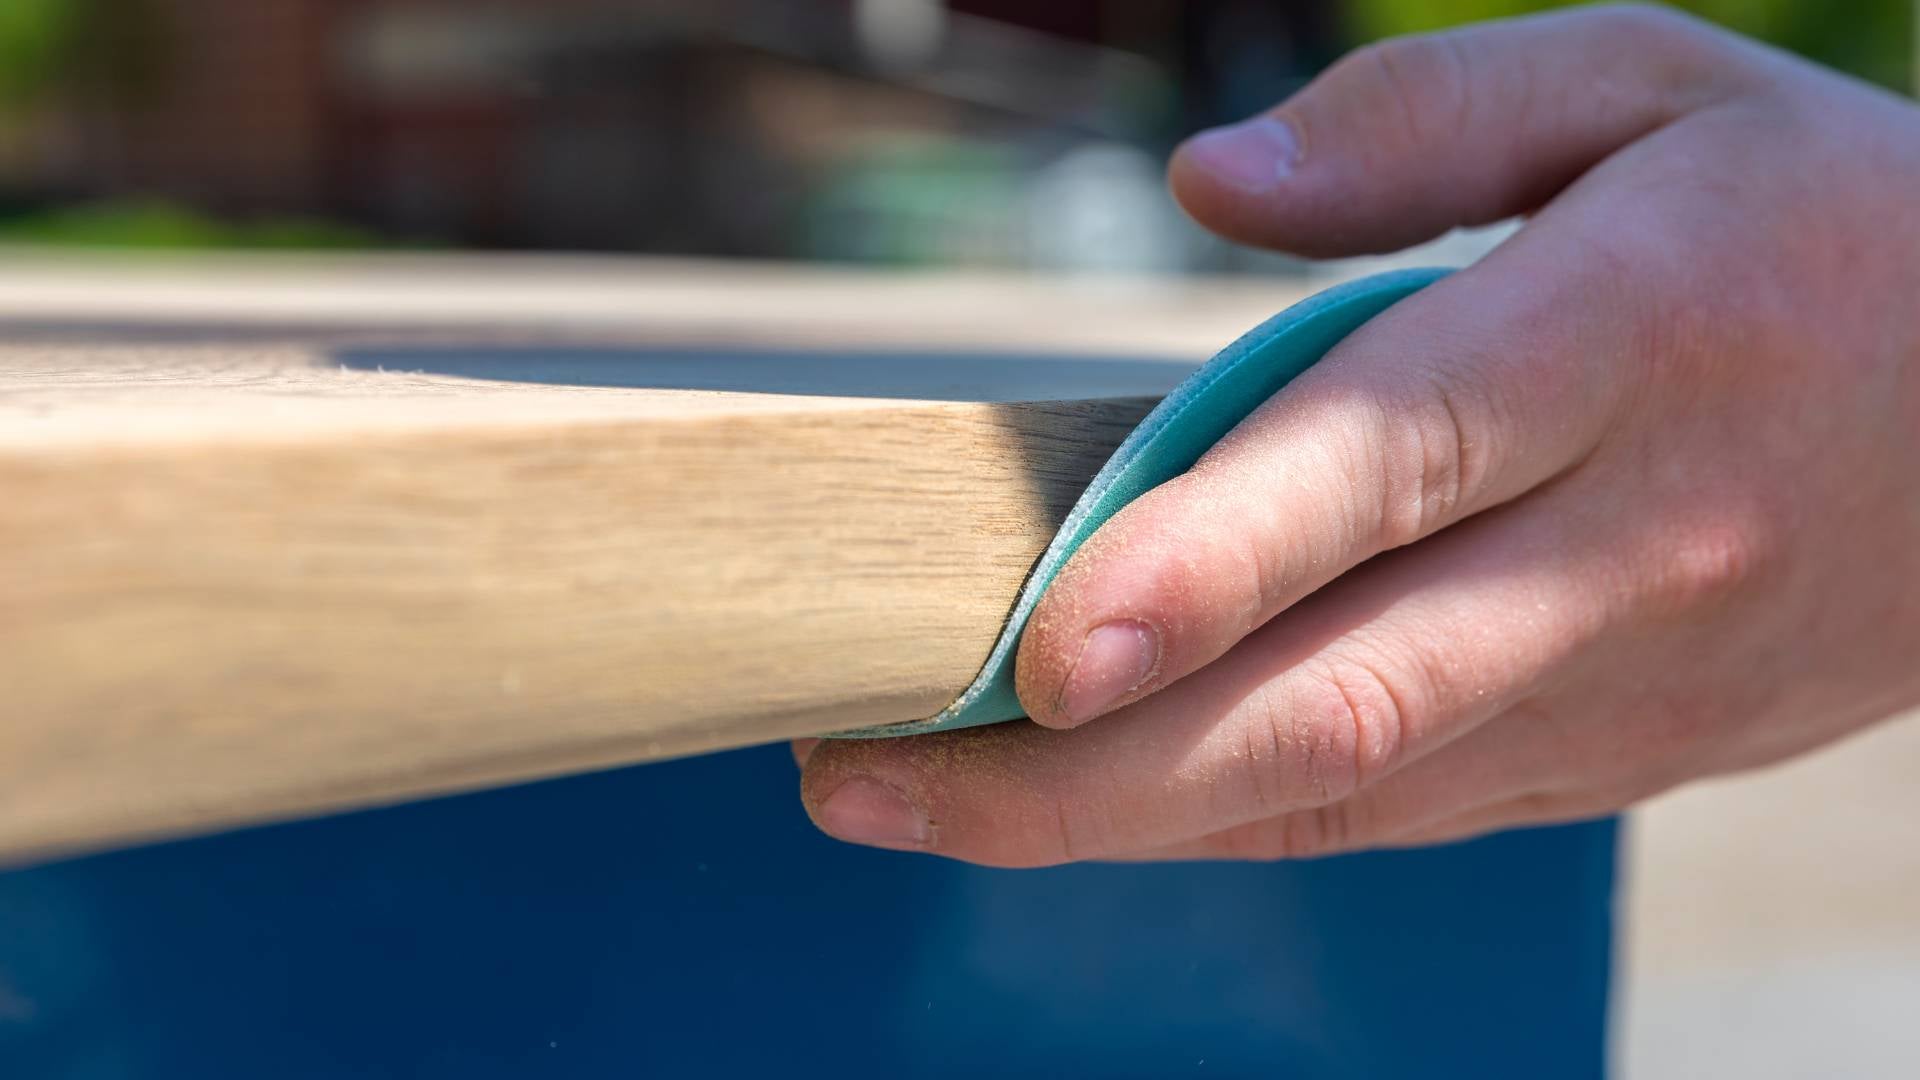
Sand and clean the wood's surface
Credit: ©Изображения пользователя SERSOL on Canva.com
Step 3: Arrange your flowers
Arrange your flowers on the table in a pattern that you like. You can also intersperse some fern leaves and individual petals for an added layer of depth and intrigue, enhancing the overall aesthetic of your tabletop. Remember, this is your canvas and you are the artist. There are no rules, only the boundless limits of your imagination.

Place the dried flowers on your tabletop's surface
Credit: ©dreamyskylove on Canva.com
Step 4: Mix and pour your epoxy
Following the instructions on your epoxy resin, mix the resin and hardener in a mixing cup. The secret to crafting a stunning floral epoxy tabletop without the hassle of floating flowers lies in the art of pouring numerous slender layers of epoxy over your table and flowers.
Employ a stick as your tool of choice to guide the epoxy, ensuring it graces every inch of the surface. If you’re aiming for a deep epoxy pour, feel free to create a mold. Alternatively, you can let the epoxy take its own course, allowing it to flow and naturally cascade down the sides.
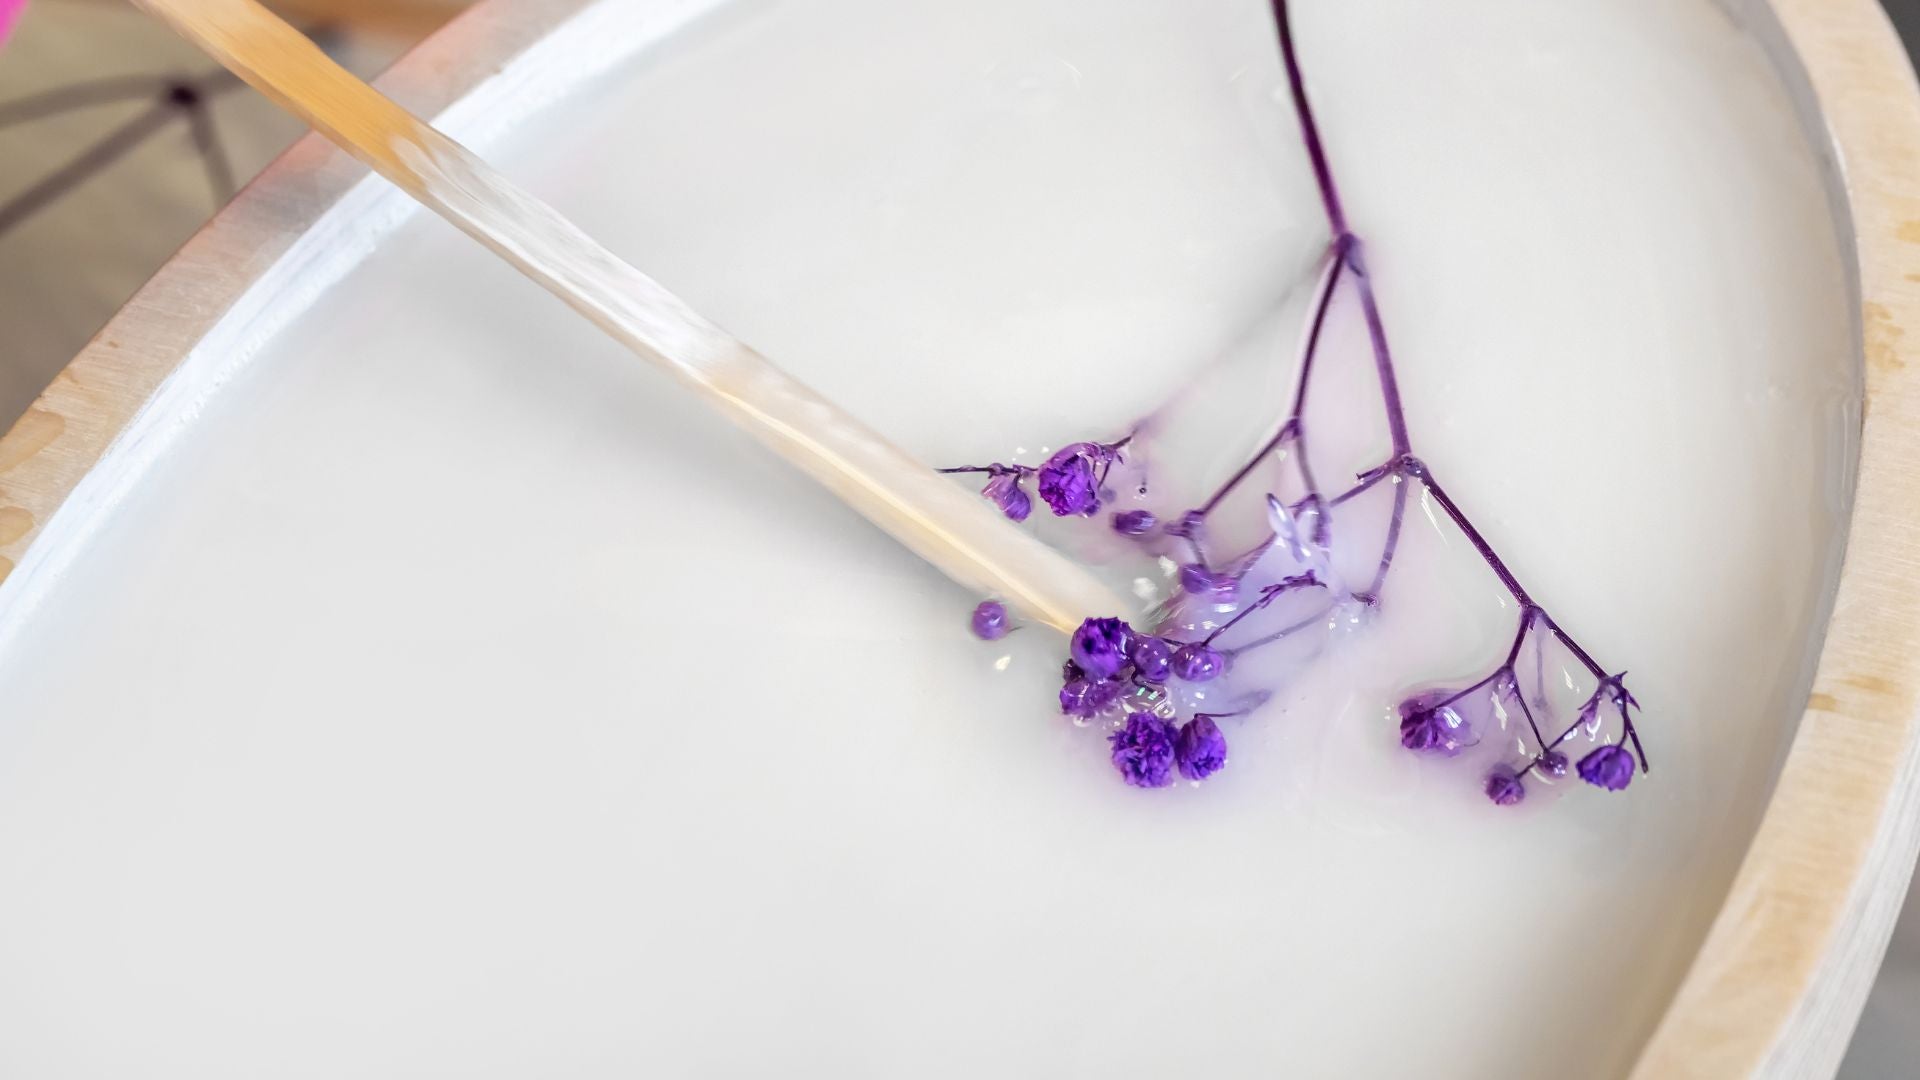
Pour thin layers of epoxy to prevent floating flowers
Credit: ©Stanislav Sablin on Canva.com
Step 5: Remove air bubbles
Use a heat gun or torch to remove any air bubbles that form in the epoxy. Be careful not to overheat the epoxy as it can cause it to yellow or crack.
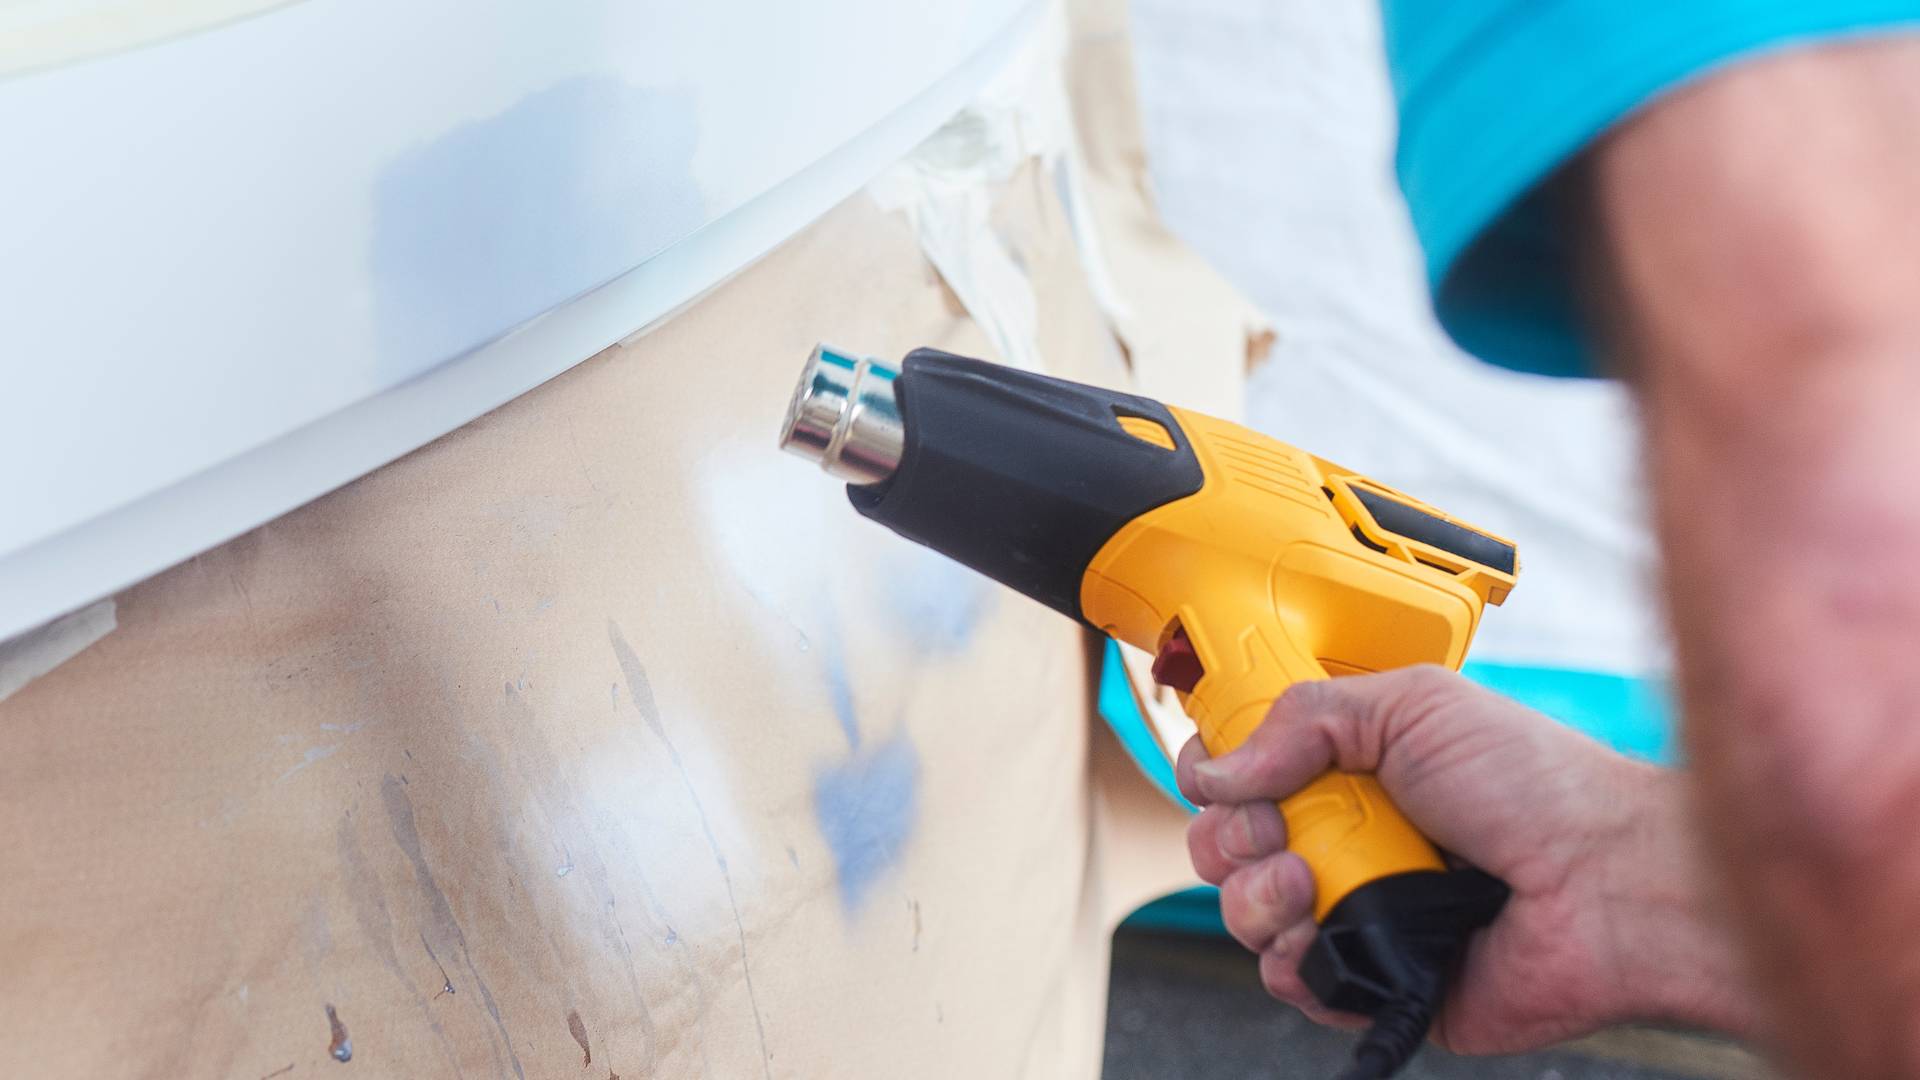
Use a heat gun to remove the air bubbles
Credit: ©MartinPrescott on Canva.com
Step 6: Let it cure
Let your table cure for the amount of time specified on your epoxy resin. This can take anywhere from 24 hours to several days.

Let the epoxy cure for at least 24 hours
Credit: Flowyline Design
Related product:
Step 7: Sand and seal
Once your epoxy is fully cured, sand the surface to remove any imperfections. Wipe it clean, then apply a sealant to protect your table and give it a glossy finish.
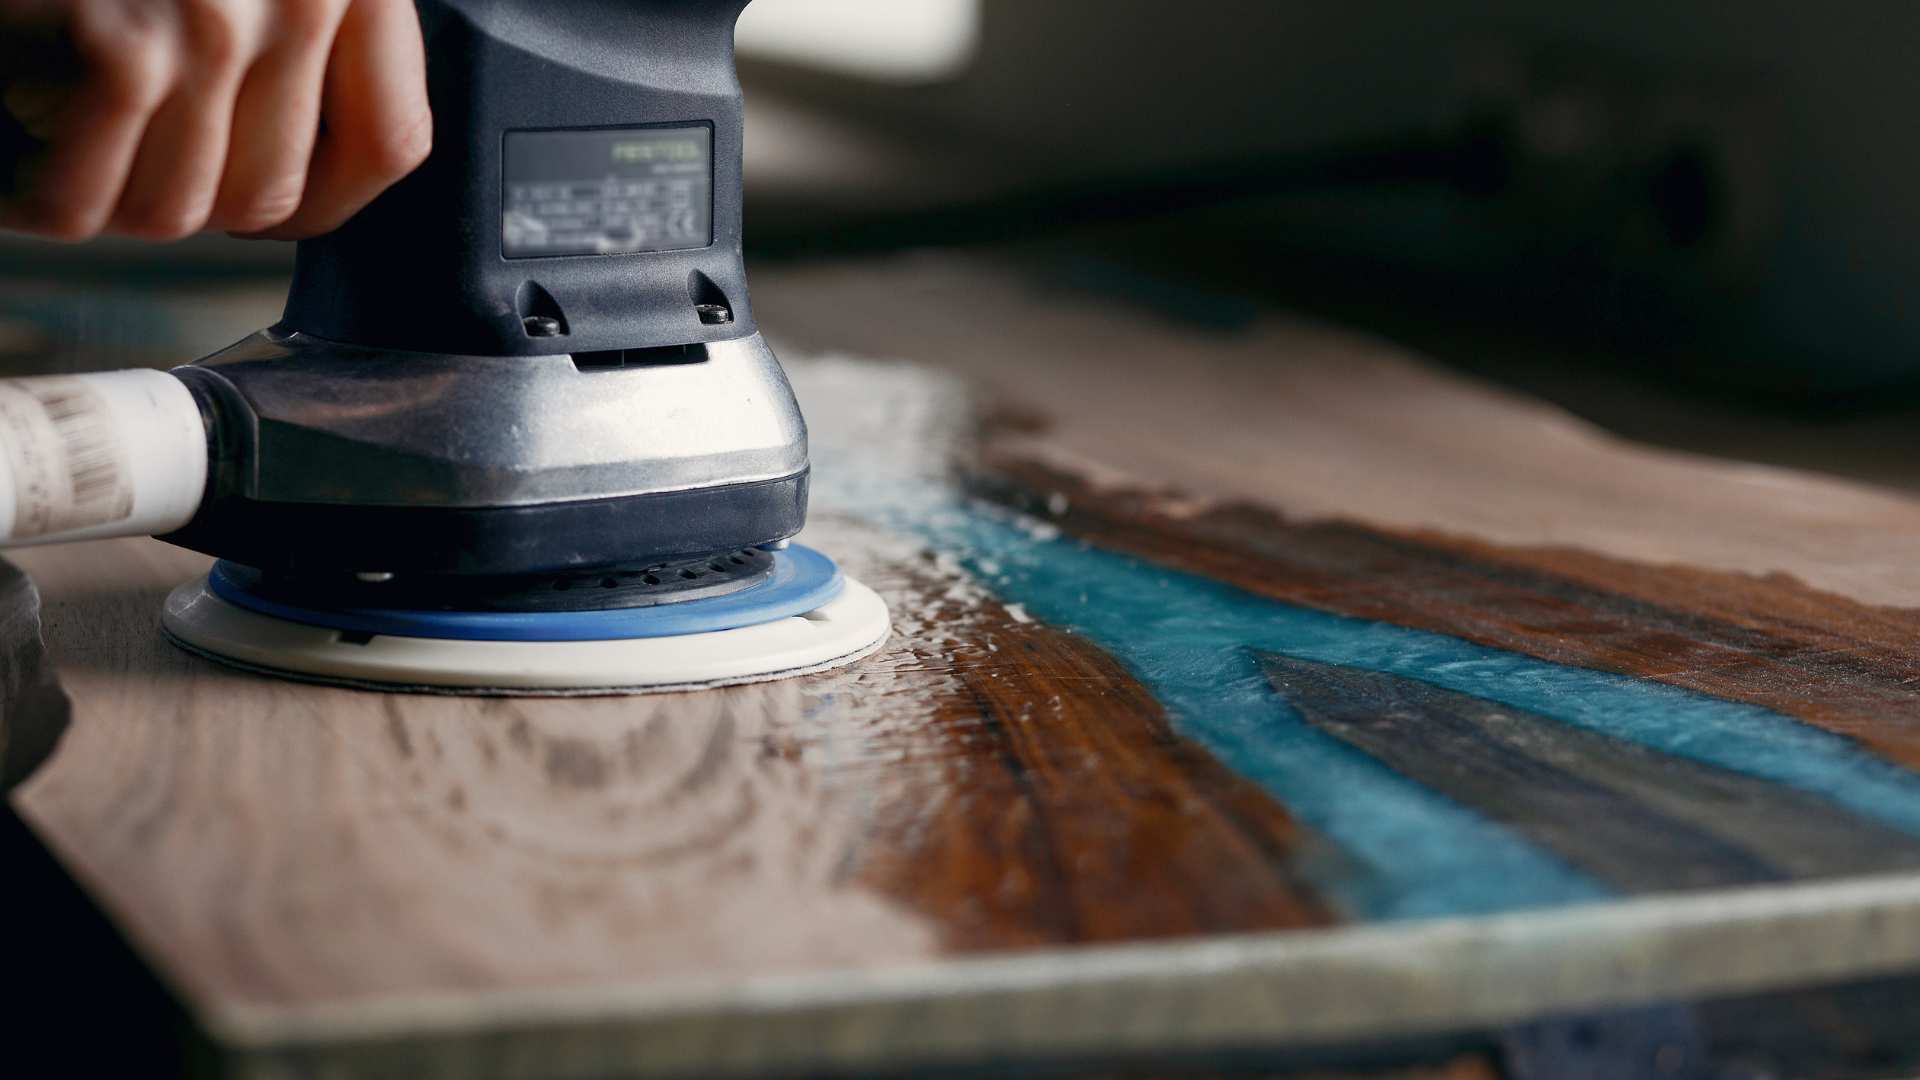
Sand and seal the tabletop for a smooth and polished finish
Credit: ©Helgy on Canva.com
Frequently Asked Questions (FAQ)
What is the best epoxy resin for flowers?
Choosing the best epoxy resin for flowers depends on what you're planning to make with the flowers. Here are some key points to consider:
- Casting resin: If you're using flowers in a mold, you need to fill it with casting resin. These resins mix in a thin consistency, allowing them to release bubbles quickly.
- Doming resin: If your flowers only need a coating of resin, you want to use a doming resin. This resin formula mixes thick, like syrup, and gives an even, glossy coating.
Remember, for high-quality epoxy flowers, you need high-quality resin. Look for a clear, non-yellowing epoxy resin that's specifically designed for crafting. It's also important to note that flowers trap bubbles between petals that release once they're soaked with resin. You want bubbles to come to the resin surface easily so you can remove them.
Finding the best types of epoxy for flower tables
Credit: ©kimbelij on Canva.com
How Do You Prepare Real Flowers For Resin?
To prepare real flowers for resin, you need to take the following steps:
- Dry the flowers: Flowers should be completely dried before embedding in resin to prevent them from rotting or going moldy.
- Seal the flowers: Dried flowers can be coated with white craft glue, hairspray, resin spray, quick-drying gloss spray, or sandwiched inside clear packing tape or a laminating pouch.
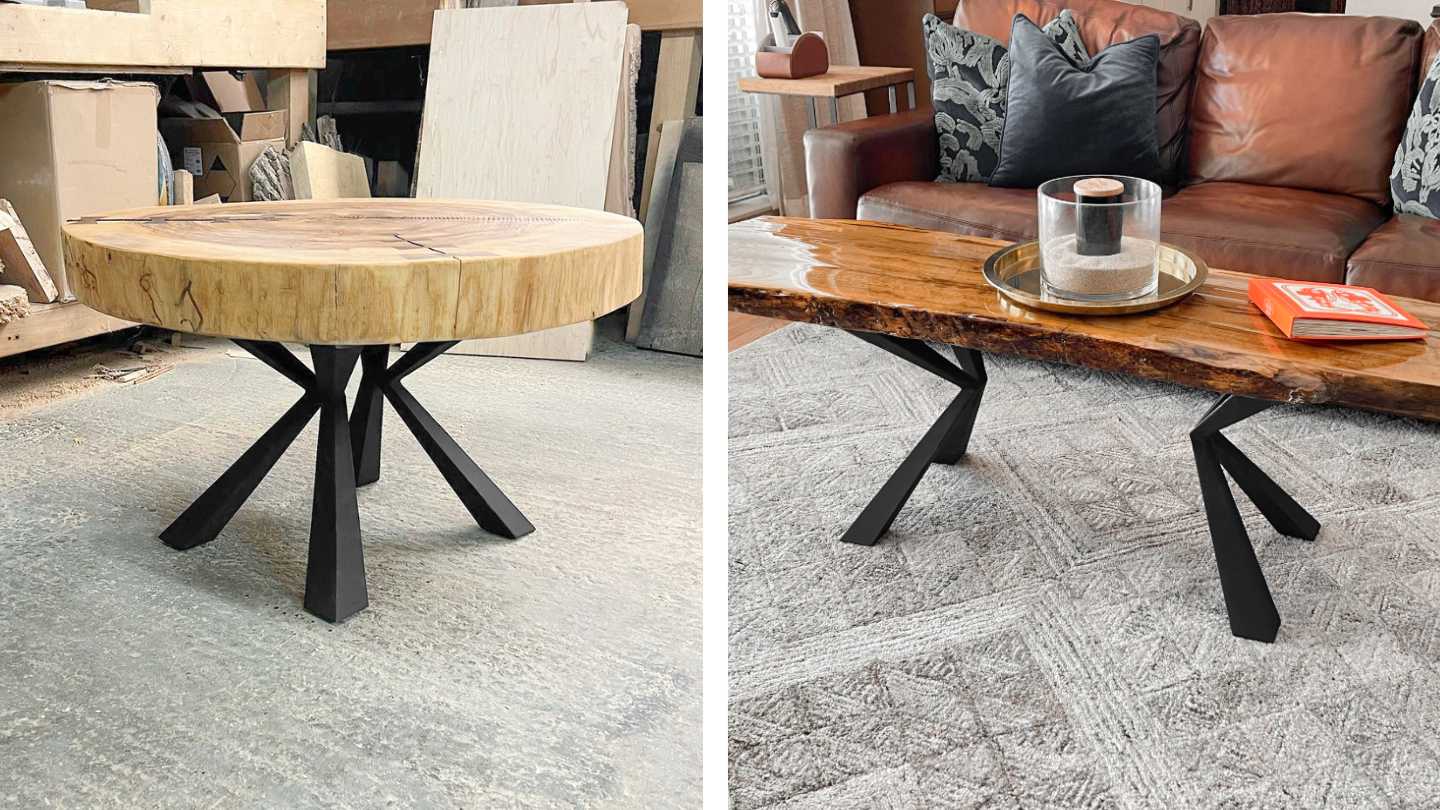
Which Are the Best Base Designs for Flower Coffee/ End Tables?
Selecting the appropriate legs and base is a vital step in crafting an eye-catching centerpiece for your living area. Among the various types of tables, coffee or end table legs are particularly popular. Their compact design and versatility allow them to be positioned in numerous locations, thereby not only enhancing the aesthetic appeal of our homes but also providing additional storage space. This dual functionality makes them an excellent choice for any home decor project.
- Kheops table legs design: Owing to their distinctive shape, metal table legs are versatile and can complement both rectangular and round tabletop designs. They are an excellent choice for those aiming to achieve a contemporary yet minimalist aesthetic in their room decor.
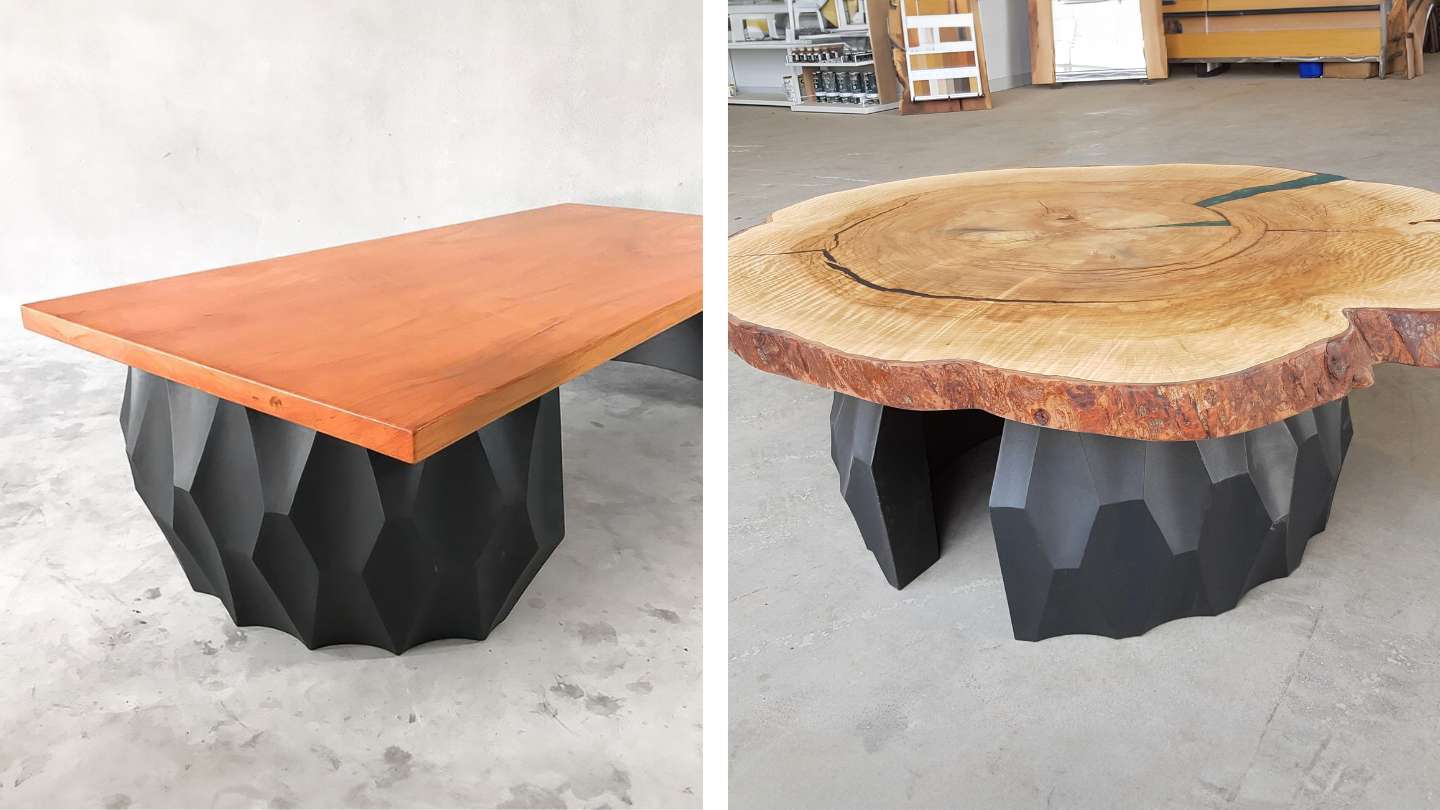
- Namu table base design: The unique design of the Namu base allows it to integrate effortlessly with your floral patterns, resulting in an unparalleled harmony that enhances the overall aesthetic appeal. This seamless blend creates a visually pleasing look like never before.
- Alva table base design: Contrasting with the delicate nature of flowers, this table base boasts a sturdy design. This feature serves as the ideal counterpoint to accentuate the elegance and delicacy of the petals. The unique style of this table base infuses a distinctive ambiance into your coffee nook, crafting a welcoming and inviting space.
Bench Legs 125 Kheops 16H Modern Metal Furniture
Credit: Flowyline Design
Related products:

Coffee Table Legs 106 Namu (Small Size) Modern Furniture
Credit: Flowyline Design
Related product:
Coffee Table Base 201 Alva 16H Minimalist Style Furniture
Credit: Flowyline Design
Related product:
Voila! You’ve just crafted your very own DIY epoxy tabletop, resplendent with real flowers. This isn’t just a piece of furniture; it’s a testament to your creativity, a conversation starter, and a stunning addition to your home decor.
This beautiful DIY epoxy tabletop with real flowers is more than just a functional piece; it’s a symbol of your personal style, taste, and the pride that comes from creating something truly unique. So, why wait? Dive into the world of DIY and let your creativity bloom with vibrant, charming flowers. Here’s to the joy of crafting and the thrill of creation.
