
Talk to anyone who's tried to make a thick butcher block table for the first time, and you'll hear the same story. They bought the wood, got excited, skipped a few prep steps, and finished with a glued slab that cupped, cracked, or just looked nothing like what they had in mind.
Understanding that, Flowyline put this butcher block table DIY guide together. The truth is, a thick butcher block table is one of the most rewarding things you can build with your hands. It has real weight, real presence. The kind of table that gets passed down, not thrown out. And when it's done right, it gets better looking every single year it's used.
Follow us, and you'll have something you're genuinely proud of.
What is a Butcher Block Table?
A butcher block table is a wood surface made by gluing together strips or blocks of hardwood. But what comes out the other side is something far more interesting than that description suggests.
The result is a dense, layered top that's more stable, more durable, and more visually alive than any single solid plank could ever be. Every glue line, every grain shift, every stripe of color tells you exactly how it was made. And that's part of what makes it beautiful.
 A butcher block table is a thick top made from hardwood strips bonded together
Credit: Flowyline
Shop now: Furniture Legs 507 Yami 28.2" H for Modern Dining Tabletop
There are two main butcher block table construction styles:
- Edge grain: People place these boards on their edges and glue them side by side, which creates the classic striped look you've probably seen on butcher block countertops and kitchen islands. It's strong, stable, and a great starting point for a DIY butcher block table.
- End grain: The wood pieces are oriented so the cut end faces up, like a cross-section of a log. This is exactly how the old commercial butcher shop blocks were made. End grain is self-healing with knife cuts, extremely hard-wearing, and visually unlike anything else in a kitchen.
 Butcher block edge grain vs end grain difference
Photo: YouTube | Water's Edge Woods
Honest take: If this is your first build, choose edge grain. If you want a thick, serious statement piece that could outlast everyone in your household, end-grain is worth every extra hour you put into it.
How Thick Should a Butcher Block Table Top Be?
Butcher block table thickness is one of those things that changes the entire feel of a butcher block table. And it's also one of the most common questions we get.
So here's the Flowyline’s honest answer: it depends on how you're using it.
Here's a simple breakdown:
- 1.5 to 2.5 inches is where most kitchen tables and dining tables land. It's substantial enough to look and feel like a real piece of furniture, holds up well to daily use, and isn't so heavy that you're miserable during the build.
- 3 inches or more is another good choice if you want something that looks like it was pulled out of a 19th-century butcher shop. This is the range you're aiming for.
- 2.5 inches is the minimum for true end-grain construction. And if you look at antique commercial blocks, many ran 5 inches thick or more. That wasn't accidental. Butchers needed a surface they could resurface over and over across an entire career. The thickness was the lifespan.

Butcher block table is commonly between 1.5 to 3 inches thick
Photo: Flowyline
From our perspective, with a DIY butcher block table going into a kitchen or dining room, somewhere between 2 and 3 inches is the ideal thickness
Needed Materials to Make a Butcher Block Table
- Wood Strips or Blocks: Both shapes of wood have their beauty and finished look. This depends on your taste. The size and quantity of the wood will depend on the desired dimensions of your table. For example, if your table size is 26" high and 30" x 30", you will need seven 1" x 2" x 8" strips boards.
- Wood Glue: The glue should be high quality and waterproof, as well as able to resist moisture and heat. For example, Titebond wood glue is a good choice.
- Clamps: You'll need 3 to 6 or more clamps to keep the wood pieces in place while waiting for the glue to dry. Depending on your table size and shape, you can use pipe clamps, bar clamps, or C-clamps.
- Saw: You will need a saw to cut the wood. Depending on your skill and preference, you can choose a table saw, a circular saw, a milter saw or a hand saw.
- Planer: You can use a power planer, a hand planer or a jointer to smoothen the surface of your butcher block table.
- Sander: You can use a belt sander to sand and polish the surface. Besides, you also need different grits of sandpaper to smoothen the finish.
- Finish: You can choose oil, wax, varnish, or polyurethane to make a finish coat for your butcher block table DIY.
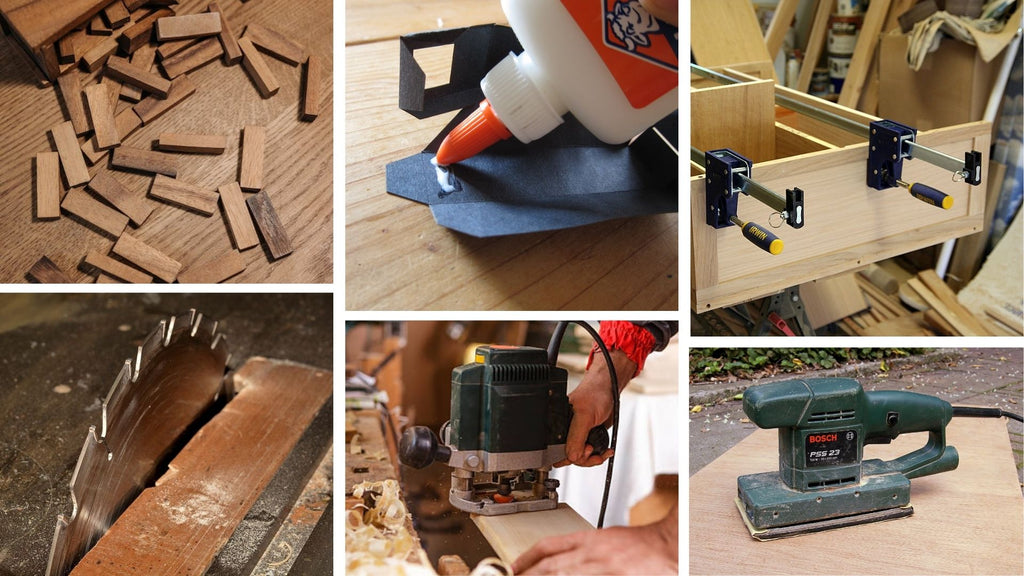
Required items to assemble a thick butcher block tabletop
Step 1: Cut the Raw Wood Boards into Strips
Using a saw, cut the wood pieces to the needed length and width. The most important part is just to make sure cuts are straight and accurate. This will ensure sides of the boards will be square. A tip for you is that you can use a tape measure and a pen to mark the lines before cutting. If you want to do this step more easily, you can use a crosscut sled or a miter gauge.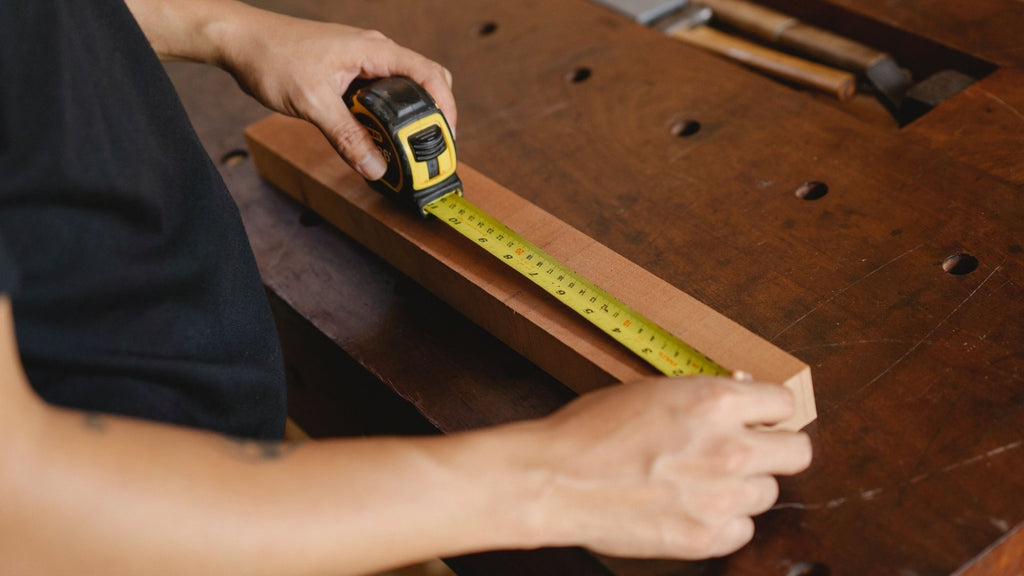
Trim the wood pieces to the required width and length
Credit: Ono Kosuki
Step 2: Arrange the Wood Pieces by Using Clamps
Arrange the wood pieces on a flat surface to see how well the wood blocks or strips blend. This will help you to measure the wood pieces more accurately and adjust the details before starting to glue them all together.
 Lay down the wood pieces on a level surface
Credit: DLKR
Step 3: Glue the Wood Pieces Together
After arranging the wood pieces, you can use three clams and start gluing. This process is simple, yet time consuming, just glue a few pieces, clamp, and then wait, repeat that until finished. You need to make sure that the glue is spread evenly on the surface. After having glued each piece on top of another, the table will be really heavy. Therefore, in case you need to move your DIY butcher block table, you’ll want to have a friend close by to support you.
 To connect the wooden blocks, use wood glue
Credit: ©GeorgiNutsov on Canva.com
Step 4: Plane to Smooth Down the Wood Surface
Before planning the surface, check your planer if it is sharp and adjusted properly. Then, feed the wood slowly and steadily to smooth down the tabletop’s surface. This will help us to prevent snipes and tearouts.
If you notice any glue that was squeezed, just use a chisel or a knife to remove them. This will depend on the thickness and flatness of your tabletop.
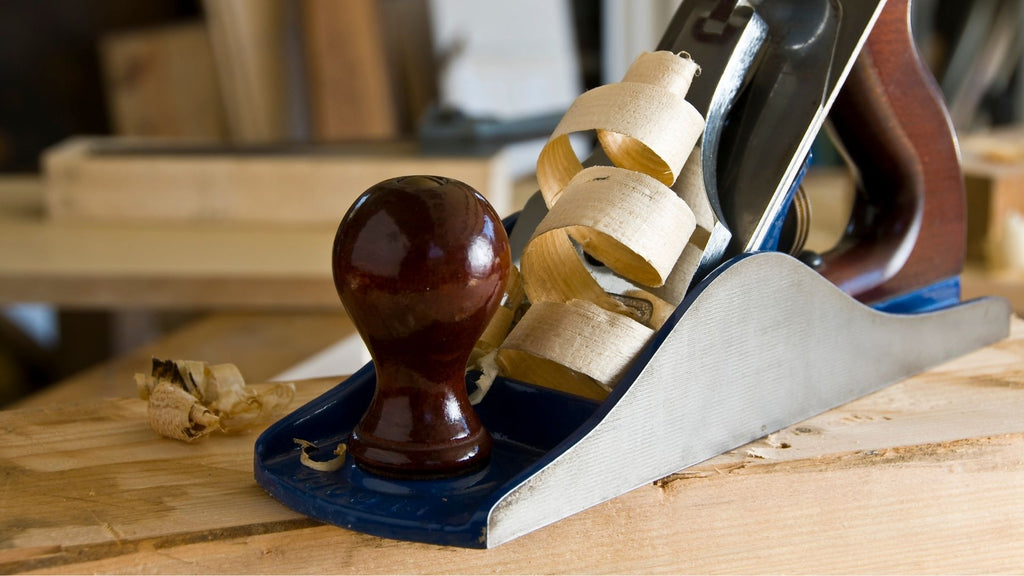 Don't forget to ensure that the planer is correctly calibrated
Credit: ©RCgrafix on Canva.com
Step 5: Sand the Table Top
After removing excess glue, you can start with 80 - 100 grit sandpaper to sand the surface, and then work your way up to 220 - 320 grits. Do not forget to follow the grain’s direction. Then, if the tabletop is not flat, you can use a belt sander to flatten the surface. However, make sure that you won’t leave any scratches on your DIY butcher block table top.
Later, you can use a vacuum or a tack cloth to clean the surface. For a better finish, we recommend using a hand-sanding block or a sanding sponge to sand the edges and corners of your butcher block tabletop.
 Begin with 80–100 grits of coarse sandpaper
Credit: ©slobo on Canva.com
Step 6: Apply the Finish Coats
After the table is sanded, all you need to do is cover the whole thing in several coats of polyurethane or other finish types. You can use a brush, a rag, a roller, or a spray to apply the finish. Between each coat, you may also need to do a light hand sanding to keep the surface smooth.
It may take several hours or days for the finish coat to dry. Make sure your finish coat cures completely before starting to use it.
 Before utilizing your butcher block table, make sure it has completely cured
Credit: ©KevinDyer on Canva.com
You may find the below video helpful. It provides the full instruction with specific steps:
This is also the final step in the guideline on how to make a butcher block table. You can now enjoy the result and use it for various purposes. Adding legs to the tabletop is the most common choice.
The next part will recommend unique and elegant metal table legs and base designs that can elevate the natural beauty of your butcher block artwork.
Should read: How to Attach Metal Legs To A Wood Table? An Easy Guide
Step 7: Attaching the Table Legs
 Metal legs can elevate the natural beauty of your butcher block artwork
Credit: Flowyline
Shop now: 307 Tulipe Metal Table Base
You can glue the legs at the same time as the tabletop to save time if you have enough clamps. After cutting the wood pieces to a length you desire, the legs will be then glued together at a 90-degree angle.
To attach the legs to the table, you need to screw a corner brace onto the top. Besides, adding metal legs to your butcher block table plans is also a common choice. We will walk you through the world of metal legs and other base designs in the next part.
Metal Leg and Base Design for DIY Butcher Block Table
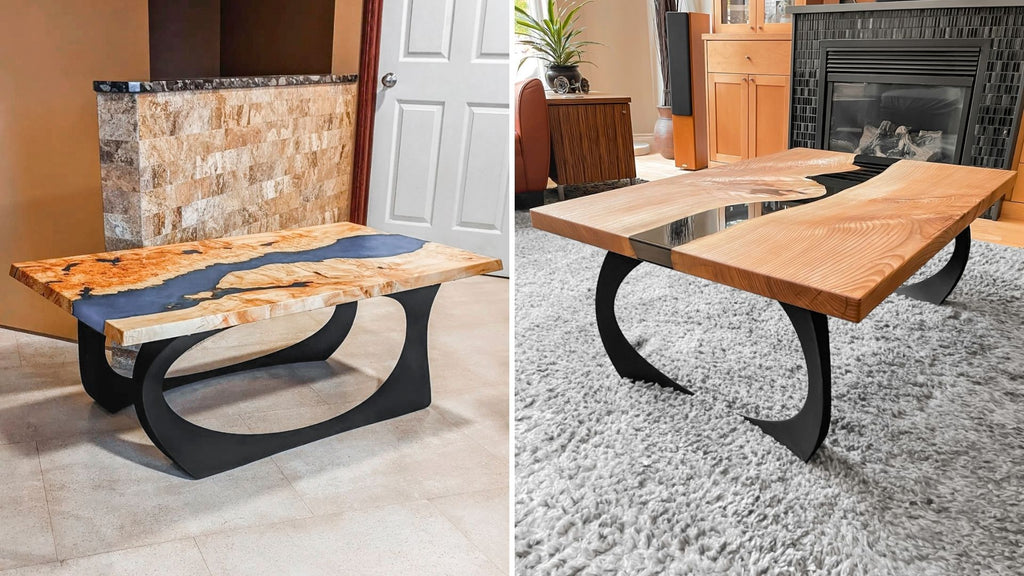 Cleo metal leg design with an exquisite and modern look can highlight your living space effectively
Credit: Flowyline Design
Shop now: 443 Cleo Metal Coffee Table Legs; 212 Cleo Metal Coffee Table Legs  Akro design and its bold lines will add a touch of originality to your home decor
Credit: Flowyline Design
Shop now: 420 Akro Metal Table Legs; 126 Akro Metal Bench Legs 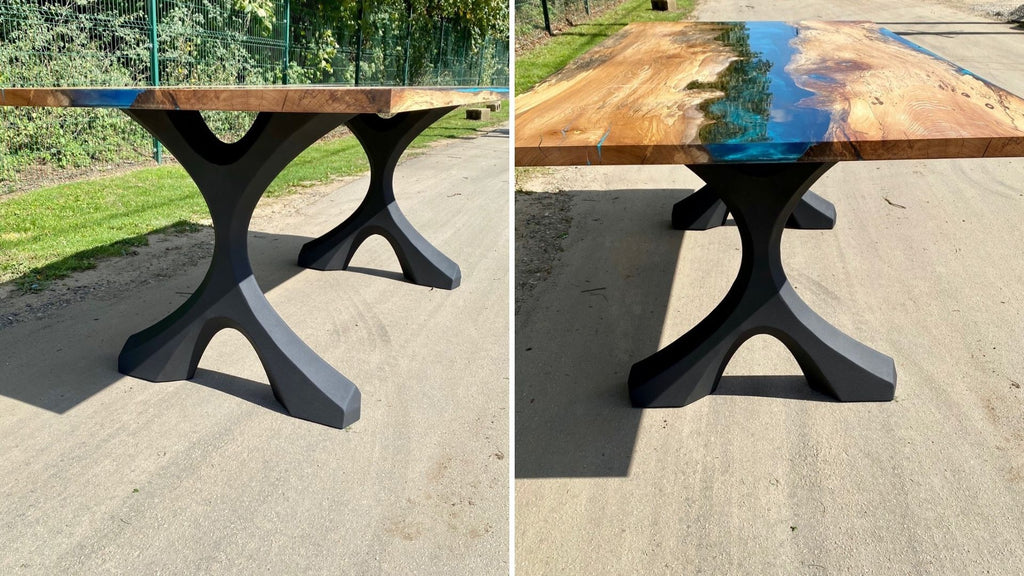 Xavier design with its unique shape can impress your guests at first glance
Credit: Flowyline Design
Shop now: 417 Xavier X Metal Table Legs  Curva is the correct item if you are seeking for a console butcher block table leg design
Credit: Flowyline Design
Shop now: 607 Curva Metal Counter & Bar Table Legs; 207 Curva Metal Console Table Legs
FAQs
1. What is the 7 Rule for Butcher Block?
The Rule of 7 is an oiling schedule used when you first finish a butcher block with mineral oil or another natural oil. You apply oil:
- Once a day for the first 7 days
- After that, once a week for several months
- And then drop down to monthly after that
The idea is to fully saturate the wood before it sees regular use. Once you've done that initial cycle, one or two applications a year is fine to keep the surface in good shape.
2. How Thick Should a Butcher Block Table Top Be?
2 to 2.5 inches is where we'd land for most dining and kitchen butcher block tables. It looks solid without being a nightmare to build or move around. Suppose you want that thick, commercial kitchen feel, it's ideal to go 3 inches or more.
3. Why Are Antique Butcher Blocks So Thick?
People built old commercial butcher blocks thick because butchers needed to resurface them over and over throughout their careers. Every time the surface wore down from daily chopping, they'd plane it flat and keep going.
The extra mass also kept the block stable under heavy use. Some of those old blocks ran 12 to 16 inches deep for exactly that reason. Thickness meant the thing would last a lifetime, and that's exactly what they needed it to do.
How to Make a Thick Butcher Block Table: Conclusion
There's a moment somewhere in the middle of a butcher block table build, usually around the third glue-up session, when your hands are sticky, and your clamps are everywhere, where you wonder if it was worth starting.
It is. It always is.
A thick butcher block table is one of those projects that pays you back in a way most builds don't. You learn how wood moves. You learn what flat actually means. You learn that patience during the glue-up saves you hours of sanding later.
To us, no flatpack product comes close to what you're about to build. None of them has your glue lines, your wood choices, your hours in them. That's the whole point.
Do you have questions about how to make a thick butcher block table? Reach out anytime. We also post new blogs every week, covering everything from finishing techniques to DIY furniture projects. Now go build that thick butcher block table. You've got this.