If you are a big fan of home decor, you’ve probably known that DIY butcher block tables are popular. These simple tables are a great addition to a kitchen, a living room, or even workshop. They are usually made by gluing together strips of hardwoods such as maple, walnut, cherry, and oak. In this blog post, we will give you a step by step instruction on how to make a butcher block table. Let’s get started!

Needed Materials to Make a Butcher Block Table
- Wood Strips or Blocks: Both shapes of wood have their beauty and finished look. This depends on your taste. The size and quantity of the wood will depend on the desired dimensions of your table. For example, if your table size is 26" high and 30" x 30", you will need seven 1" x 2" x 8" strips boards.
- Wood Glue: The glue should be high quality and waterproof, as well as able to resist moisture and heat. For example, Titebond wood glue is a good choice.
- Clamps: You'll need 3 to 6 or more clamps to keep the wood pieces in place while waiting for the glue to dry. Depending on your table size and shape, you can use pipe clamps, bar clamps, or C-clamps.
- Saw: You will need a saw to cut the wood. Depending on your skill and preference, you can choose a table saw, a circular saw, a milter saw or a hand saw.
- Planer: You can use a power planer, a hand planer or a jointer to smoothen the surface of your butcher block table.
- Sander: You can use a belt sander to sand and polish the surface. Besides, you also need different grits of sandpaper to smoothen the finish.
- Finish: You can choose oil, wax, varnish, or polyurethane to make a finish coat for your butcher block table DIY.
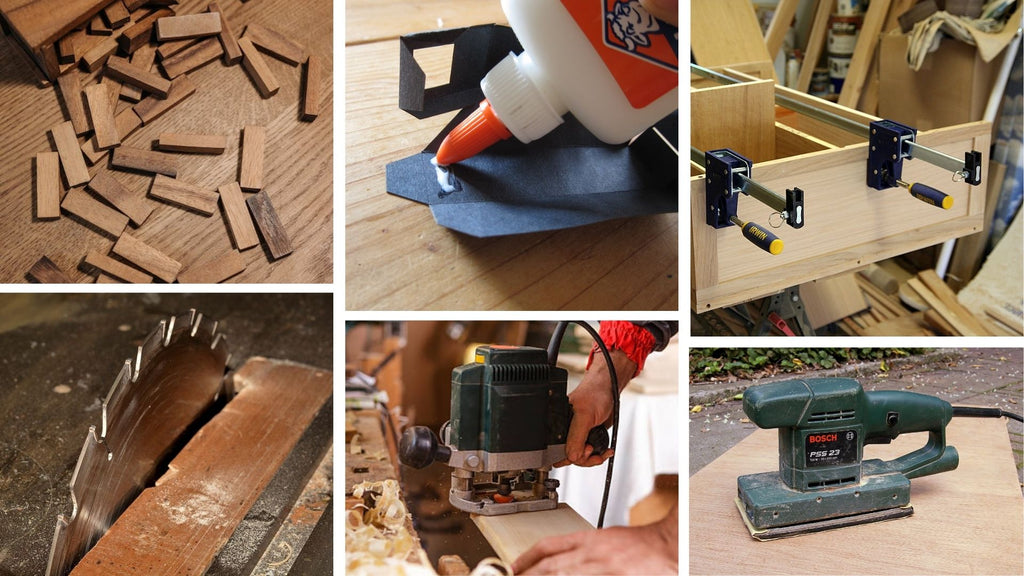
Required items to assemble a thick butcher block tabletop
Step 1: Cut the Raw Wood Boards into Strips
Using a saw, cut the wood pieces to the needed length and width. The most important part is just to make sure cuts are straight and accurate. This will ensure sides of the boards will be square. A tip for you is that you can use a tape measure and a pen to mark the lines before cutting. If you want to do this step more easily, you can use a crosscut sled or a miter gauge.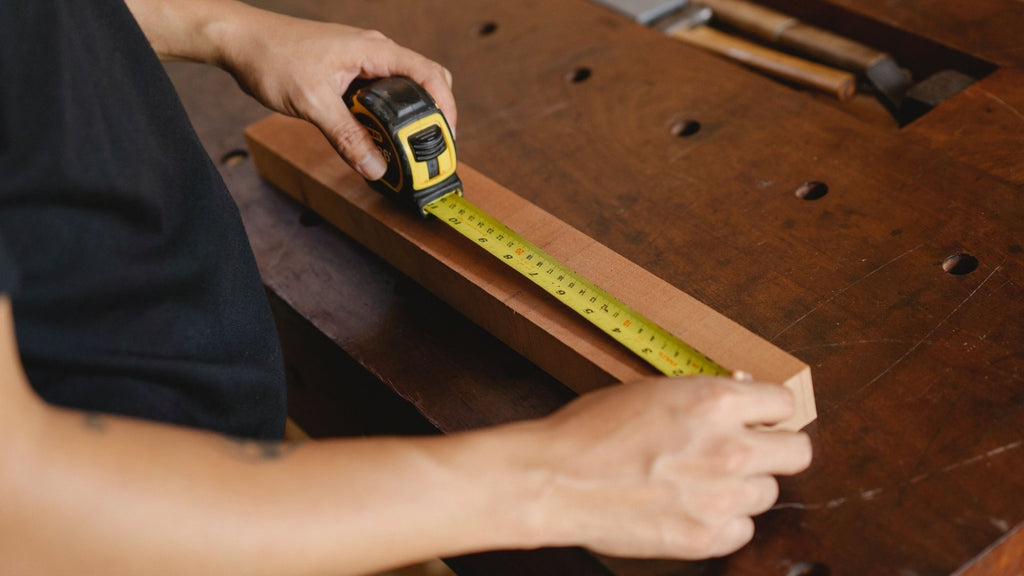
Step 2: Arrange the Wood Pieces by Using Clamps
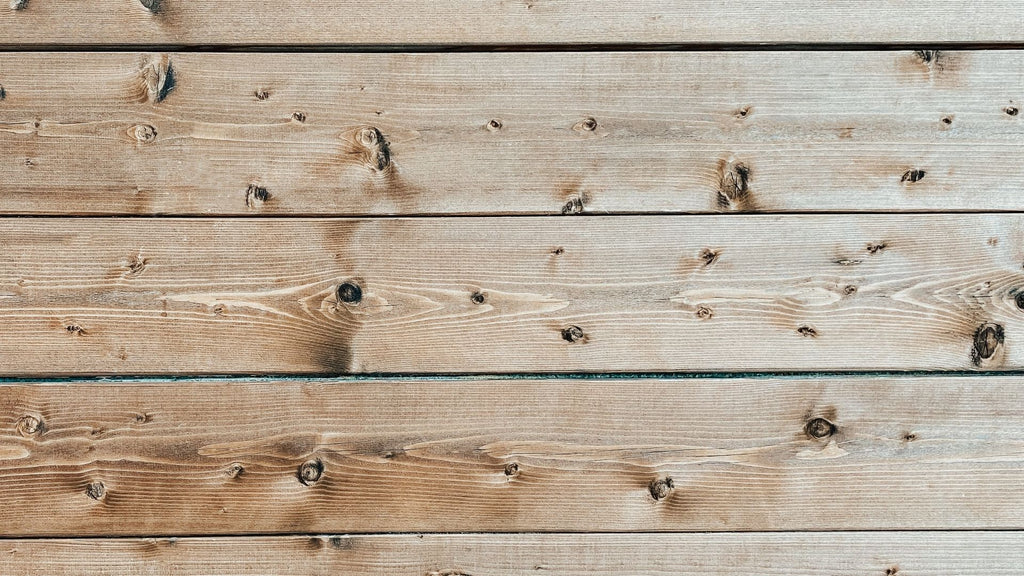
Arrange the wood pieces on a flat surface to see how well the wood blocks or strips blend. This will help you to measure the wood pieces more accurately and adjust the details before starting to glue them all together.
Step 3: Glue the Wood Pieces Together
After arranging the wood pieces, you can use three clams and start gluing. This process is simple, yet time consuming, just glue a few pieces, clamp, and then wait, repeat that until finished. You need to make sure that the glue is spread evenly on the surface. After having glued each piece on top of another, the table will be really heavy. Therefore, in case you need to move your DIY butcher block table, you’ll want to have a friend close by to support you.

Step 4: Plane to Smooth Down the Wood Surface
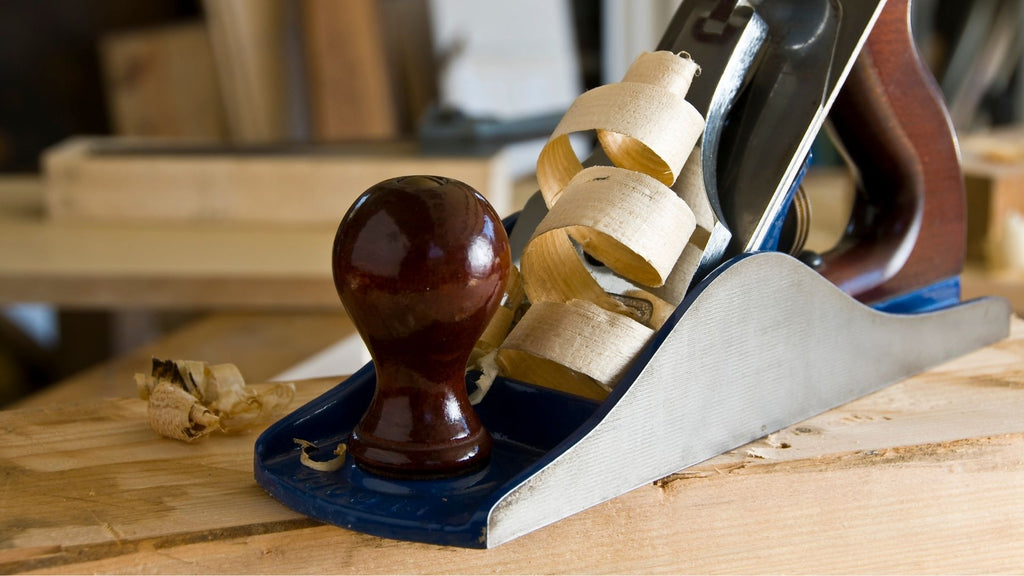
Before planning the surface, check your planer if it is sharp and adjusted properly. Then, feed the wood slowly and steadily to smooth down the tabletop’s surface. This will help us to prevent snipes and tearouts.
If you notice any glue that was squeezed, just use a chisel or a knife to remove them. This will depend on the thickness and flatness of your tabletop.
Step 5: Sand the Table Top
After removing excess glue, you can start with 80 - 100 grit sandpaper to sand the surface, and then work your way up to 220 - 320 grits. Do not forget to follow the grain’s direction. Then, if the tabletop is not flat, you can use a belt sander to flatten the surface. However, make sure that you won’t leave any scratches on your DIY butcher block table top.
Later, you can use a vacuum or a tack cloth to clean the surface. For a better finish, we recommend using a hand-sanding block or a sanding sponge to sand the edges and corners of your butcher block tabletop.

Step 6: Apply the Finish Coats
After the table is sanded, all you need to do is cover the whole thing in several coats of polyurethane or other finish types. You can use a brush, a rag, a roller, or a spray to apply the finish. Between each coat, you may also need to do a light hand sanding to keep the surface smooth.
It may take several hours or days for the finish coat to dry. Make sure your finish coat cures completely before starting to use it.
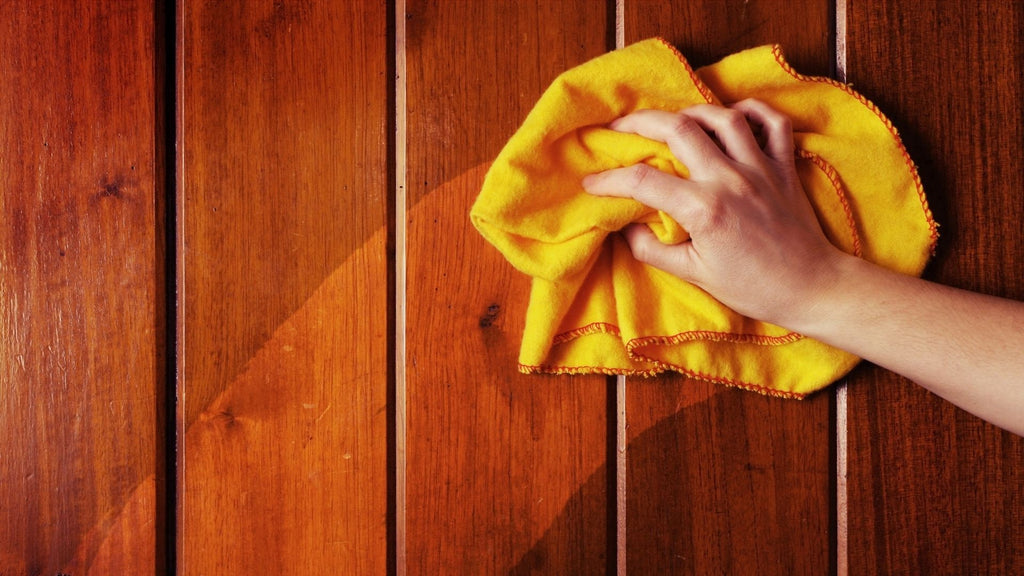
You may find the below video helpful. It provides the full instruction with specific steps:
This is also the final step in the guideline on how to make a butcher block table. You can now enjoy the result and use it for various purposes. Adding legs to the tabletop is the most common choice.
The next part will recommend unique and elegant metal table legs and base designs that can elevate the natural beauty of your butcher block artwork.
Should read: How to Attach Metal Legs To A Wood Table? An Easy Guide
Step 7: Attaching the Table Legs

You can glue the legs at the same time as the tabletop to save time if you have enough clamps. After cutting the wood pieces to a length you desire, the legs will be then glued together at a 90-degree angle. To attach the legs to the table, you need to screw a corner brace onto the top. Besides, adding metal legs to your butcher block table plans is also a common choice. We will walk you through the world of metal legs and other base designs in the next part.
Metal Leg and Base Design for DIY Butcher Block Table
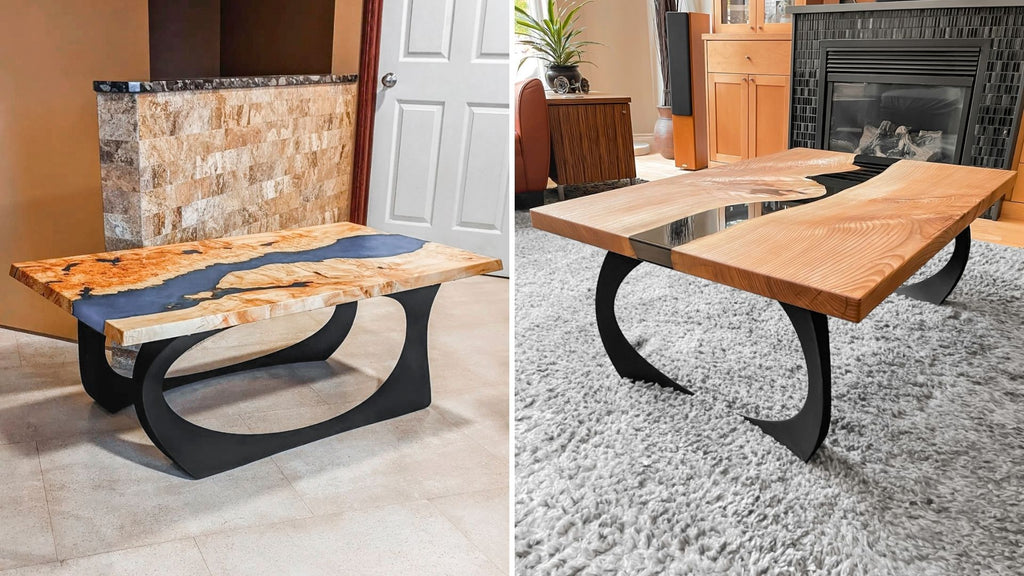

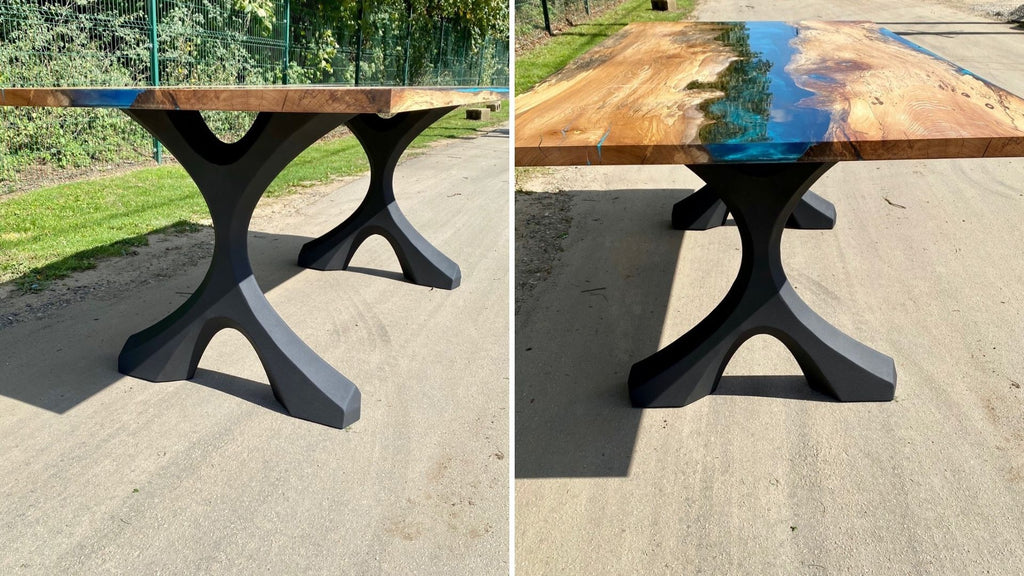

After finishing the entire project, you can decorate your table by adding table runners, placemats, napkins, or tablecloths, depending on your style and mood. We hope that this blog post with step by step guidance on how to make a butcher block table will be helpful and informative. If you have any queries or comments, please contact us via email at customerservice@flowyline.com for support. Don’t forget to sign up for emails to catch Flowyline's latest designs and receive special offers. Thank you for reading and happy woodworking!

