In this blog, we'll explore the step-by-step guide and the solution for how to extend kitchen island with legs, offering a comprehensive guide for those eager to enhance their kitchen's functionality and appearance. We'll cover everything from planning and preparation to the finishing touches, making your DIY kitchen island legs extension a rewarding project.

Extend kitchen island ideas with metal table legs
Credit: ©Max Rahubovskiy on Canva.com
Planning and Preparation
Before you start any DIY project, careful planning is essential. Check this to-do list for a smooth process of extending the kitchen island.
Tool’s preparation
Here are some tools and materials that essential for your kitchen island extension plan:
-
Measuring tape
-
Pencil and notepad
-
Level
-
Drill and screwdriver
-
Saw
-
Clamps
-
Crowbar
-
Utility knife
-
Sander or sandpaper (120-220 grit)
-
Wood glue and clamps
-
Caulk and adhesive remover
Assessing the Current Kitchen Island
Begin by examining your existing kitchen island in terms of size, shape, and design. This assessment is the first step in understanding how to extend the kitchen island with legs to meet your specific needs. Taking accurate measurements is crucial to determining the required extension dimensions.

Accurate measurements when planning help you know what to prepare and what to avoid
Credit: ©Los Muertos Crew on Canva.com
Choosing the Right Legs
For a smooth process, selecting the right kitchen island legs and counter height not only enhances the aesthetics of the kitchen space but also provides solid support. You need to choose table legs that can support the weight of the tabletop, for example, a full load of 500 lbs or 1000 lbs.
Does your kitchen have a decorative theme? Minimalist, modern, or traditional? Metal legs with unique curves and soft lines may be ideal for mid-century modern style. Meanwhile, large pedestal legs with straight lines are more suitable for industrial style.
Besides, consider choosing a reputable brand and quality, and thoughtfully answer your questions. It would be great if the product came with pre-drilled mounting plates, making it easy for you to install at home cost-effectively.

Consider many factors to choose the right table legs for your kitchen island extension
Credit: Flowyline Design
Order now: 604 BotasMetal Counter Table Legs; 210 NorahMetal Console Table Legs
How To Extend Your Kitchen Island With Leg
In this part, you will clearly understand how to extend the kitchen island with legs through 4 easy steps to follow. Let’s start this journey now!
Step 1: Removing the Existing Countertop
First things first, safely extend the island countertop by removing the existing one. Proper removal ensures you don't damage the existing island's structure. We'll provide you with step-by-step instructions.
-
Remove backsplash: If your countertop has a separate backsplash, remove it by carefully prying it away from the wall.
-
Locate and remove screws: Some countertops are secured to the cabinets with screws. Look for screws underneath the countertop or sometimes along the front edge. Use a screwdriver to remove these screws.
-
Cut any caulk or adhesive: If the countertop is glued down, use a utility knife or caulk remover to cut through any caulk or adhesive sealing it to the cabinets.
-
Pry the countertop up: Carefully insert a crowbar or pry bar between the countertop and the cabinet. Gently apply upward pressure to lift the countertop. Work your way around the countertop, repeating this process until it's loose.
-
Remove the countertop: Lift the countertop of the cabinets and set it aside. If it's too large to move easily, you may need to cut it into smaller sections using a saw.
-
Clean and prepare for a new countertop: Clean any old adhesive or caulk from the cabinet tops and walls. Make any necessary repairs to the cabinet structure or support for the new extended kitchen island countertop. You can use the existing top and extend it by attaching the new piece to save costs.

Complete a new countertop for extending the kitchen island
Credit: ©valentynsemenov on Canva.com
Step 2: Building the Extension Frame
The extension frame forms the foundation of your extended kitchen island. It can create a stable and sturdy structure for the entire kitchen island.
Use the same material as your counter height table legs to ensure aesthetic value. The frame will spread over the whole cabinet to ensure stability. We need to measure the appropriate dimensions and make the proper frame for the extending part.

The extension frame helps support the entire table firmly
Credit: ©RT Poole on Canva.com
Step 3: Attaching and Securing the Legs
The kitchen island legs are the stars of your extended island, providing both support and style. Proper reinforcement and support are crucial for a safe and functional extension.
A pull-out kitchen island will be the solution for you to extend the kitchen and save space simultaneously. Using wooden legs will be better for this choice, as it's lightweight and easy to DIY at home. You can follow this video to see the detailed instructions.
On the other hand, you just need to create a fixed extending part, metal table legs will be an ideal material. They are sturdy, suitable for long-term usage, and can add a touch of elegance to the entire kitchen decor.
Carefully install the legs on the wooden top after choosing the style. You have to attach them to the frame using the right technique to not crack it.
Step 4: Finishing Touches and Customization
The last step for this project is to finish it and add some kitchen island extension ideas for your unique kitchen space. For the easy following, we’ll guide you through these steps:
-
Installing the new countertop: Selecting the right countertop material, and dimensions, as well as installing it, are the crucial steps in your project. Add glue to the cabinet and carefully place the countertop in the right location. You can add the butcher block countertop which is the best for modern kitchen spaces.
-
Painting or staining the extension: Now it's time to make your extension seamlessly blend with the existing island. Neutral shades such as white, light yellow, light gray, and light blue will enhance the modern vibe of your kitchen.
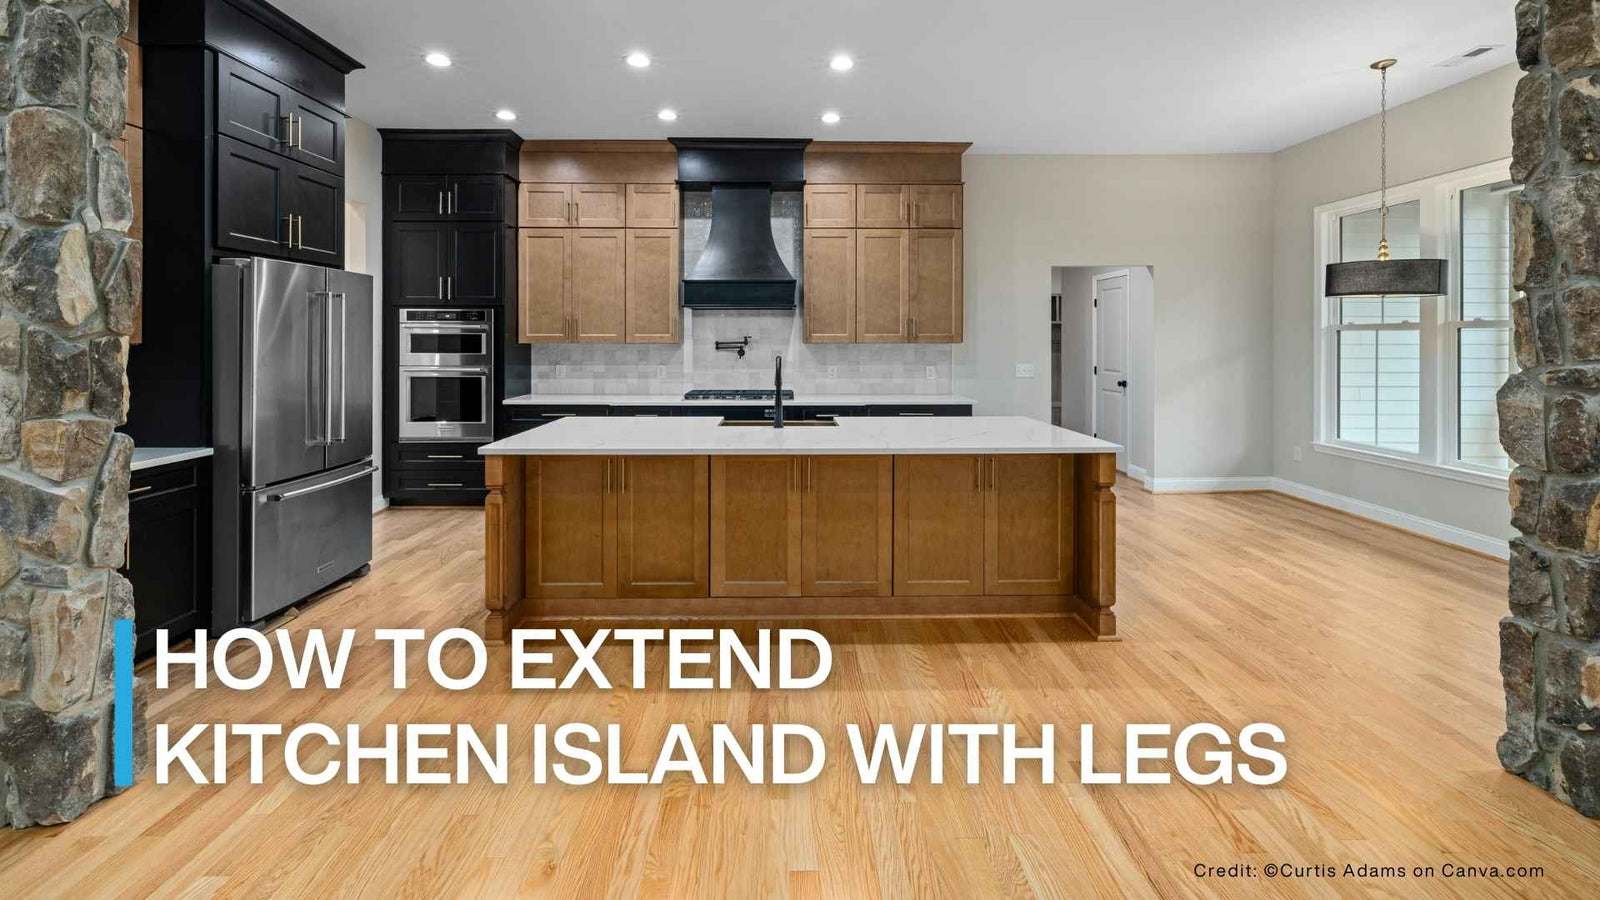
- Adding additional features: You can also add optional features that can take your extended kitchen island to the next level. Whether it's extra storage, seating, or a wine rack, these additions will enhance both functionality and appeal.

Add kitchen island extension ideas by integrating extra storage space
Credit: ©Curtis Adams on Canva.com
In conclusion, learning how to extend kitchen island with legs helps upgrade your space effectively. By carefully selecting the right materials and following proper techniques, you can transform your kitchen into a unique and distinctive space. See our unique and quality metal table legs today for your perfect extending kitchen island project! Contact us via email at customerservice@flowyline.com to receive support in customizing products to suit your needs.