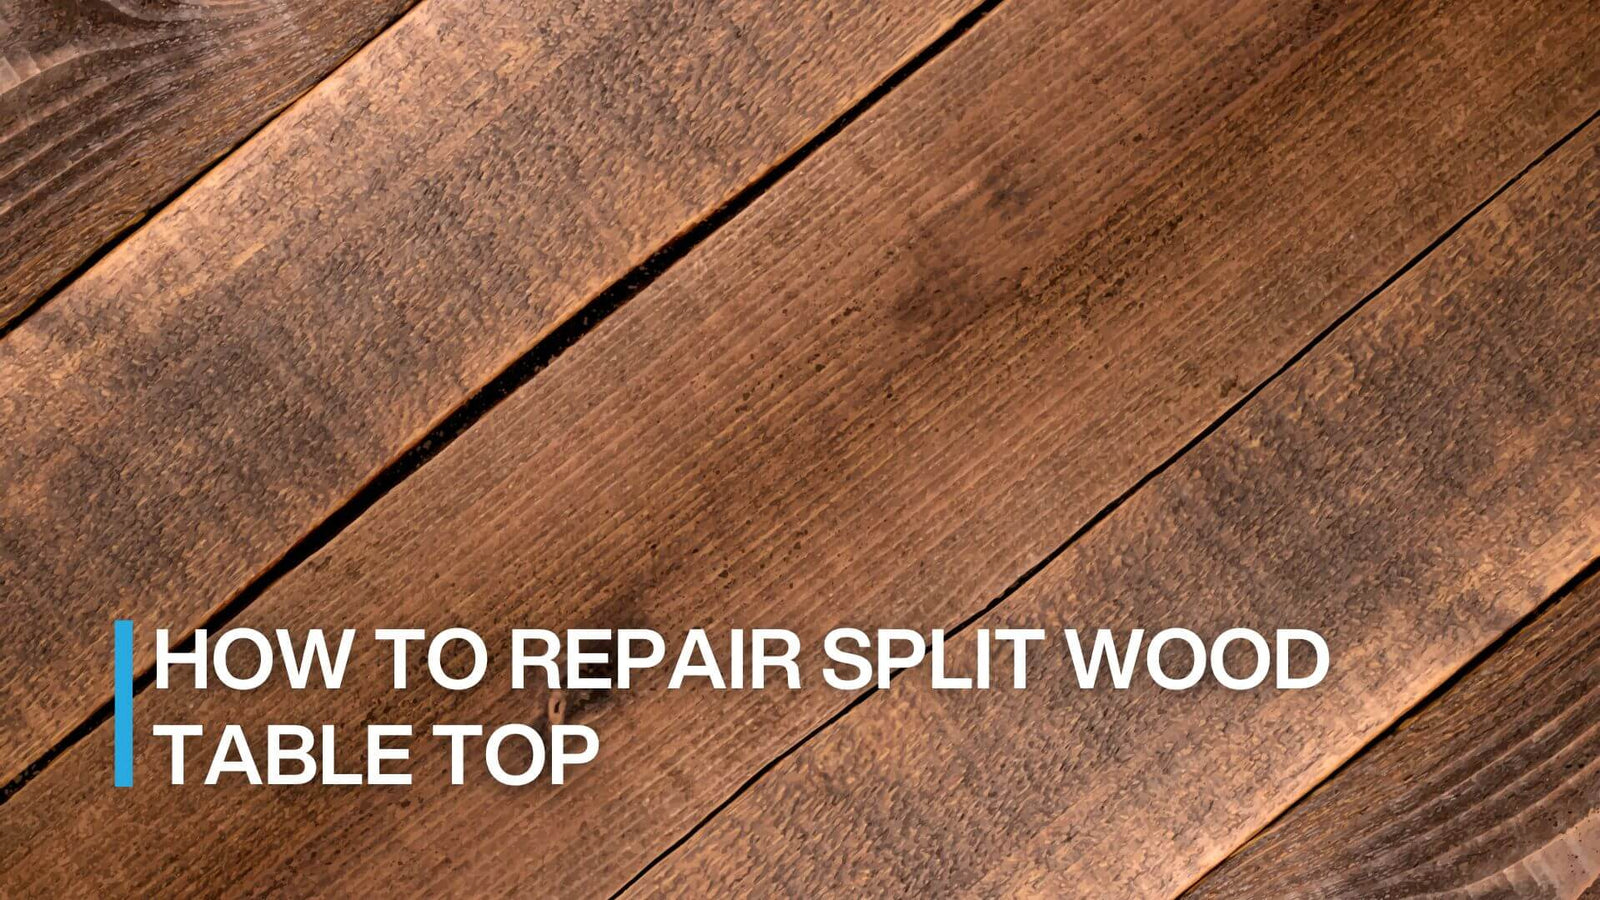
How to repair a split wood table top isn’t as hard as it might seem. A crack in your table can feel like a big problem, both for its strength and appearance, but the fix is often easier than you’d expect. You can easily restore it with a few basic tools, patience, and the right repair split table top guidance.
Flowyline is going to walk through 6 simple steps that anyone can follow to fix a split table top. No matter if it's a hairline crack or a more obvious split, the same basic approach works. Once you’re done, your table will be sturdy and look normal again instead of like it's falling apart.
Read more!
Why Wood Table Top Splits: 5 Frequent Oversights to Avoid
Wood is a strong and durable material, so why do cracks still appear? It’s a question many people ask, right alongside how to fix a crack in wood furniture. In reality, there are 5 main reasons why those frustrating cracks can show up.
- Sudden temperature shifts: Quick changes in temperature cause wood to expand rapidly, which often results in a cracked table. The EPA recommends keeping indoor temperatures about 60 — 90 °F to minimize this risk.
- Humidity changes: Wood naturally absorbs and releases moisture depending on its environment. When the air is too dry, the wood shrinks. When the humidity is high, it expands. Over time, this constant cycle of shrinking and swelling can lead to cracks. So, indoor humidity should be kept between 40% and 60%.
- Direct sunlight or heat sources: Leaving your table in direct sunlight for too long or placing it too close to heat sources like fireplaces or stoves can also cause cracks. So, it’s best to keep your table in a cool, well-ventilated spot and away from direct heat sources.
- Natural wood movement: Some wood species are more prone to splitting along the grain. In fact, hardwoods like oak and maple are generally more stable than softwoods.
- Physical stress and impact: Heavy objects placed on the table, or strong impacts, can put too much stress on the wood and eventually cause cracks to form. That’s why you should use coasters and placemats and avoid putting too much pressure on the table top.

Avoid leaving your table in direct sunlight for too long
Credit: Flowyline Design
Shop now: Dining Table Base 302 Uilani 28H Metal Heavy-Duty Pedestal Stand
You might like: How to Restore Leather Table Top in Only 6 Easy Steps
How to Repair Split Wood Table Top: 6 Easy Steps DIY Guide
Got a crack in your wooden table? Don’t worry. Fixing a split wood table top isn’t complicated. Follow these 6 easy steps from Flowyline, and you’ll have it looking strong and gorgeous again.
Step 1. Prepare Tools and Materials for the Repair
Every good DIY project starts with some prep work, and fixing a damaged wood table top is no exception. Before you dive in, it helps to gather a few simple supplies.
| Tools and Materials | Why You Need It |
|---|---|
| PVA (polyvinyl acetate) wood glue | Wood glue works best for small cracks. It comes in 3 types: Type I (waterproof), Type II (water-resistant), and Type III (for dry indoor use). |
| Epoxy | Epoxy is a better choice for deeper cracks. |
| Wood filler | Water-based fillers are easy to clean, and oil-based ones last longer. Choose a color that matches your table top. |
| Acetone | For oily woods (teak, rosewood, ipe,...), to help the wood glue stick better. |
| Wood clamps | C-clamps or bar clamps are good to go. |
| Sandpaper or power sander | 80 — 120 grit and 180 — 220 grit for a smooth finish. A power sander is handy for larger surfaces. |
| Protective finish (polyurethane, wood oil, varnish, or paint) | Paint gives a new look, oils keep it protected, and varnish or polyurethane adds durability and water resistance. |
| Putty knife or brush | Use a putty knife for filler or epoxy, and a small brush for glue, paint, or oil. |
| Clean cloth or rag | They’re perfect for wiping away dust or excess glue. |

Gather all necessary supplies for repair crack in oak table top
Photo: Freepik
Latest blog this week: How to Restore Vintage Enamel Top Table: A 4 Step-by-Step DIY Guide
Step 2. Check the Split and Clean the Table Top
The second step in repairing a split wood table top is to examine the splits or cracks and give the surface a good clean before you start the repair.
Before you grab the glue or filler, take a little time to check the crack carefully. This step will help you choose the right material for the repair.
- Small, shallow cracks: Wood glue is usually all you need.
- Larger or deeper splits: Epoxy or wood filler will give you a stronger and longer-lasting fix.
Next, use a clean, dry cloth to wipe away dust, wood chips, or any debris stuck in the split. If you’re working with oily wood, clean it with acetone so the glue can hold tight.

Clean the cracked table surface first to help the glue bond well
Photo: Freepik
Step 3. Apply Wood Glue or Epoxy
After ensuring the crack is clean and ready, it’s time to “mend” your table top with wood glue or epoxy. This process determines how strong and long-lasting your repair will be. So take your time and do it carefully.
We simply squeeze in some wood glue or use a small brush to spread it evenly for small cracks. It makes sure the glue seeps all the way into the cracked table.

Filling cracks in wood table top with glue
Photo: Freepik
For deeper splits, you’ll want to use wood filler or specialized epoxy. If you’re working with epoxy, mix the resin and hardener in the exact ratio recommended on the package to get the best results.
Then, inject the epoxy deep inside the crack with a syringe or plastic applicator. This helps fill the split and creates a much stronger hold.
For cracks all the way through, you’ll need to seal the underside first. You can use tape to cover the crack or place a plastic sheet underneath to stop the epoxy from dripping through. Hot glue can also work as a temporary seal, and you can peel it off once the epoxy has cured.
Finally, grab a clean cotton cloth and gently wipe away any glue that seeps out while it’s still wet.

Will epoxy stop wood from splitting
Photo: Freepik
Note: Go slow and steady when brushing or injecting the glue. That way, it spreads evenly, without clumps or big drips running over the cracked table surface.
You might like: What Is the Best Epoxy for Table Tops?
Step 4. Clamp the Table and Let It Dry
The fourth step in fixing a split wood table top is applying clamps with enough pressure that some glue squeezes out. You'll need to clamp for 1 hour minimum, but keep stressed joints clamped for 24 hours.
Then, all you need to do is wait. Depending on the product, most glues and epoxies need 12 — 24 hours to cure fully. Be patient and resist the urge to remove the clamps too early. Otherwise, the crack may pop right back open.

How to fix cracks in outdoor wood furniture with clamps
Photo: Youtube | Fortress Fine Woodworks
Step 5. Sand It Down Evenly
After the glue dries completely, you need to make the repair match the rest of your table. Most repairs look obvious because people skip this part, but it's what separates a good fix from a professional one.
Now, we first use 80 — 120 grit sandpaper to level excess glue or filler. Then, switch to 180 — 220 fine-grit sandpaper (grit) to smooth it out and match the surrounding wood.

Sand off excess glue and smooth the table top
Photo: Freepik
Step 6. Refinish the Split Wood Table Top
The final step in fixing a crack in a table top is refinishing and bringing out the natural beauty of the wood. Add a fresh coat of paint if you want to change the color or give your table a new personality.
Or, if you prefer a natural look, go with a wood oil like linseed or tung to highlight the grain and protect against cracks.

Apply a layer of varnish for a glossy table top
Photo: Freepik
For extra durability, you can also apply a layer of varnish or polyurethane to guard against scratches and spills. The finish is all about your style. Whether it’s a rustic matte oil or a sleek glossy varnish, your table will return to life looking better.
Once the crack is repaired and the surface refinished, you might even upgrade the style by swapping in metal table legs for a fresh, sturdy, and modern touch.
Note: Let each coat dry completely before applying the next varnish. This way, the finish bonds more securely, dries evenly, and avoids sticky spots or bubbles.
Related blog:
- Best Polyurethane for Kitchen Table: 6 Tested & Ranked Options
- Best Polyurethane for Table Top: 6 Top-Rated Oil & Water-Based Finishes
3 Extra Tips for Long-Lasting Repair Results
Wood needs proper care, too. Don’t forget to keep these 3 expert tips in mind to help your tabletop stay strong and beautiful for years to come.
- Use natural wood oils to boost durability: Give your table a little love every 6 — 12 months by applying a coat of natural wood oil, like linseed or tung oil. These oils soak deep into the grain and help to lock in moisture and prevent shrinkage or cracking. Plus, they make the surface look more vibrant over time.
- Keep your table away from damp spots and direct sunlight: Moisture and temperature changes are wood’s biggest enemies. To protect your table, place it in a cool, dry area, away from sunny windows or heat sources like stoves and fireplaces.
- Do regular check-ups to stop cracks before they spread: Don’t wait until a crack gets big to take action. Every so often, take a few minutes to look over the tabletop for small splits or signs of warping. Catching these early means you can quickly fix them with a little oil or wood glue.

Store your table in a cool, dry place
Credit: Flowyline Design
Shop now: Coffee Table Base 208 Haru 16H Modern Handmade Furniture
FAQs
1. How to Fill Cracks in a Table Top?
You’ll need wood glue, clamps, sandpaper, and a finish (optional) to fix cracks in your table top. Apply wood glue (or epoxy for bigger splits), then clamp the crack tight. Once the glue is fully dry (12 — 24 hours), smooth the surface and refinish to match the original look.
2. How to Fill Cracks in Wood Without Wood Filler?
If you don’t have wood filler, you can mix sawdust from the same type of wood with wood glue to make a thick paste. Apply the mixture to the crack, let it dry, and sand it smooth.
3. Which Wood Glue is Food Safe?
Food-safe wood glues you can try are Titebond II and Titebond III. Both are FDA-approved for indirect food contact, making them safe for cutting boards and kitchen tools. Once cured, they’re non-toxic, waterproof, and free from harmful chemicals.
4. How to Fix a Cracked Wood Countertop?
Fixing a countertop is similar to repairing a split table top, but you’ll need a stronger, cleaner repair. Start by cleaning the crack, then choose the right filler and apply wood glue or epoxy. Clamp it, let it dry, and sand the surface smooth.
Finally, refinish it, ideally with a food-safe finish like butcher block oil or wax, especially for kitchen countertops.
How to Repair Split Wood Table Top: Final Verdict
If the crack is too big or the table is antique, it’s best to call a pro — sometimes that’s the safest way to protect its strength, beauty, and value. Fixing a split wood table top might take patience, but seeing your table come back to life is incredibly rewarding. Just follow these 6 simple steps:
- Step 1: Gather all the tools you’ll need
- Step 2: Check the cracks and clean the surface
- Step 3: Apply wood glue or epoxy
- Step 4: Clamp the table and let it dry
- Step 5: Sand to smooth the surface
- Step 6: Refinish the table top
And there you have it, a simple how to repair split wood table top guide that saves money while preserving furniture you love. So next time you spot a crack, you’ll know exactly what to do. If you’d love more repair tips and fun home projects, don’t forget to check out our helpful blogs. Thanks so much for reading, and happy DIY-ing!