
Making a homemade table requires a lot of tools, strength, and patience. Choosing the materials and creating the original design will be difficult for you. But even so, the result is still great. A rustic wooden table is often easier to make than other materials. It also fits any design color and interior space of yours. You proudly affirm your talent and personal mark with this job. How to make a table base? Let's follow the process that we specifically guide in this article!
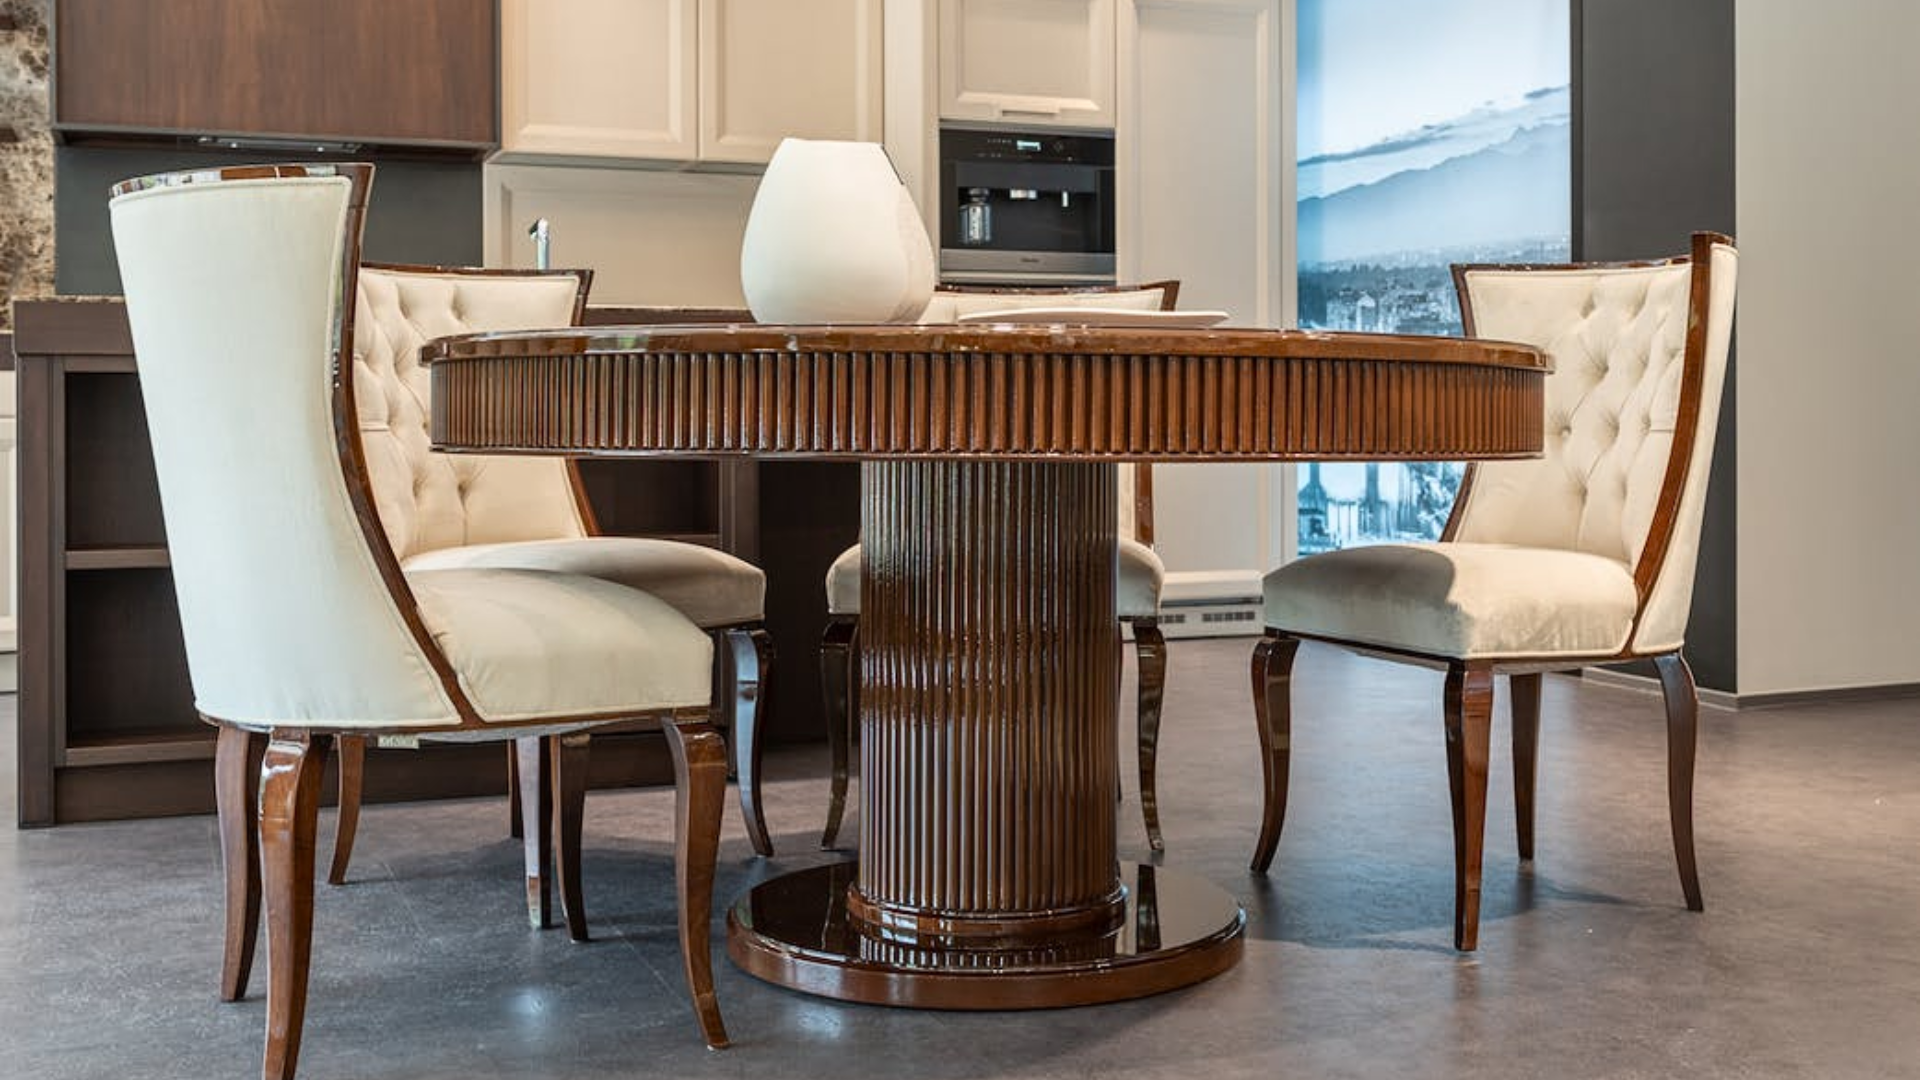
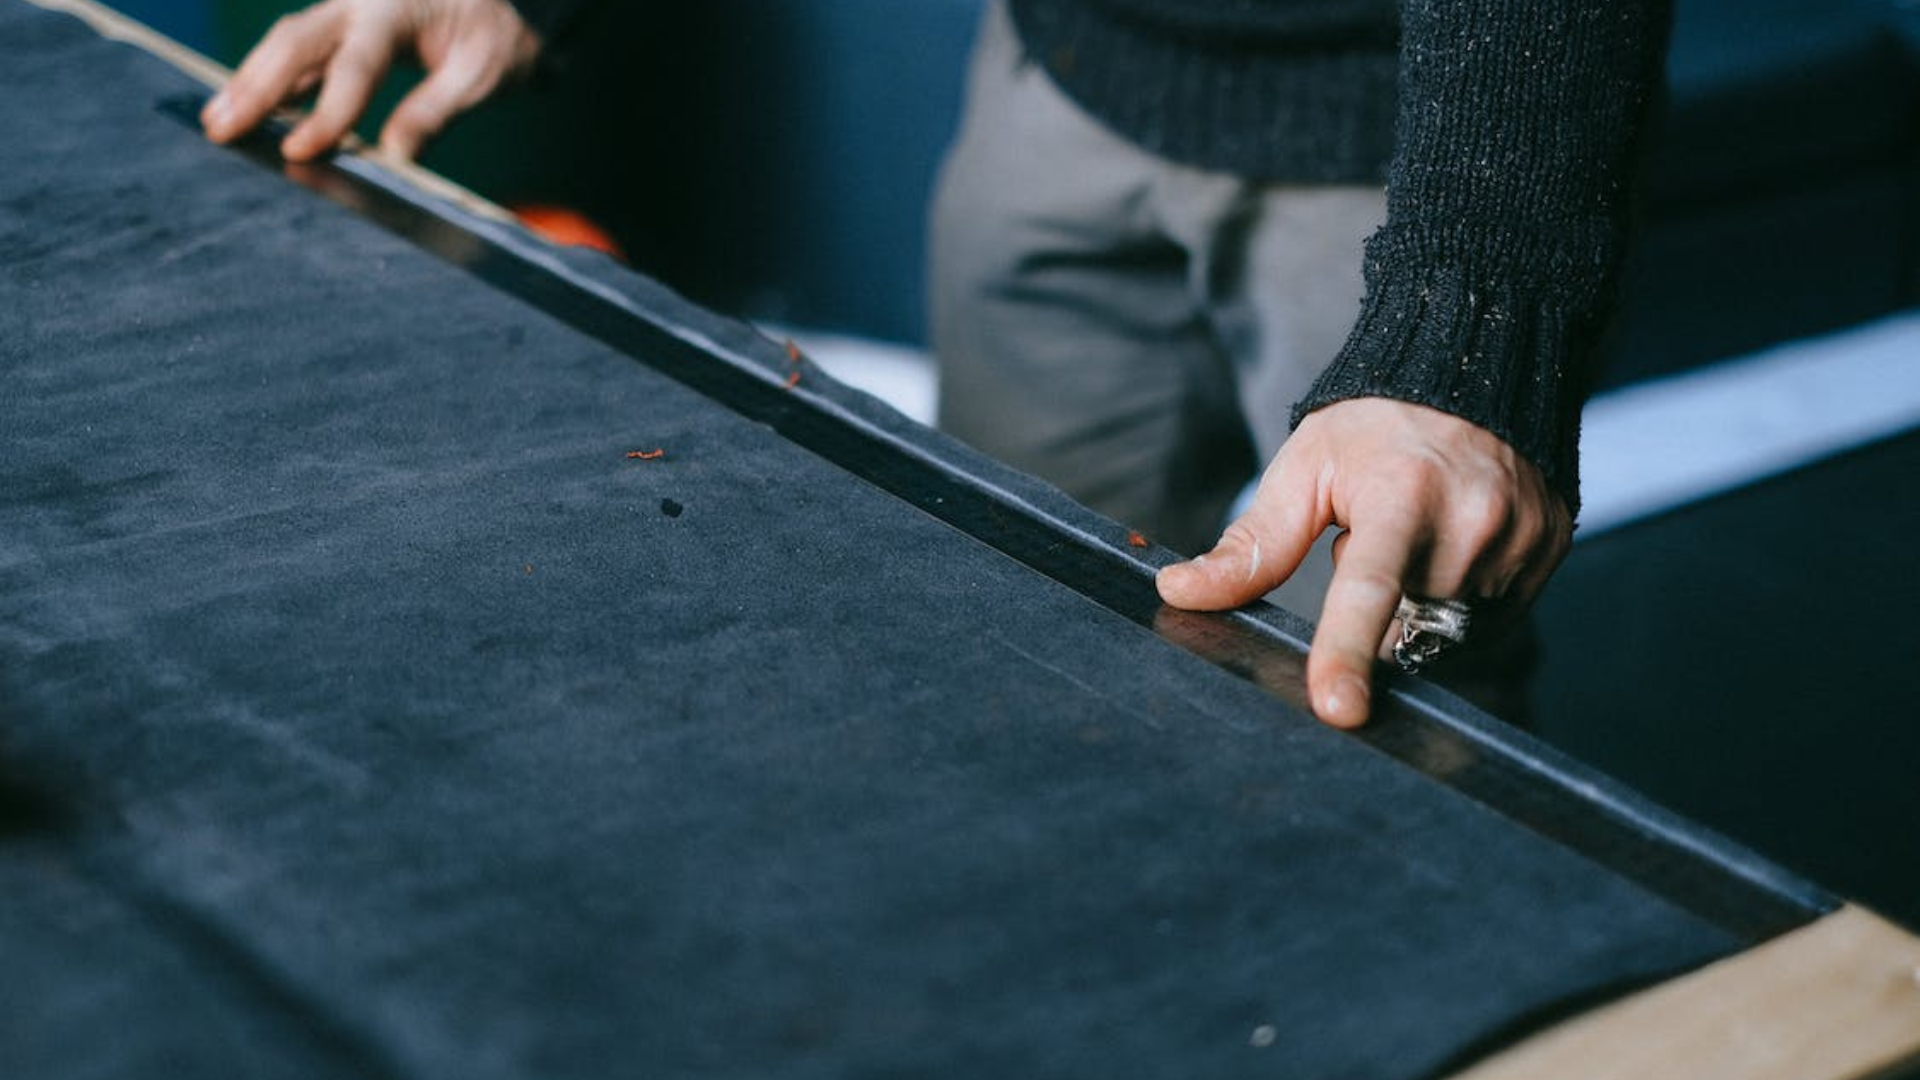
How to make simple wooden table legs
Credit: Max Rahubovskiy
Materials Needed for Your Wood Slat Table Base
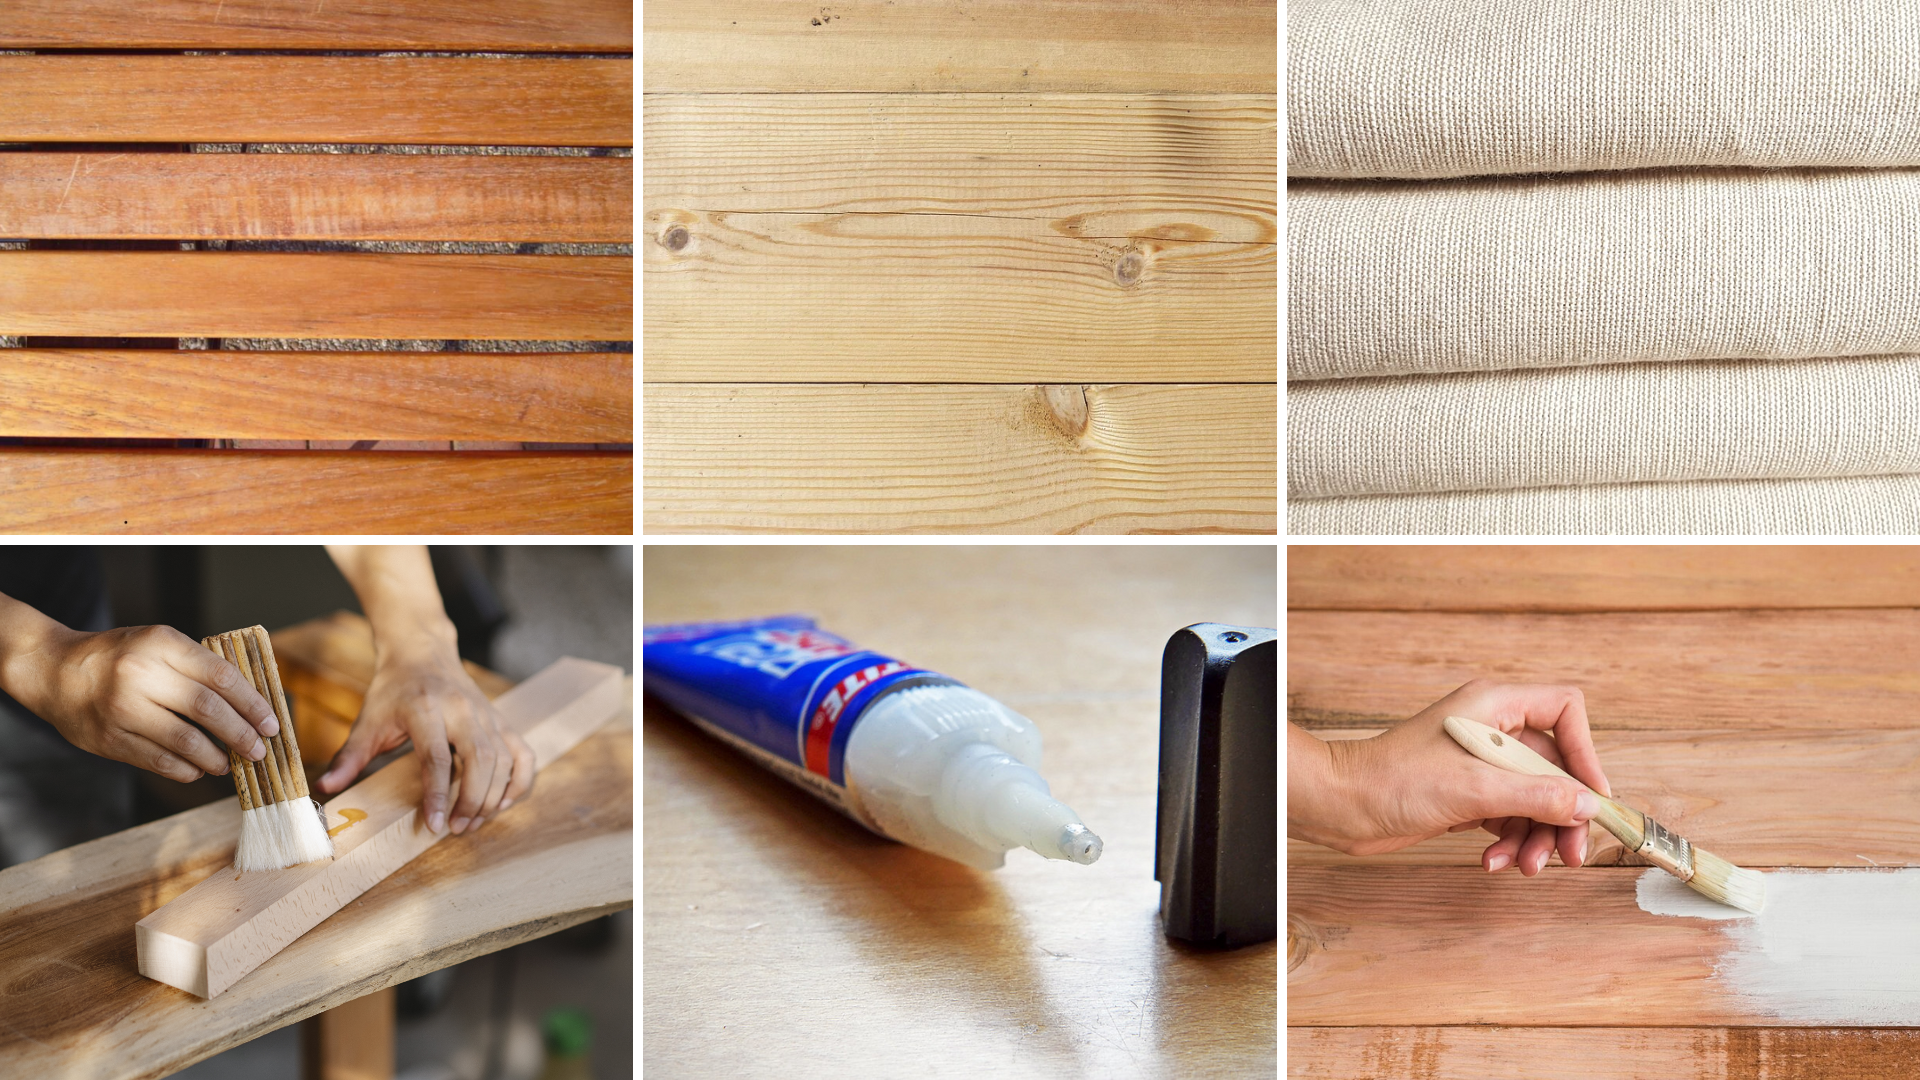
Materials needed for your wood slat table base
Credit: Flowyline Design
- Wood slats (pre-cut or cut to size)
- A plywood slab
- Wood glue
- Superglue
- Canvas fabric
- Screws
- Screwdriver or drill
- Rockler straps
- A circle saw
- Sandpaper (various grits)
- Wood stain or paint (optional)
- Clear wood finish (polyurethane or varnish)
- Measuring tape
- Pencil
- Gloves and safety goggles
Should read:
Specific Instructions
Step 1: Design Your Drum Table Base
To start, you need to sketch out your idea on paper. Visualize and note down the dimensions and shape of the empty table base. It would help if you calculated the sizes you want for the top and bottom of the base and the height you want for the table. Draw them in detail on paper or free design software. You also need to calculate the number of wooden slats and the distance between them for the table legs.
Step 2: Cut the Wood Slats

Once you have a specific plan, you just need to measure and use a saw to cut along the pre-cut lines. If you're not comfortable with this, you can ask someone to help you or buy pre-cut wood slats at your local store.
Step 3: Sand the Wood Slats

Smooth the edges and surfaces of the wood with sandpaper. You can buy according to the seller's recommendation and choose the right grade. Otherwise, choose the one for hardwood and gradually move to the finer grade. Patience is required with the job. Sanding will ensure the wood pieces are free of rough spots and splinters.
Step 4: Add a Layer of Finish
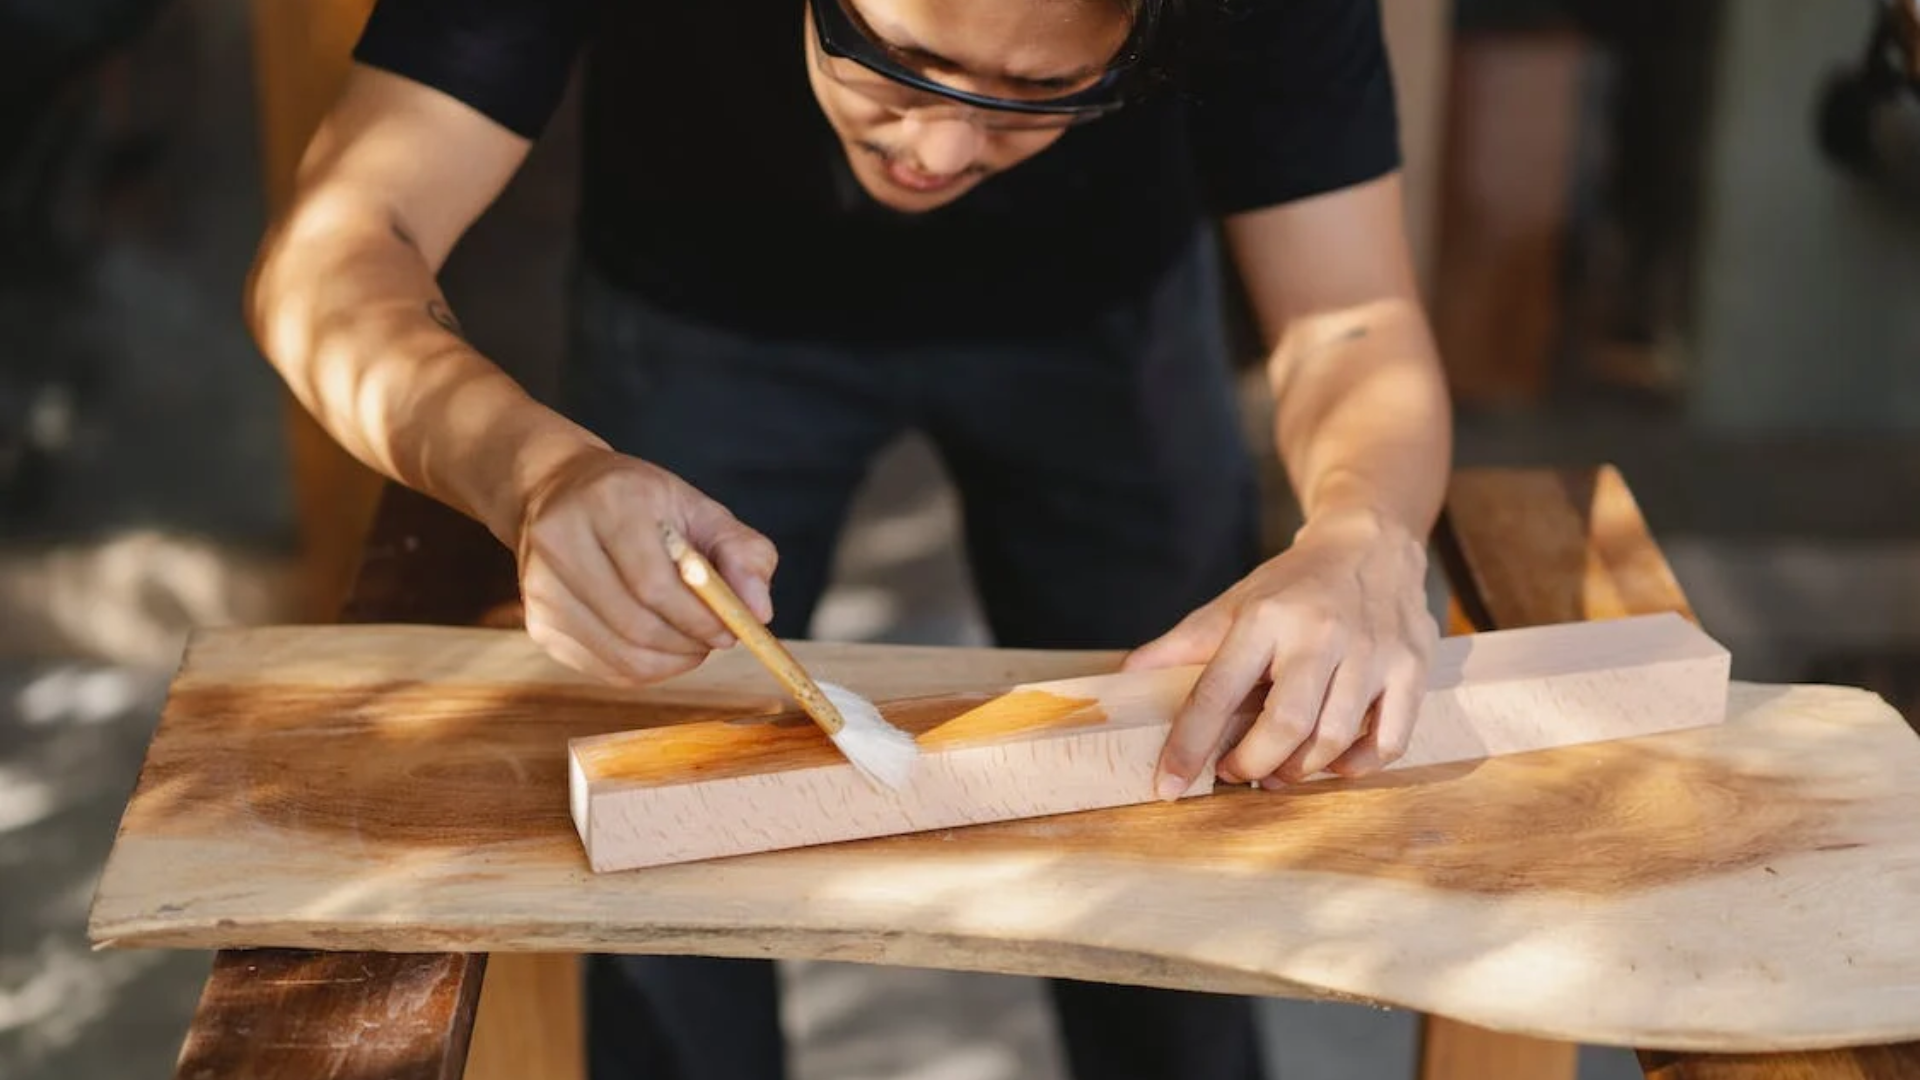
Applying a coat of paint will help protect your DIY round table base from wear and tear. You can purchase polyurethane or varnish from a furniture or hardware store. You can apply as many coats as you like, following the manufacturer's specifications, and they will add shine and protect the wood.
Remember to complete your slats before moving on to the next step. Properly preparing the slats before assembly will make assembly faster and more efficient.
Step 5: Assemble the Wood Slats
Create a jig with dimensions that correspond to the slats. Then, according to your design, arrange the wood slats. Apply wood glue around the edges of each slat where they will join to the canvas. After that, apply wood glue to both the slats and the canvas. With a scissor, remove any extra canvas. Allow enough time for the glue to dry, and certainly it is wrapped securely before proceeding to the next step.
Step 6: Create Round Plywood Pieces
Use a hand saw or a specialized instrument to cut 02 circles in your plywood. The advice is that the circumference matches the length of the wooden slats. It will help the table look more balanced and beautiful. Meanwhile, the first circle will be vacant. Cut a smaller circle on that round slab to make the piece.
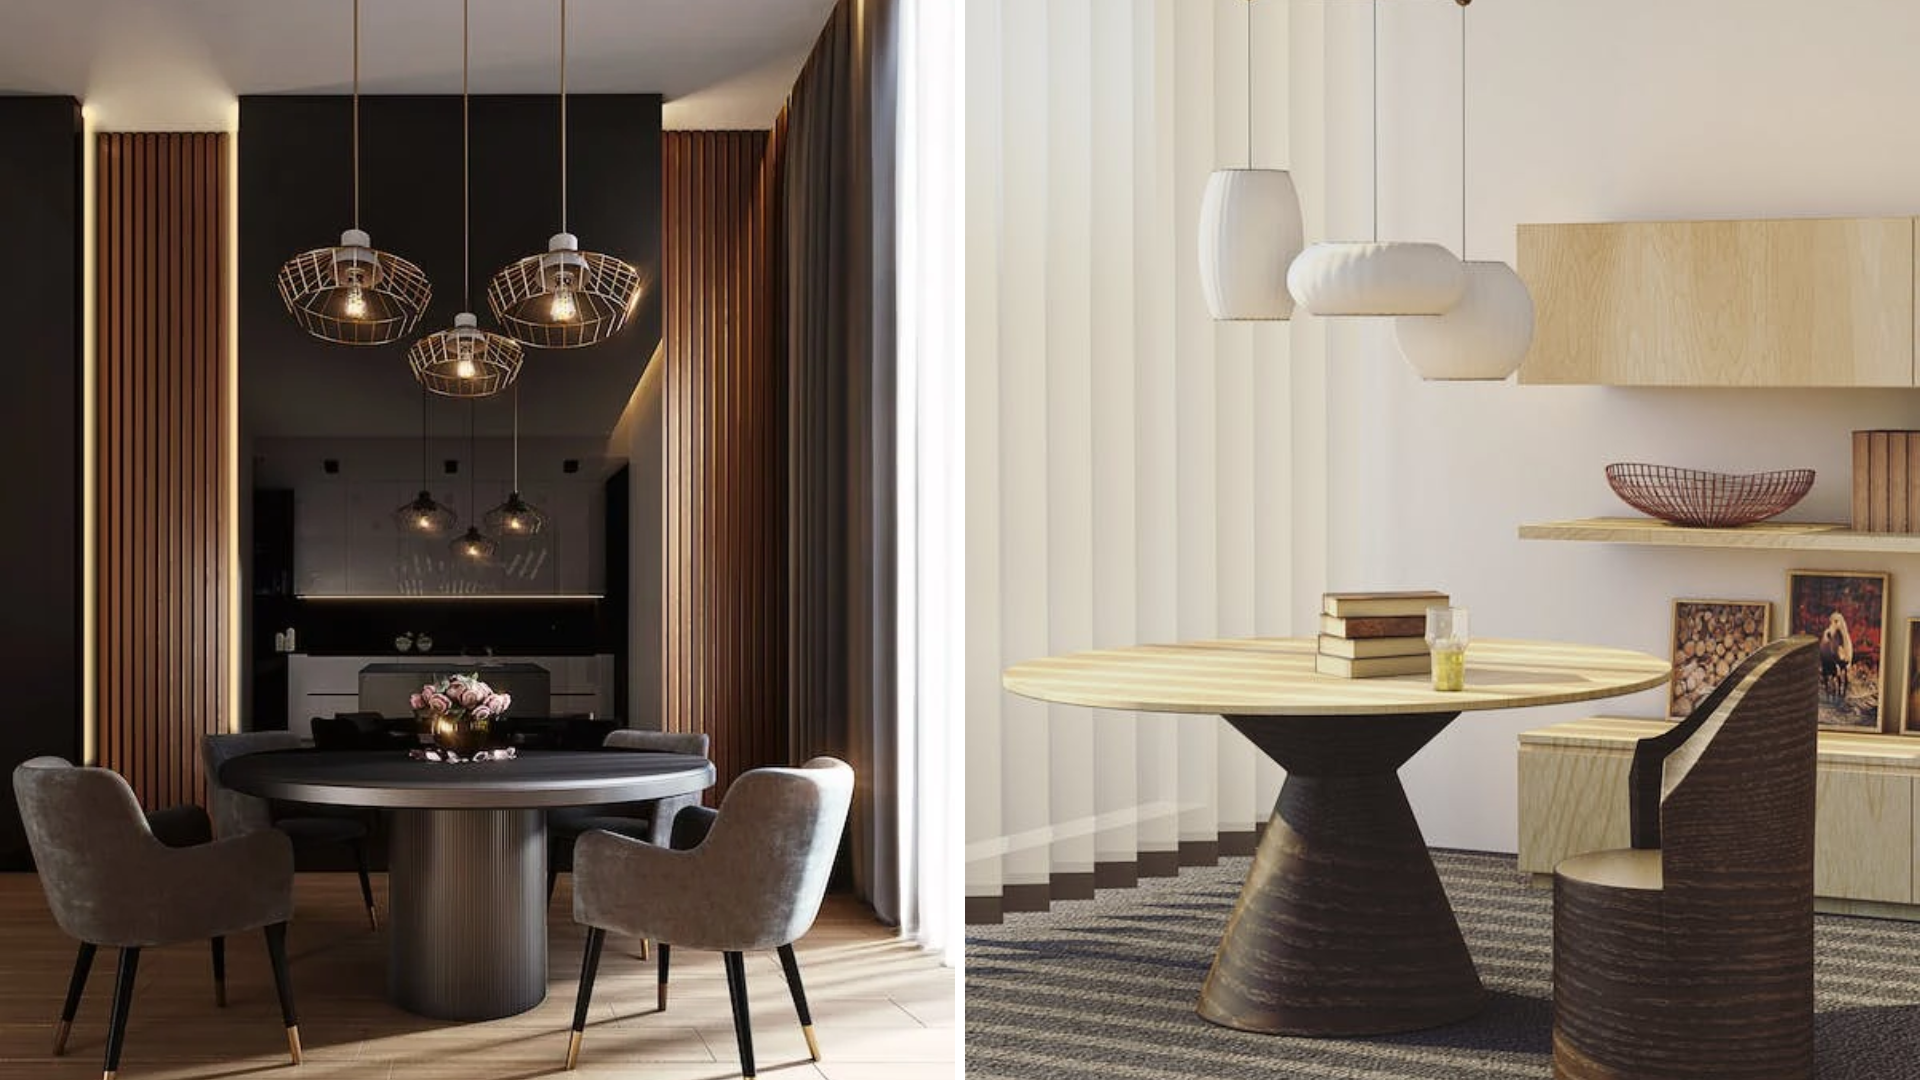
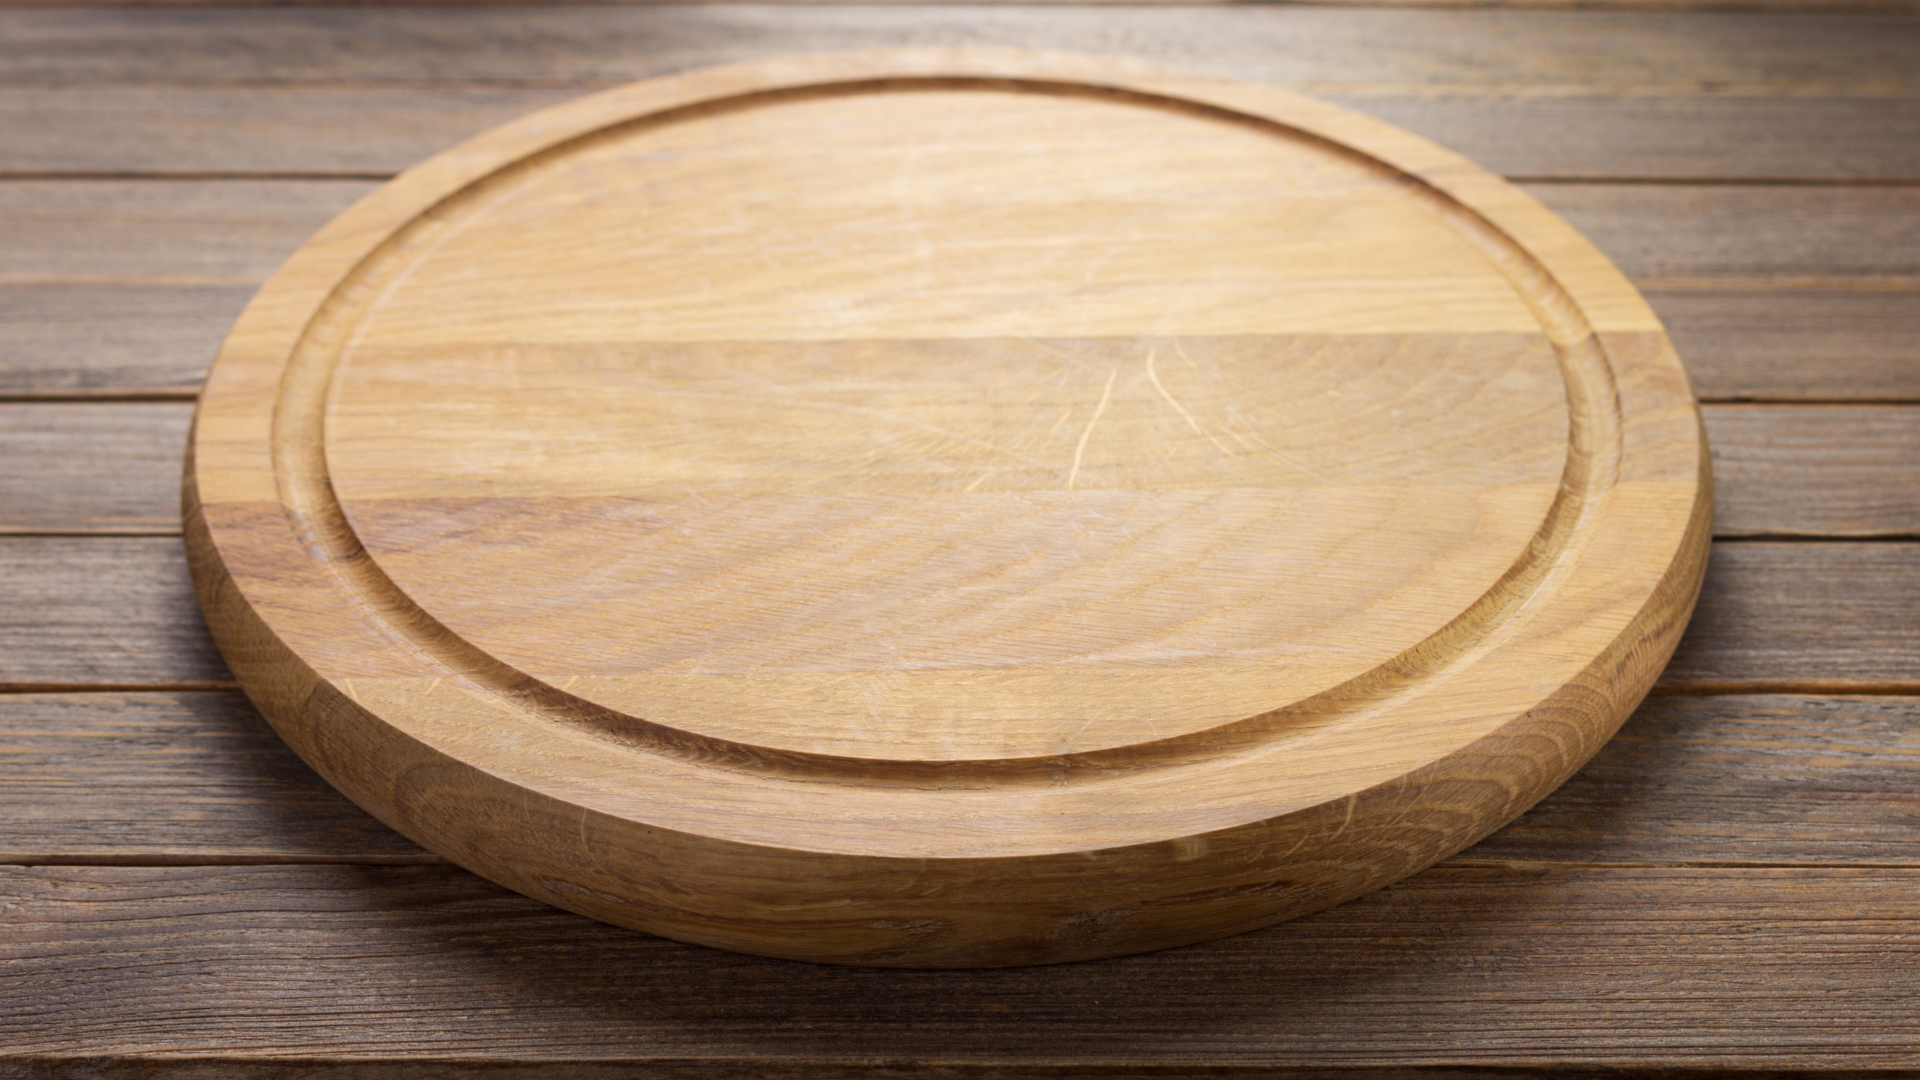
Step 7: How to Make a Table Stand?
DIY round table base
Credit: Sujit Nanda
Cut 5 - 6 pieces of plywood to the length you want your table base's height to be. They will serve as the ribs, assisting you in correctly forming the DIY round table base.
Then evenly distribute and attach them to the 02 round plywood pieces by super glue.
Step 8: Reinforce with Screws

For added strength, secure the wood ribs by driving screws through them at key connection points. Be sure to use the appropriate length of screws for your project.
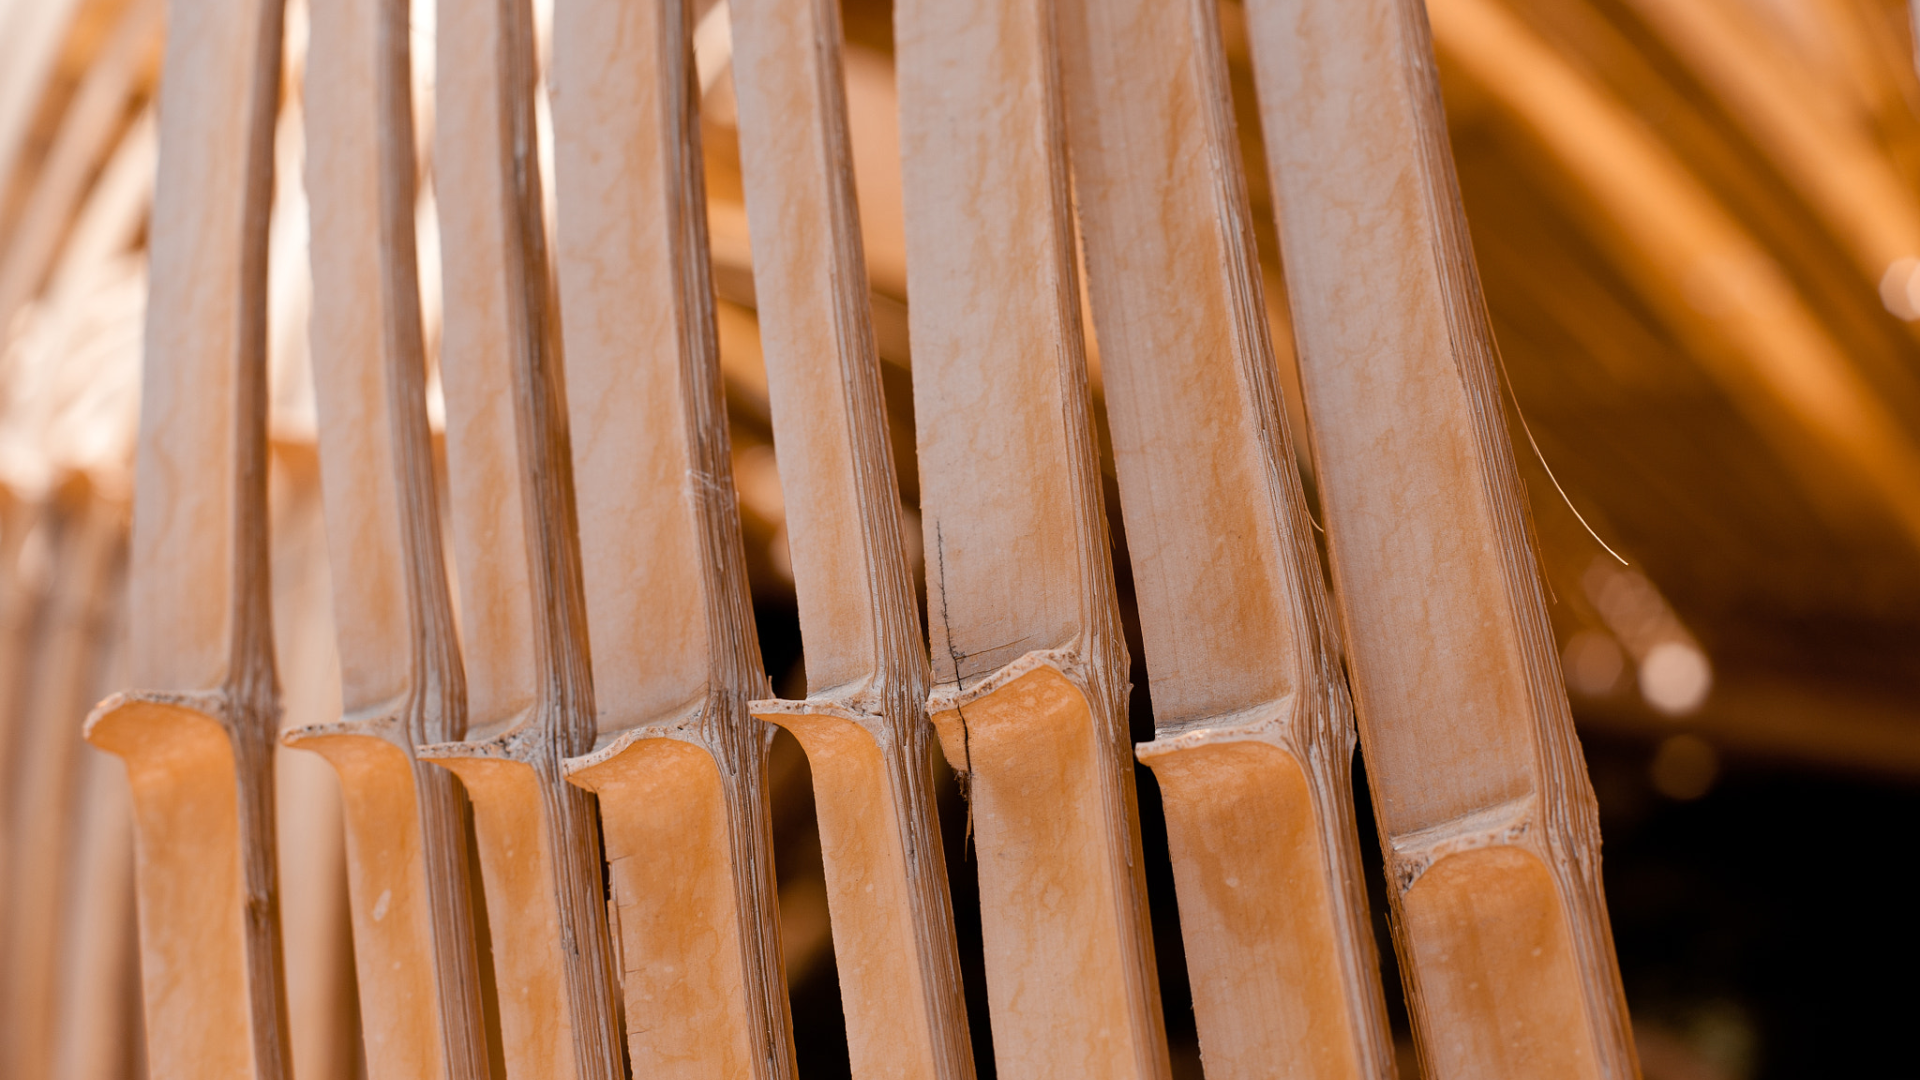
Step 9: Finish Your Base (Optional)

Apply wood glue to the ribs' and round slabs' edges
Credit: ©Garrett Morrow on Canva.com
Apply wood glue to the ribs' and round slabs' edges, then wrap the wood slats around the rib. Fix them using rockler band clamps until the glue is completely dry.
Further, if you want to fix the color of the original, consider staining or painting it. Make sure it matches your overall decor and follow the manufacturer's instructions for the paint you choose.
Step 10: Attach the Tabletop

Attach the tabletop with Flowyline table legs
Credit: Flowyline Design
Order now: 607 Curva Metal Counter & Bar Table Legs
Finally, attach the table base to your tabletop. It can be made from glass, wood, or any material that suits your style and needs. To make the installation process smoother and more efficient, refer to the installation instructions. And don't forget to ask for help if you need it!
For more specific guidelines, you can watch this video and follow the instructions from an experienced woodworker:
What Are Table Bases Made Of?
DIY table stand is a part that helps keep the table top sturdy and artistic. Choose table legs from many materials, depending on the style, function, and design. Some common materials for table bases include:
- Wood: Wooden table legs are trendiness for their versatility and rustic beauty. You can easily carve, turn, or craft them into different shapes and styles. A wood cylinder table base oak, maple, cherry, and walnut. They have beautiful grain and high durability for all decorative spaces.
- Metal is a popular type of table legs because of its durability. It supplies steel, iron, aluminum, and stainless steel. Metal table legs can be welded or bent into complex or simple designs. They are easy to craft and industrially produce and cheaper than other types.
- Glass: Some people who like sleek and modern designs will like glass table legs. They are from thick tempered glass. The modern designs allow the glass to be colored, transparent, or frosted.
- Stone: Tables with stone legs have a rustic and classic beauty. They supply marble or granite. Stone table legs are durable, aesthetically pleasing, and elegant. Although they are heavy, this design is durable and reusable.
- Concrete: Concrete table legs are becoming more popular these days. It has many shapes and easily fits into any space. Especially for outdoor garden tables, this is the optimal choice for all weather conditions.
- Plastic: It has many different shapes. They are used for outdoor furniture because of their weather resistance and lightweight.
- Wrought iron: Wrought iron table legs are known for their traditional style of intricate decorative designs and patterns. Today, iron table legs are used on the streets because of their durability in all weather conditions, sturdy, classic beauty, and inexpensive.
- Composite materials are used because of their recyclability and environmental protection. Combining the advantages of many materials such as wood and metal, glass and plastic, etc., will increase the aesthetics and bring unique beauty to the table legs. Composite materials are low-cost and highly durable.
- Table legs can be provided with fabric or leather with these materials as an outer protective layer. The advantage of this layer is that it protects and matches the furniture in your dining room or living room.
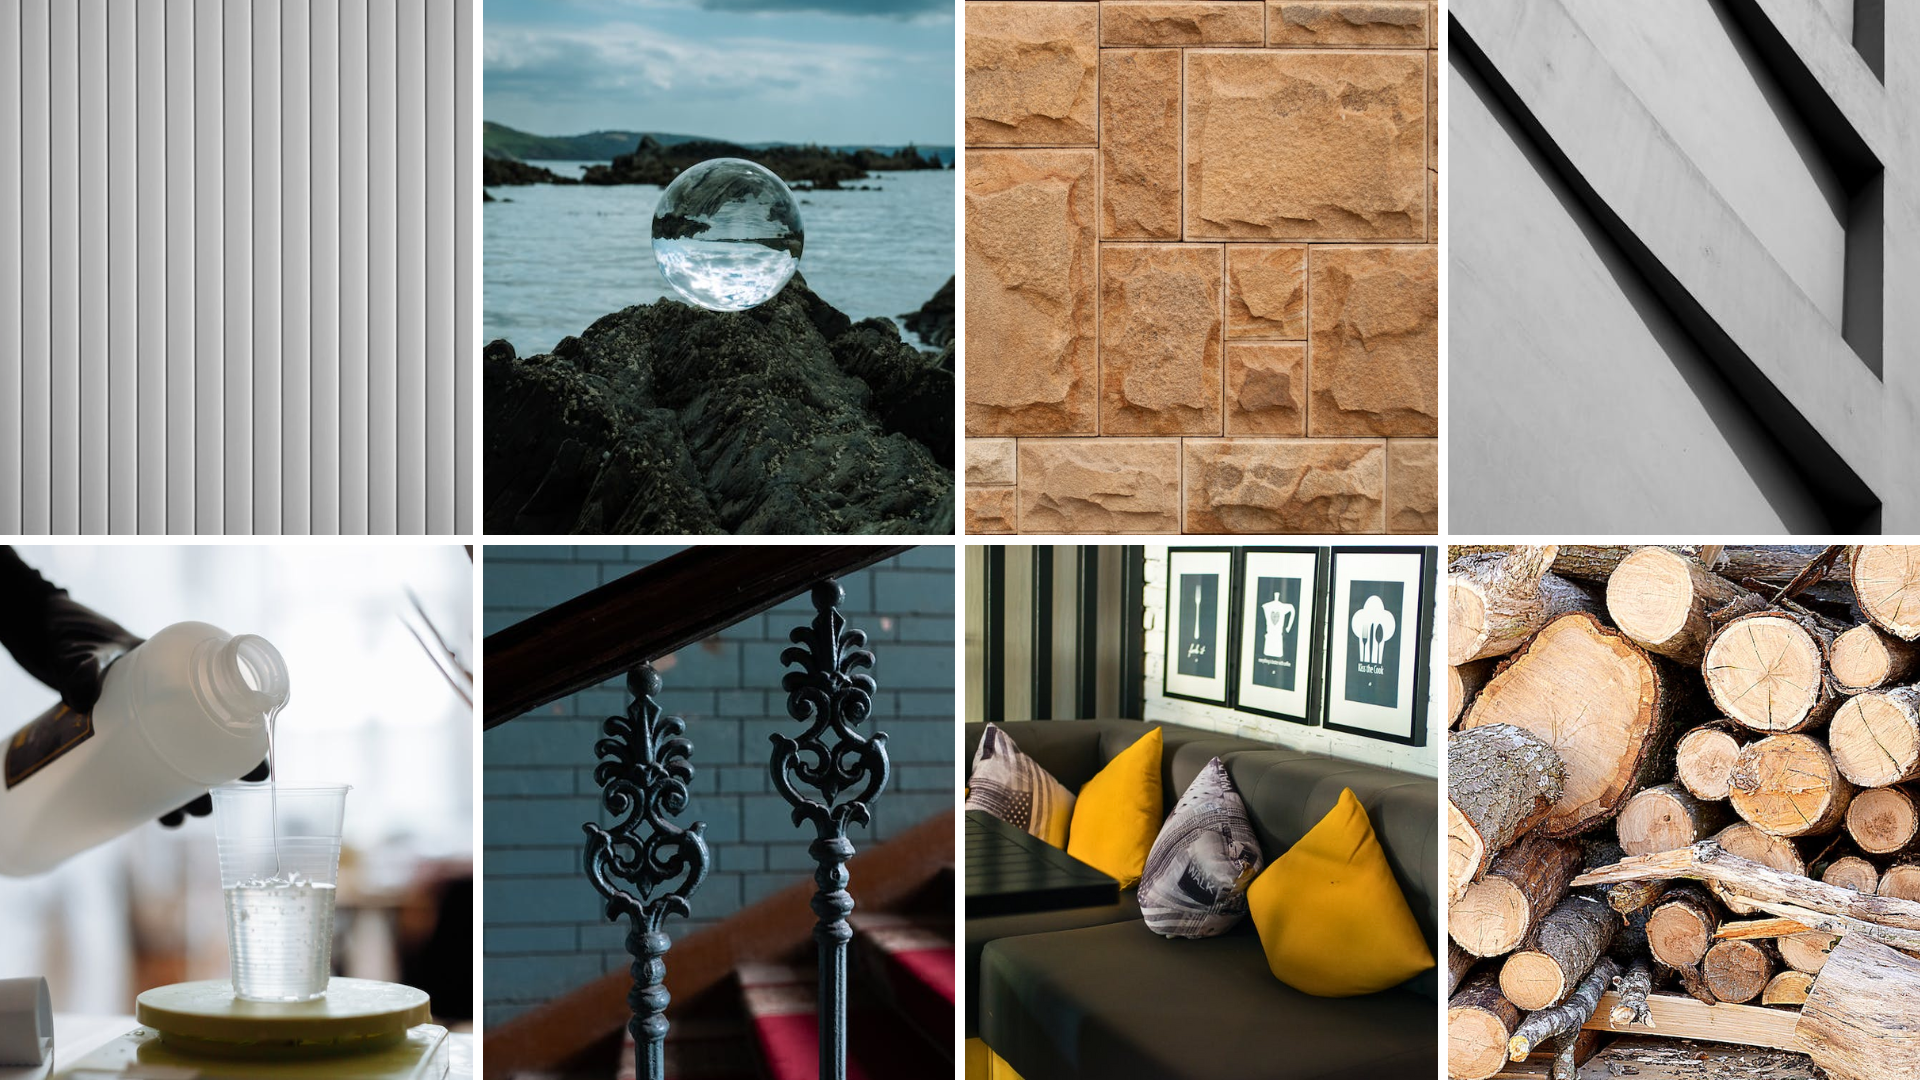
Some common materials for table bases
Credit: Flowyline Design
People will prioritize choosing wood material for the empty table because of its aesthetics and friendliness. However, the choice of material for the table legs depends on factors such as the desired style, budget, durability, and your intended use. There are many beautiful suggestions for table legs for an empty table you choose based on the above factors or any other crazy idea.

How to make a table base with metal table base
Credit: Flowyline Design
Order now: 307 Tulipe Metal Table Base; 308 Odila Metal Table Base
Making your wooden table legs is a creative and personal project. Hopefully, how to make a table base above will help you create a unique table that brings a personal touch to your home. Enjoy your new empty table with your friends and family! Don't forget to subscribe to Flowyline's newsletters or leave feedback on Google page to get a 10% discount on your next order!