When the summer comes with the warm air and the sun's rays, it is worth dining outside. Are you able to sense the thrill of having a party outside? With the following tips about a DIY boho picnic table, you can create your own outdoor table setting and host memorable gatherings with friends and family throughout the entire season.
What Is Boho Style?
Bohemian style is a colorful, eclectic look with global inspiration. It includes deep gem colors, organic earth tones, and bold, adventurous shades that create a sense of coziness and uniqueness. This design incorporates a variety of patterns such as detailed paisleys, delightful florals, and bold geometric designs that are commonly seen in fabrics and wall decorations. The layout of Bohemian spaces often features asymmetry, contributing to the relaxed and liberating vibe that encourages a free-spirited and artistic approach to interior design, making it a truly unique and captivating style to embrace. Furniture within the Boho style range can range from classic and old-fashioned pieces to items inspired by cultures around the world. For example, boho-style tables often feature eclectic designs with natural materials like wood, or wicker. This combo can add a free-spirited, earthy vibe to your space.

Boho picnic tables are usually built with wood
Credit: ©lechatnoir on Canva.com
Supplies
DIY picnic table boho is not just about building a piece of furniture; it’s about crafting an experience. In this guide, we will walk you through the steps by steps to make your own boho picnic table. Before you begin, make sure to prepare all the essential tools:
- 2 pallets (the same size)
- Circular saw
- Drill
- Nail gun
- Right angle drill attachment
- Screws (for outdoor use)
How to Make a Boho Picnic Table
Step 1: Deconstructing A Pallet Safely And Efficiently
The first thing you need to do is deconstruct one of your pallets. People would assume that only a hammer is needed for removing nails. However, do not try by using a hammer because the result you receive is just splinters and agony. You had better use a saw to cut through the nails rather than attempting to pull the pieces apart with a hammer. This technique not only ensures your safety but also proven to be simple and quick!

Deconstruct a pallet with a saw
Credit: ©FeelPic; Dizfoto on Canva.com
Obviously safety first! Nothing’s more important when working with tools than making sure you’re using them correctly and safely.
Step 2: Measuring to Cut Pallet Top Boards in Half for Easy Assembly
After you have taken apart the pallet, you will need to cut two wood pieces (which were originally part of the pallet top) in half lengthwise (Like a hotdog).
The spaces in the boards on the second pallet were so narrow that the piece of wood couldn't fit without being cut in half. To do this process, measure from the center of the board to the pallet you have taken apart. Then, draw a line down the middle to guide you.
Step 3: Cutting Boards in Half With a Circular Saw
After marking the boards, you place them on the sawhorses and make sure they are stable. Then, using a circular saw, you carefully cut each board in half and follow the marked lines to create clean, precise cuts. This step is needed in preparing the boards for the next step of the project.

Cut the wood boards in half to prepare for the next steps
Credit: ©ภาพของmeepoohyaphoto on Canva.com
Step 4: Using a Nail Gun to Filled in the Gaps of the Pallet
After cutting the boards in half, you use the pieces to fill the gaps in another pallet. You have to secure them with a nail gun to make it strong.

Step 5: Raise Your Tabletop off the Floor
Now that the tabletop was finished you just need to raise it up off the ground a little bit.
To do this, you can take the 2x4s from the deconstructed pallet and placed them on their sides under the pallet tabletop. Don’t forget to make sure that the 2x4s are the same distance from the sides of the pallet.
Step 6: Securing 2x4s to Pallet Table Top With a Right Angle Drill Attachment
Next, take the right angle drill attachment and drill to attach the 2x4s to the pallet. You can screw 2 screws at each end of the 2x4’s (In total I used screws to secure both of the 2x4s to the pallet tabletop.)
Now the boho picnic table is complete! It is such a simple DIY! You can combine different textures, colors, and natural elements to create a cozy oasis that shows off your very own style. Enjoy a relaxed, artistic atmosphere with loved ones in a place that’s both beautiful and comfy.
Why Should You Make a Boho Picnic Table?
This Boho picnic table is such perfect stuff for every summer trip that you should have. The price is more suitable when you try to make it yourself. It's ridiculously affordable, quick to assemble, easily stored, and can be switched out for longer or shorter legs as often as you wish. Sitting on the grass, enjoying the plant smell, it’s really much more than a simple picnic.

Enjoy a great outdoor family meal with the DIY picnic table boho
Credit: ©Nic54; Lucas Fonseca on Canva.com
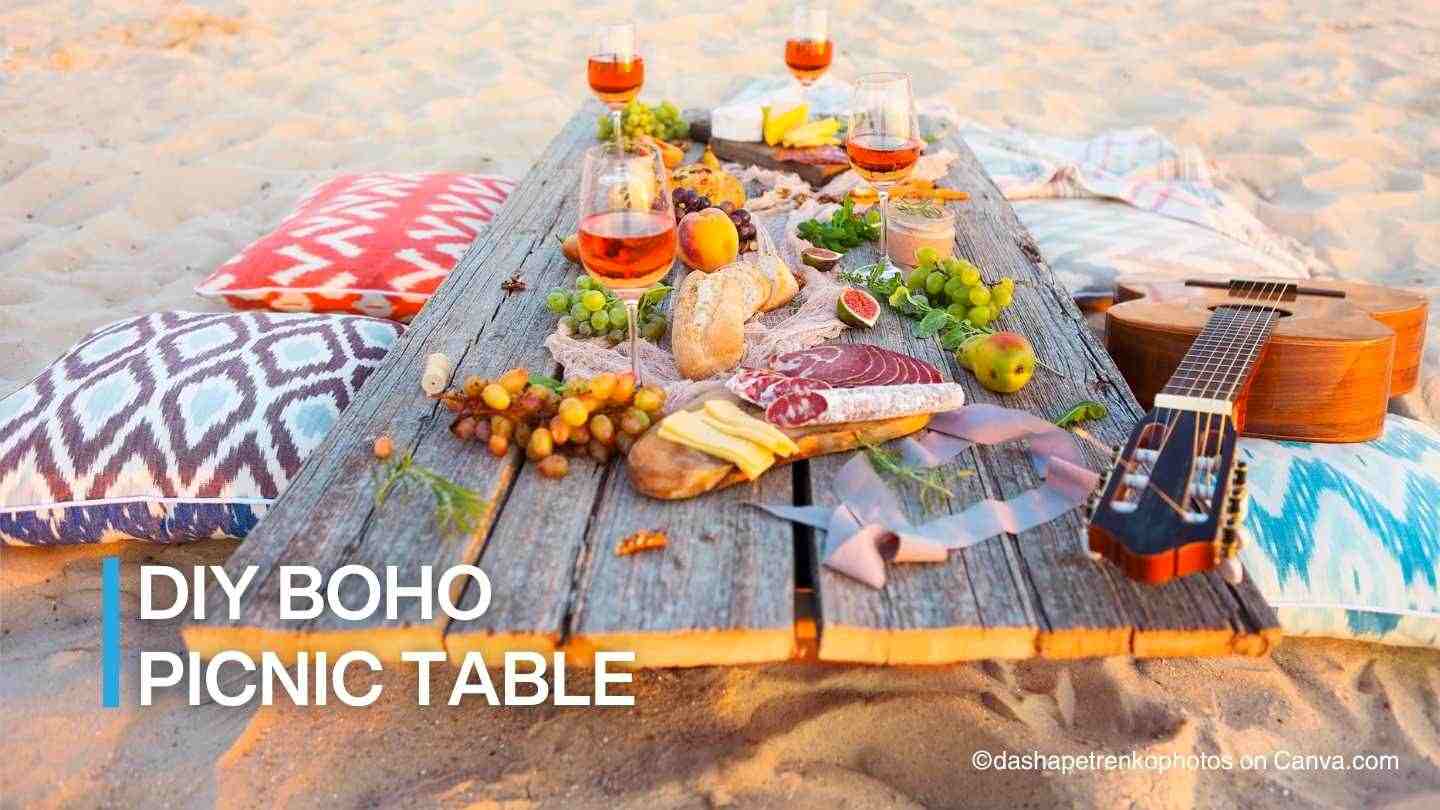
How to Style My Boho Picnic Table
If you are organizing a small outdoor event or a relaxed meal, a boho picnic table can elevate your outdoor gathering with bohemian flair. Decorating your boho picnic table with the appropriate decorations can turn your area into a bohemian paradise.
Start by layering textured blankets or rugs as a base, adding depth and comfort. Aim for mismatched cushions in earthy tones and vibrant patterns to bring colors and warmth to your setting. Then, use wooden platters, woven baskets, and fresh flowers or greenery to create a natural atmosphere. You can also choose rustic ceramics, vintage glassware, and gold or copper flatware to elevate the bohemian look for the table setting. This process ensures your boho picnic table is both inviting and Instagram-worthy.
Make Your Boho Table Legs Stable
You can totally achieve the perfect balance of boho style and stability by upgrading your boho table legs. Metal table legs not only enhance durability but also perfectly complement the free-spirited vibe of your space, adding a touch of modern style to your decor. With our expertly crafted metal legs, your DIY boho table will stand strong while maintaining its unique charm.
Flowyline Design's metal outdoor table legs and bases are expertly handcrafted by skilled metal furniture makers, ensuring long lasting durability and a unique aesthetic. The advantages of the powder coating finish not only make our products suitable for outdoor use but also offer a wide variety of designs perfect for creating distinctive outdoor settings. Furthermore, the table legs also offer adjustable levelers, which also strongly affect your outdoor settings.

Credit: Flowyline Design
Shop now: 446 Cleo Coffee Table Legs; 117 Uzar Bench Legs
Building your own DIY boho picnic table is a fun way to add some character to your outdoor space. Using natural materials and colorful touches, you can create a unique picnic table that’s perfect for any backyard hangout. Follow our easy steps to make a picnic table that’s truly your own. For more useful blogs and exclusive offers, subscribe to our emails and be the first to know about exciting new products, flash sales, giveaway events, and special discount codes you won’t want to miss.