
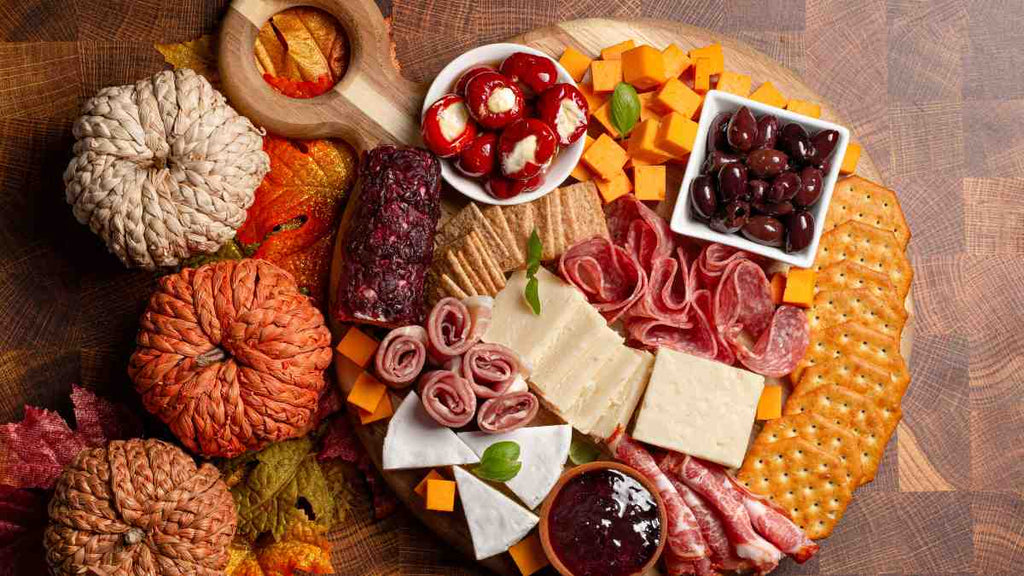
Charcuterie boards are a delightful addition to any gathering, offering a variety of cured meats, cheeses, fruits, and more. However, did you know that without proper care, your beautiful board could become a breeding ground for bacteria, leading to cross-contamination and other health risks? Maintaining your board may require the proper techniques. This guide on how to clean a charcuterie board will be your trusty companion on the journey to maintaining the cleanliness and longevity of your charcuterie board. Let’s dive into the world of proper charcuterie board care and ensure your culinary masterpiece remains safe and delightful for all your gatherings.
Why Clean Your Charcuterie Board?
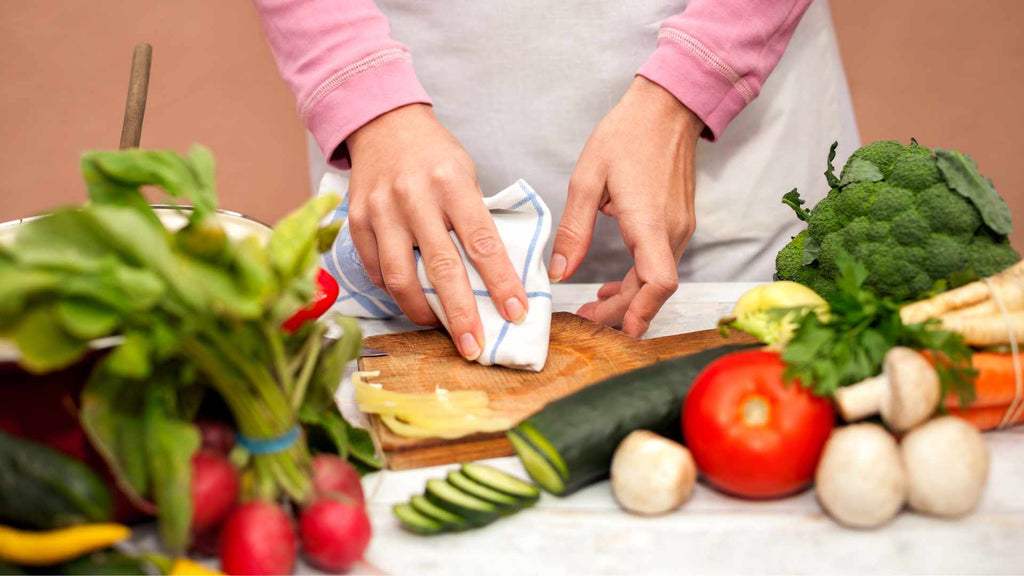
A well-maintained charcuterie board not only looks appealing but also ensures the flavors of your food aren't compromised. Over time, food particles can seep into the board, leading to bacterial growth and unpleasant odors. Regular cleaning prevents this, keeping your board fresh and ready for your next culinary adventure.
The importance of cleaning your charcuterie boards
Credit: ©Adrian Sava on Canva.com
The Unfavorable Effects of Using A Dirty Charcuterie Board
- Cross-contamination: If you use the same board for different types of food without cleaning it in between, you may run the risk of cross-contamination. For example, bacteria from raw meat can be transferred to other foods, leading to foodborne illnesses.
- Bacterial growth: Over time, food particles can seep into the board, leading to bacterial growth and unpleasant odors. This can compromise the flavors of your food and pose a health risk.
- Allergen contamination: Using the same utensils to select multiple items from the board can cause cross-contamination of allergens, which may impact guests with food allergies.
- Damage to the board: Not cleaning the board properly can also lead to physical damage. Food residues can cause stains, and moisture can lead to warping or cracking.
Some negative effects of utilizing a dirty charcuterie board
Credit: ©AboutnuyLove on Canva.com
Step-by-step Guide on How to Clean Charcuterie Board
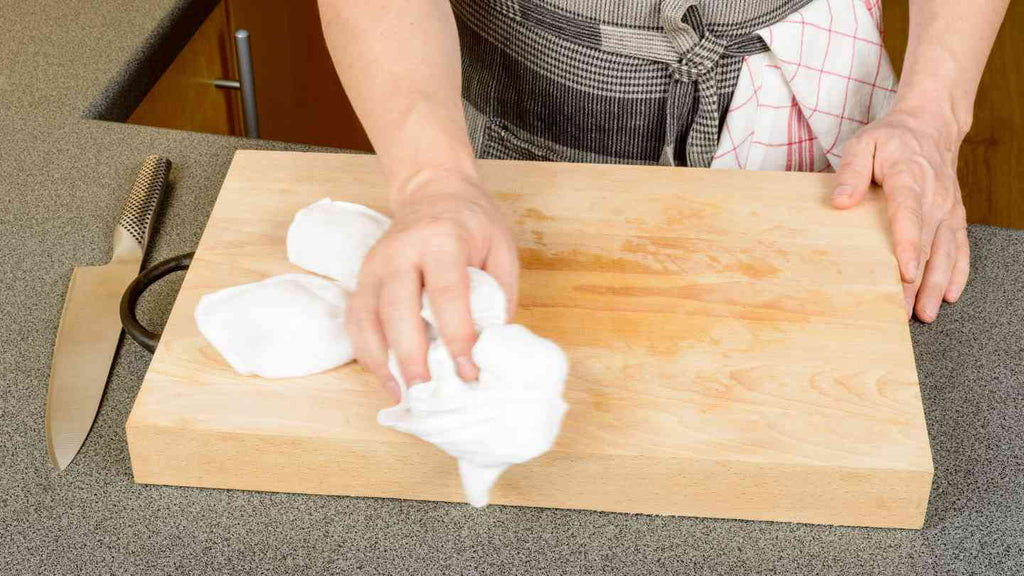
Step 1: Clear the board
Start by removing any leftover food from your board. Be gentle to avoid scratching the surface. A soft cloth or spatula can be helpful in this process.
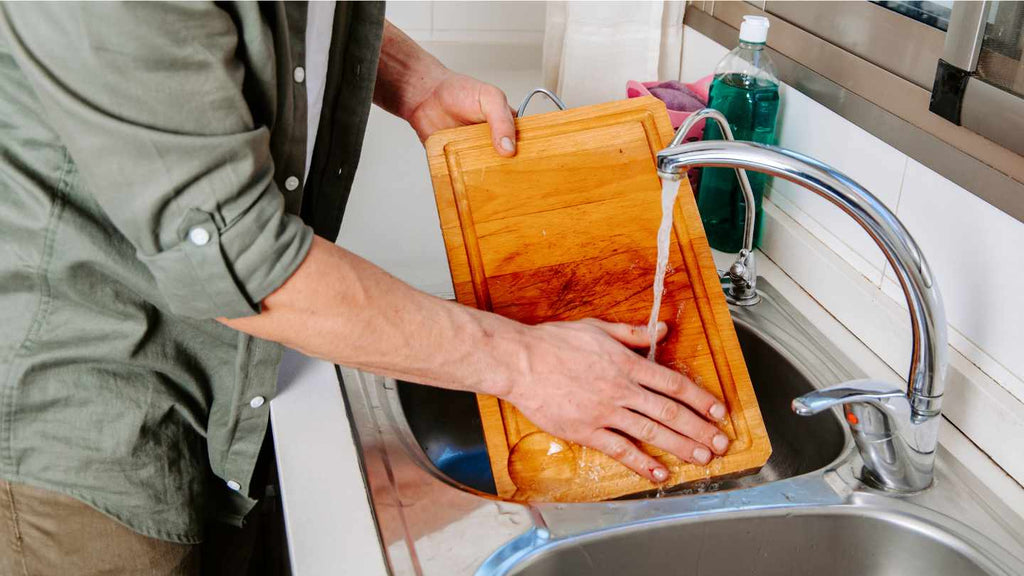
Step 2: Wash the board
Next, wash your board with warm, soapy water. Avoid soaking the board as this can cause it to warp or crack. Instead, use a soft sponge to gently scrub the surface. Remember, harsh detergents and abrasive sponges can damage your board.
Step 3: Rinse and dry
Rinse the board thoroughly under warm water to remove any soap residue. Once rinsed, dry the board immediately with a clean towel. Never leave your board to air dry, as this can lead to warping.
Step 4: Sanitize
For an extra layer of cleanliness, consider sanitizing your board. Mix a solution of 1 part vinegar to 5 parts water and wipe the board. The acetic acid in the vinegar acts as a natural disinfectant.
Step 5: Oil your board
Once your board is clean and dry, it's time to oil it. Regular oiling prevents the wood from drying out and cracking. Use food-grade mineral oil or a special cutting board oil. Apply the oil in the direction of the grain using a soft cloth, let it soak in, then wipe off the excess.
Step 6: Store properly
Finally, store your board in a dry, cool place. Avoid stacking anything on top of it to prevent warping.
Detailed guide on how to clean a charcuterie board
Credit: ©Reimphoto on Canva.com
Some Alternative Methods to Clean Your Charcuterie Board
- Using salt and lemon: If your board has stubborn stains or smells, a mixture of kosher salt and halved lemons can be effective. Rub the lemon on the salted board, let it sit for a few minutes, then rinse.
- Vinegar and baking soda: Another natural disinfectant is a mixture of vinegar and baking soda. Apply the mixture, scrub gently, then rinse.
- Food-grade wax: For extra protection, consider using food-grade wax in addition to oil. This can provide a protective layer and help maintain the board's appearance.
- Sandpaper: If your board starts to feel rough, lightly sanding it with fine-grit sandpaper can restore its smoothness.

Other ways to clean charcuterie boards
Credit: ©FreezeFrames on Canva.com
Frequently Asked Questions (FAQs)
Are Wood Charcuterie Boards Safe?
Yes, wood charcuterie boards are safe to use. They are a popular choice due to their durability and natural antimicrobial properties. However, it’s important to choose hardwoods like maple, walnut, cherry, or oak, as they are dense and less porous than softwoods. Softwoods like pine or cedar can absorb moisture easily, making them more prone to bacterial growth.
Wooden charcuterie boards are safe for food containing
Credit: ©pamela_d_mcadams on Canva.com
Are Charcuterie Boards Sanitary?
Charcuterie boards can be sanitary if properly maintained. It’s crucial to clean the board thoroughly after each use to prevent the spread of bacteria. Also, it’s important to separate raw and cooked foods on the board to prevent cross-contamination. Using clean serving utensils and washing hands thoroughly before handling food can also help maintain the board’s sanitation.
Charcuterie boards can remain hygienic if properly cleaned
Credit: ©CherriesJD on Canva.com
How Do You Make A Charcuterie Board Safe to Eat Off?
Start with clean hands, surfaces, and boards. Wash the produce and fresh herbs before using. Cut produce and cheeses need to be refrigerated until served and should not be kept at room temperature for more than 2 hours total. Use separate cutting boards for raw meats and other items to prevent cross-contamination. After use, clean and sanitize the board properly with hot, soapy water, then sanitize it with a food-safe sanitizer.

Keeping a charcuterie board hygienic is an optimal way to protect your health
Credit: ©bhofack2 on Canva.com
Learning how to clean a charcuterie board may seem like a daunting task, but with these steps, it's a breeze. Consistent cleaning and upkeep not only guarantee the longevity of your board but also ensure it remains ready to dazzle at your forthcoming events. More importantly, this routine is a vital measure in safeguarding the health of your family and friends. A mere 15-minute investment each week can make a significant difference. So, let’s embrace the habit of regularly cleaning our charcuterie boards, paving the way for delicious and healthful culinary experiences.