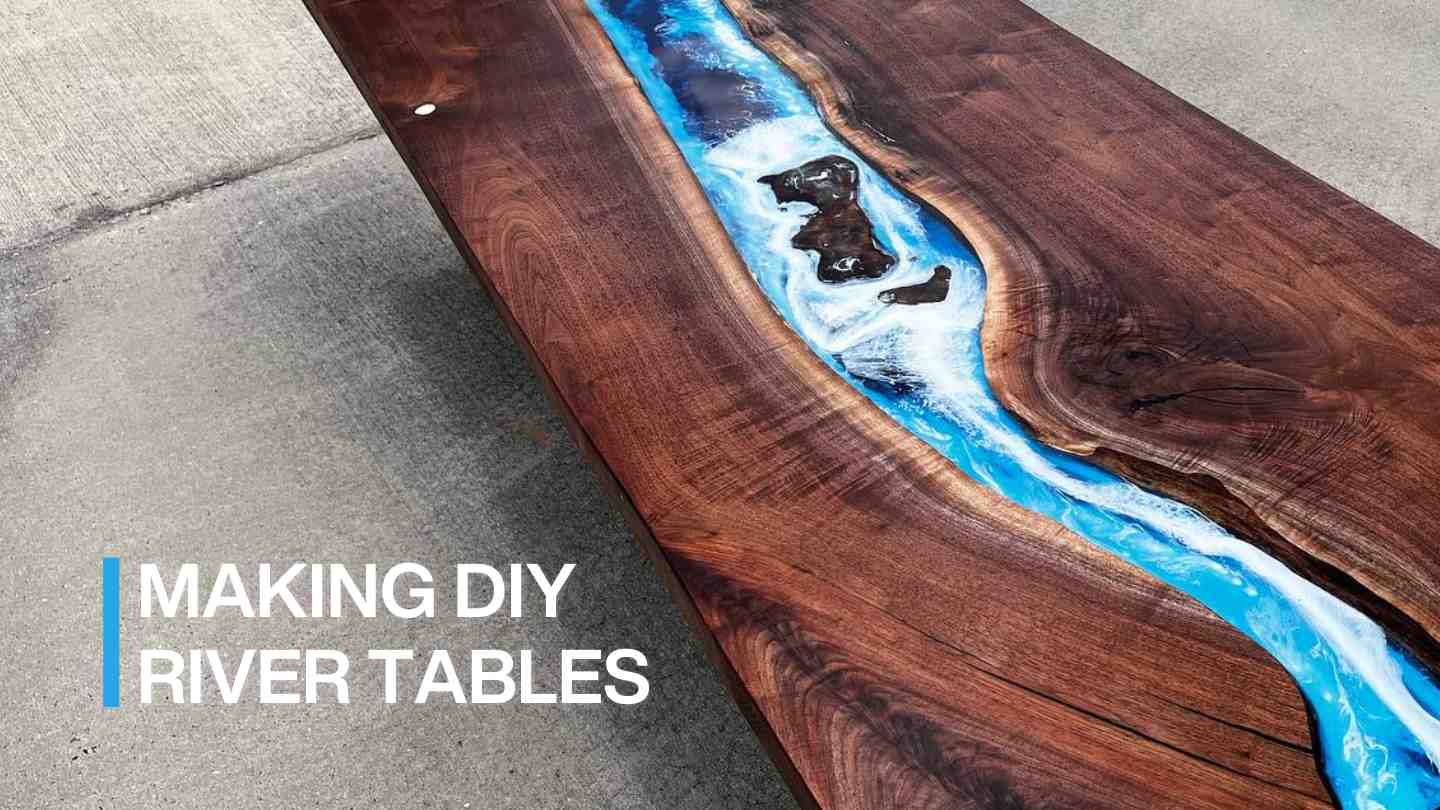
River tables, captivating with their exceptional designs and unique allure, have emerged as a sought-after trend in the realm of interior design. These masterpieces harmoniously blend the raw elegance of wood with the contemporary appeal of epoxy resin, resulting in an artistic yet practical piece. Embracing this innovative theme, you can craft an array of distinctive tables, each boasting a unique beauty. Let’s embark on a journey to learn how to build a river table, destined to become the true centerpiece of your exquisite home.
Materials Needed
- Live edge slabs
- Metal legs for table
- Epoxy resin
- Wooden mold
- Pigment (optional)
- Sandpaper (various grits)
- Wood finish (polyurethane, lacquer, etc.)
- Tools (saw, clamps, router, etc.)
- Protective clothing

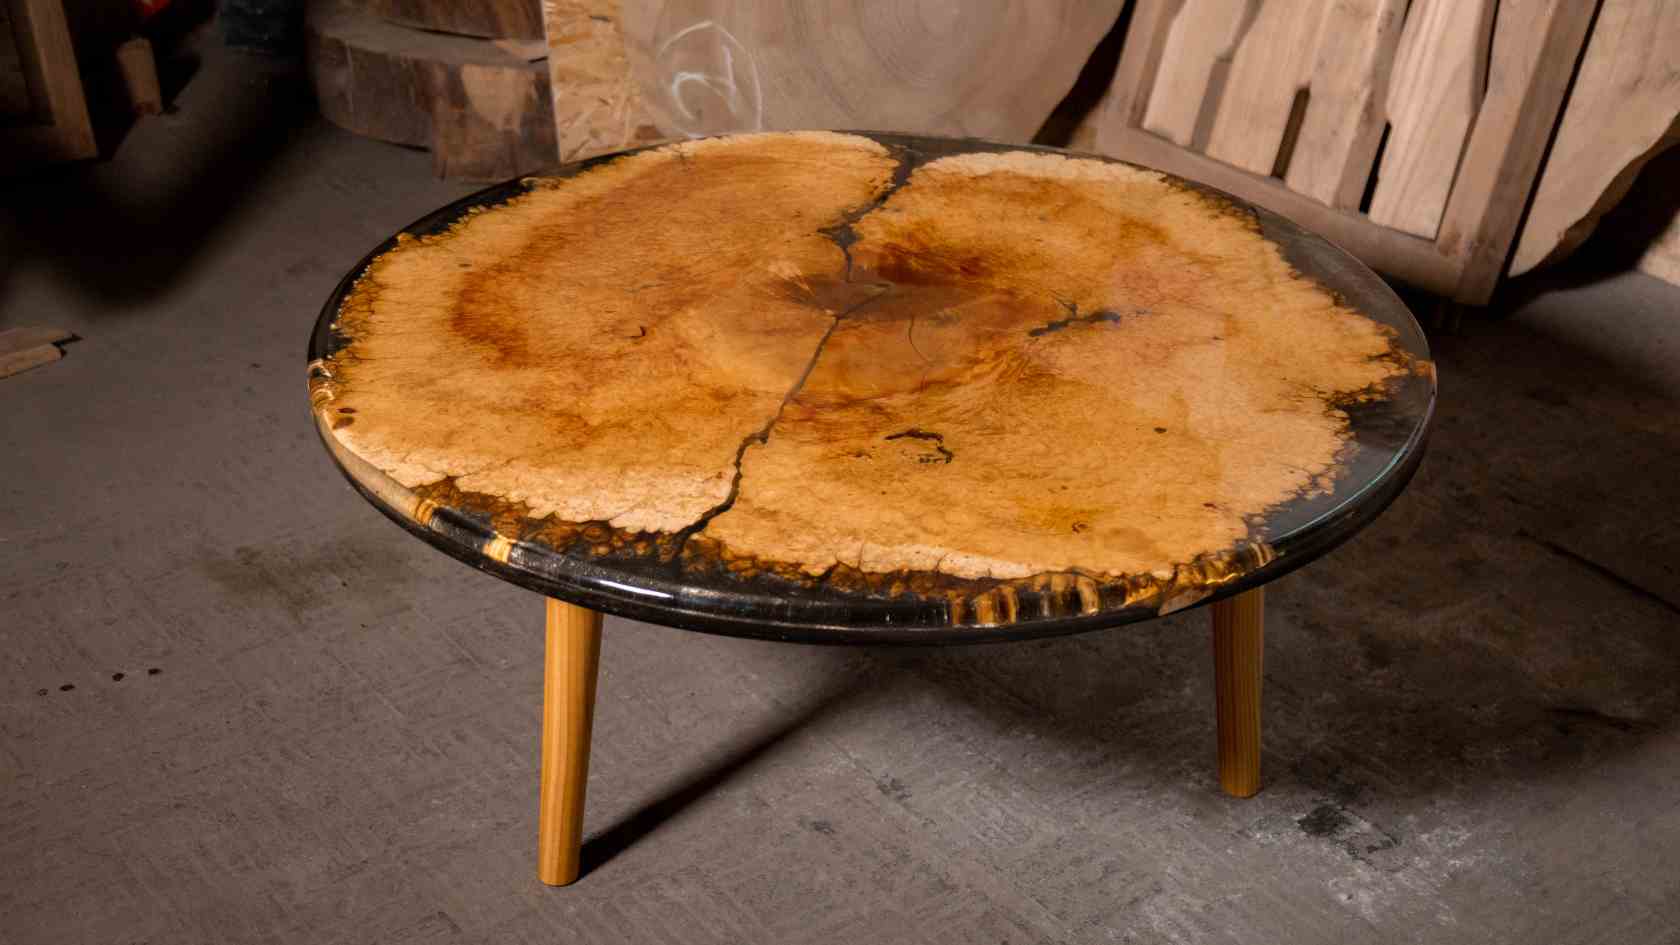
Get ready to build a gorgeous river table
Credit: Flowyline Design
Related products:
Step-by-Step Instruction
Step 1: Choose your wood
The first step in creating a river table is selecting your wood. Live edge slabs are commonly used for this purpose. The natural edge of the slab will serve as the "riverbank" in your design. Walnuts and olives are two common pieces of wood for this type of project.
Step 2: Prepare the wood
Once you've chosen your wood, it's time to prepare it. This involves cutting it to size, sanding it smooth, and ensuring it's completely dry. Removing wood bark off the side of your wood slab is also an important step toward having the perfect piece of furniture.
Step 3: Arrange the wood slabs
Next, put your wood slabs into the mold and arrange them on your work surface with the live edges facing each other. This will create the "river" in your river table.
Remember to meticulously seal the exterior of your mold to prevent any potential leakage of epoxy during the curing process.
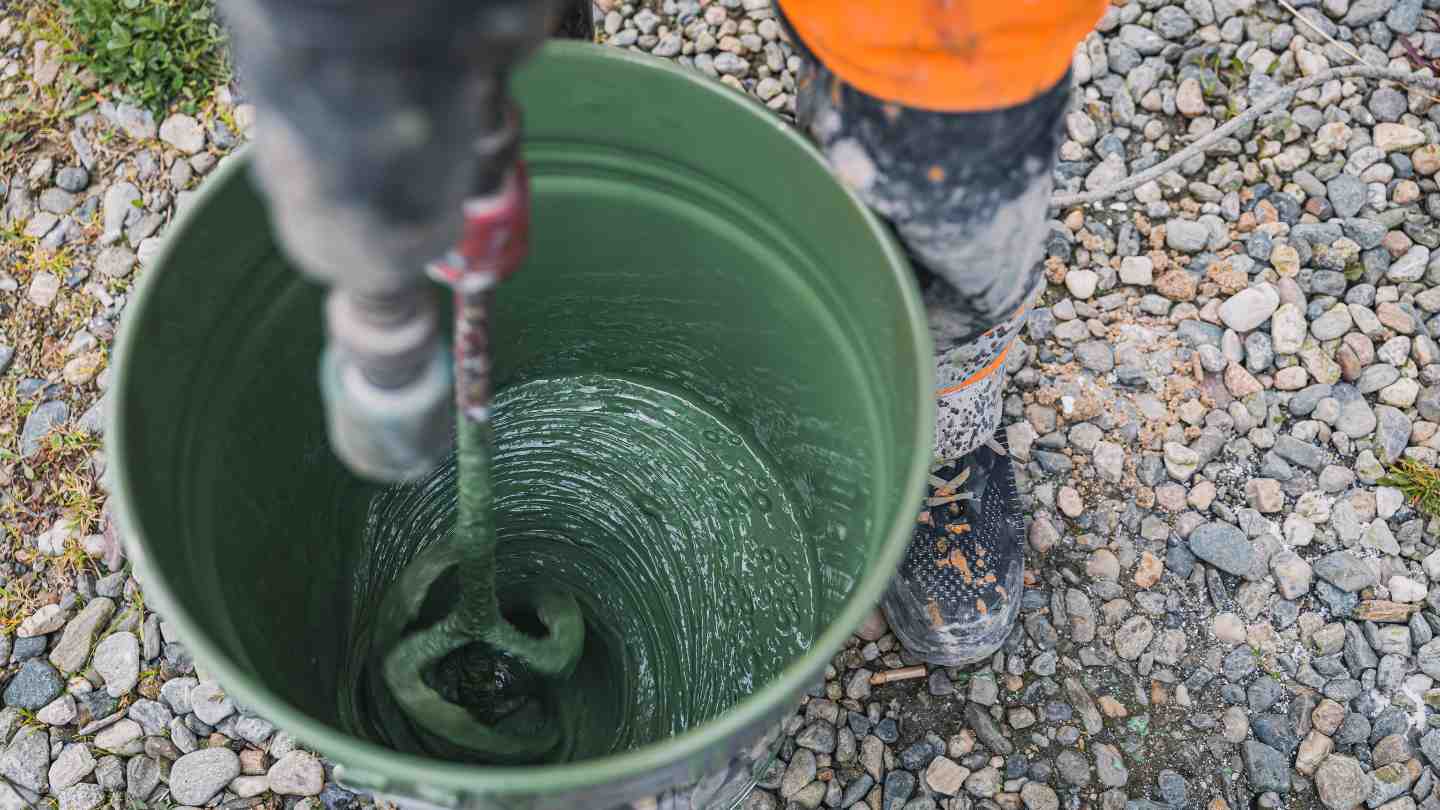
Step 4: Mix and pour the epoxy
Now it's time to mix your epoxy resin. If desired, you can add pigment to the epoxy for a touch of color. Once mixed, pour the epoxy between the slabs, filling the "river" you've created.
Step 5: Let it cure
After pouring the epoxy, you'll need to let it cure. This can take anywhere from 24 hours to several days depending on the type of epoxy used and the thickness of your river table.
Step 6: Sand and finish the tabletop
Once the epoxy has fully cured, sand the table smooth, starting with a coarse grit sandpaper and working your way up to a fine grit. Finally, apply your chosen finish to protect the wood and give it a beautiful sheen.
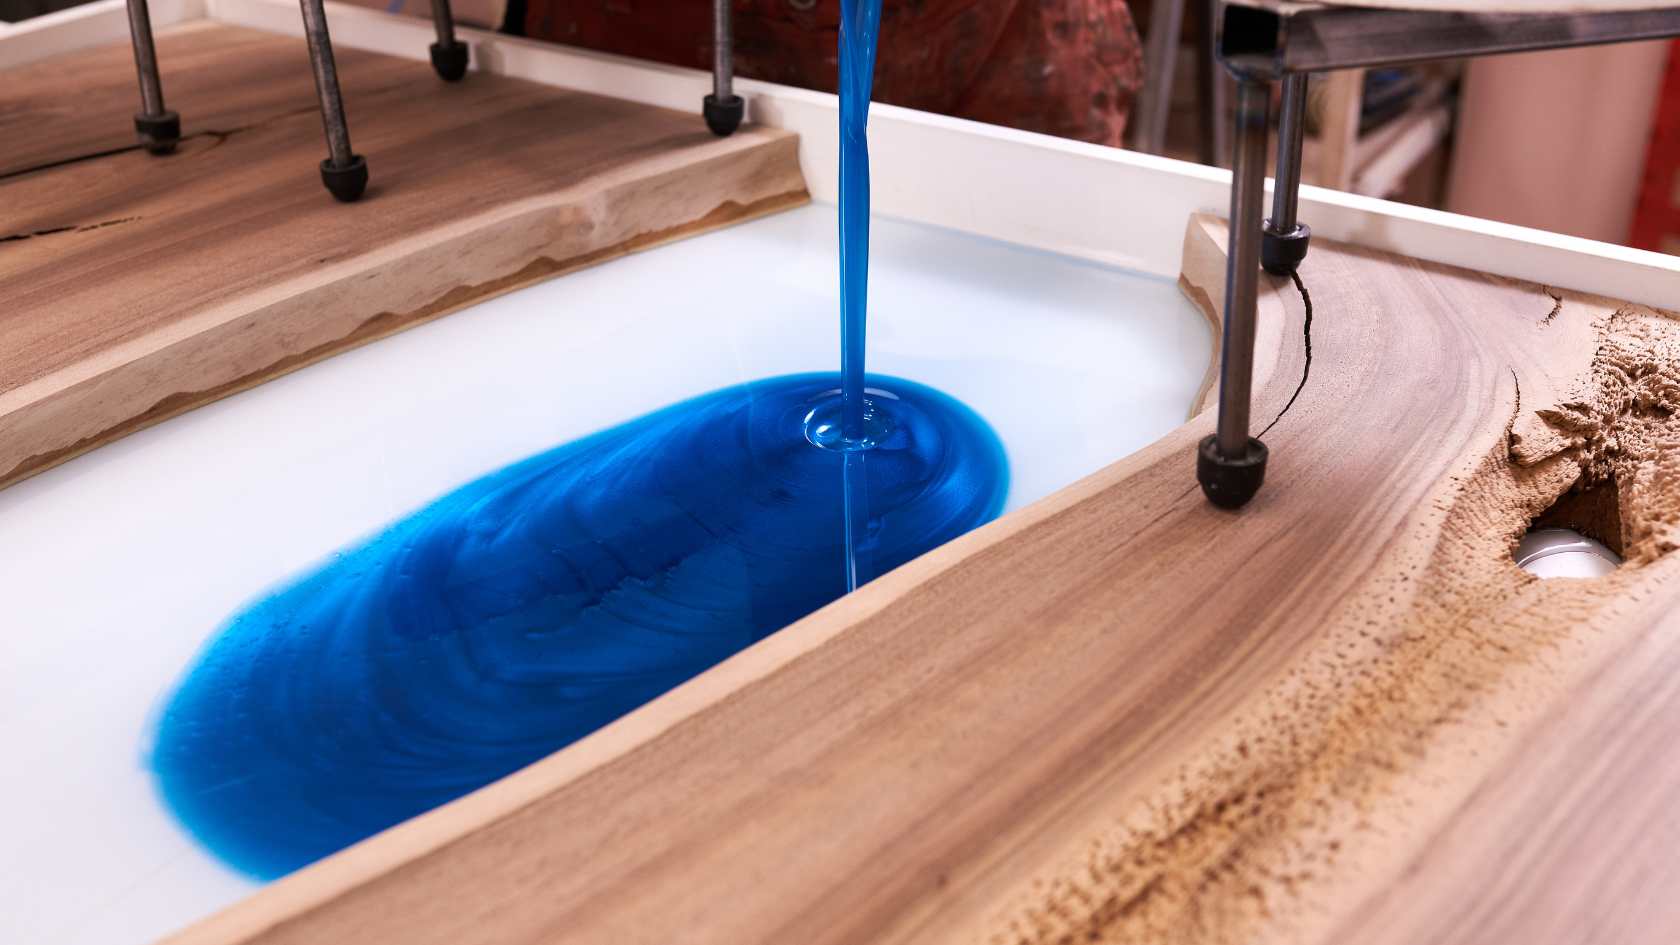
Detailed guide to make a DIY river table
Credit: ©sandsun on Canva.com
Common Challenges When Crafting River Tables
Bubbles in the Epoxy Resin
Bubbles can form in the epoxy resin during the curing process. To prevent this, ensure the resin is mixed slowly to avoid introducing excess air. If bubbles do appear, a heat gun can be used to pop them.

You can use a heat gun to pop the air bubbles in the epoxy
Credit: ©Grigory Pil on Canva.com
Uneven Surfaces
Uneven surfaces can occur if the table isn't level during the curing process. Use a level to ensure the table is flat before pouring the resin. If the surface is still uneven after curing, it can be sanded down to achieve a smooth finish.
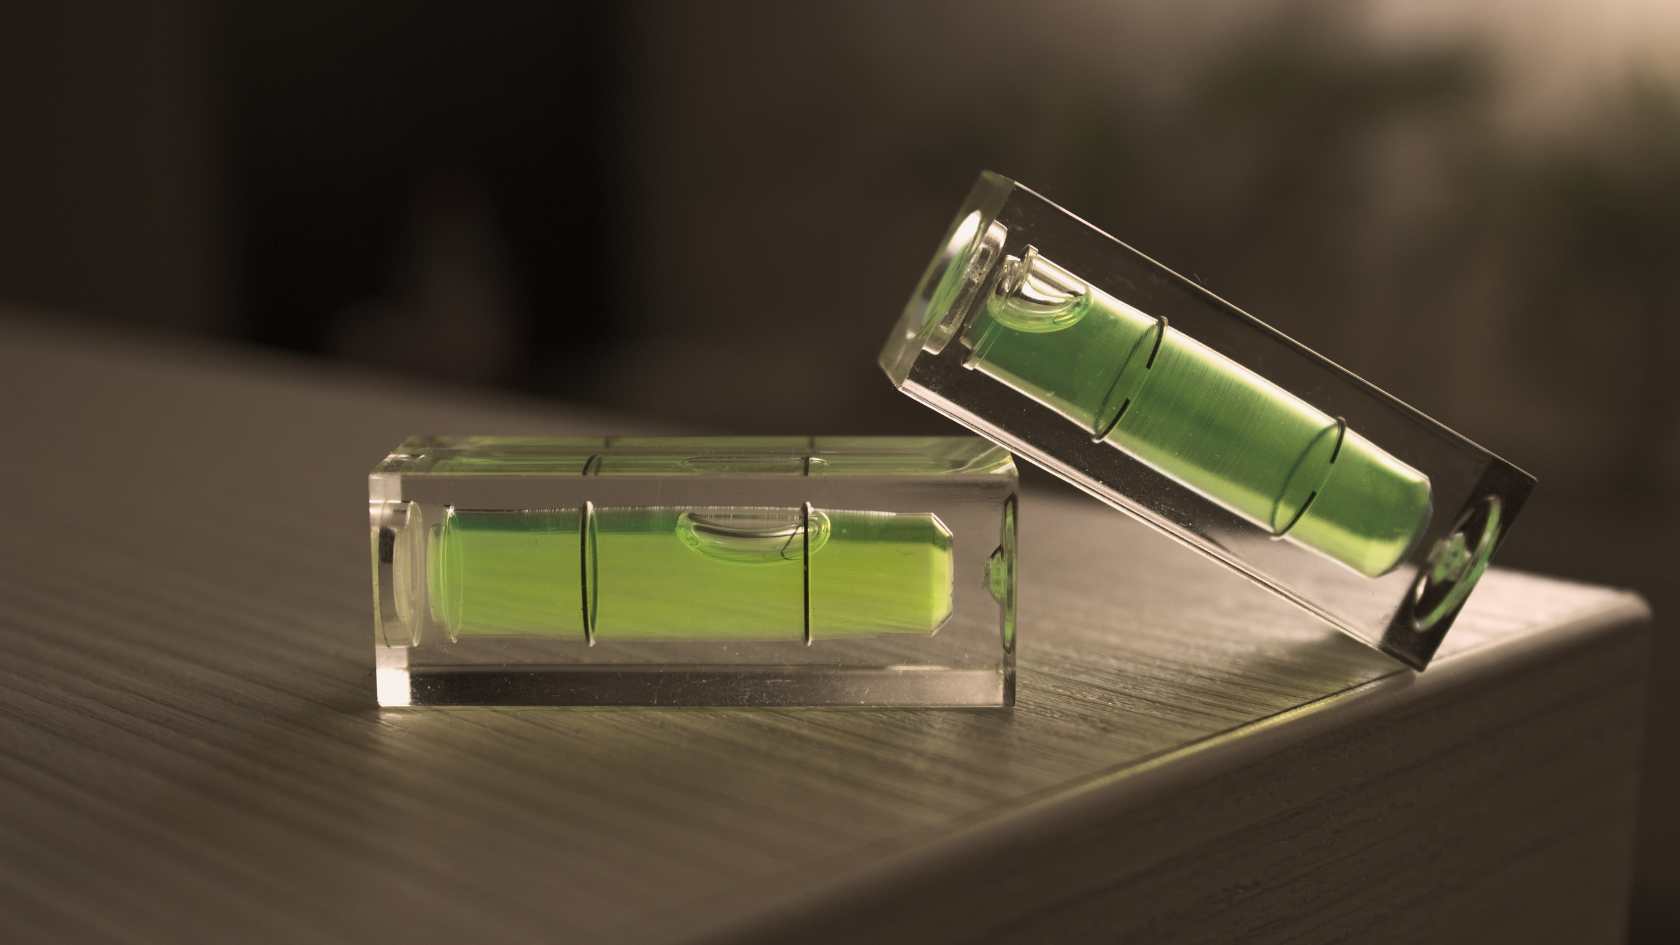
Uneven surface is also a common issue when pouring epoxy tables
Credit: ©Studio_Iris on Canva.com
Wood Movement and Cracking
Wood can move and crack due to changes in temperature and humidity. To minimize this, make sure the wood is properly dried before use. Applying a sealant and using clamps can also help to reduce movement and prevent cracks.

How to deal with wood movement and cracking?
Credit: ©Kevin George on Canva.com
Poor Adhesion Between Wood and Resin
If the resin doesn't adhere well to the wood, it can lead to gaps or peeling. To prevent this, the wood should be properly sanded and cleaned before the resin is poured. Using a primer or sealant can also improve adhesion.
Using C-channels is also an ideal way to keep your tabletop flat and more durable.
Wood and epoxy are usually separated
Credit: Flowyline Design
Related product:
Incomplete Curing
If the resin doesn't cure completely, it can remain sticky or soft. This can be caused by incorrect mixing ratios or temperatures. Always follow the manufacturer's instructions for the best results.
Remember to mix the proper ratio for a total cure
Credit: ©Doralin Tunas on Canva.com
Choosing the Right Table Legs for Your River Table
Wood
Wooden legs can add a warm, natural touch to your river table. They can be made from the same type of wood as your tabletop for a cohesive look, or from a contrasting wood to create an interesting visual effect.
Wooden table legs can bring a touch of nostalgia to your home
Credit: ©BAKHROM on Canva.com
Aluminum
Aluminum legs are lightweight yet sturdy, and they can give your river table a modern, sleek look. They’re also resistant to rust, which makes them a good choice for outdoor river tables.
Aluminum is also a great material to make furniture
Credit: ©geckophotos on Canva.com
Brass
Brass legs can give your river table a touch of elegance and sophistication. They pair particularly well with darker woods and tinted epoxy resins.
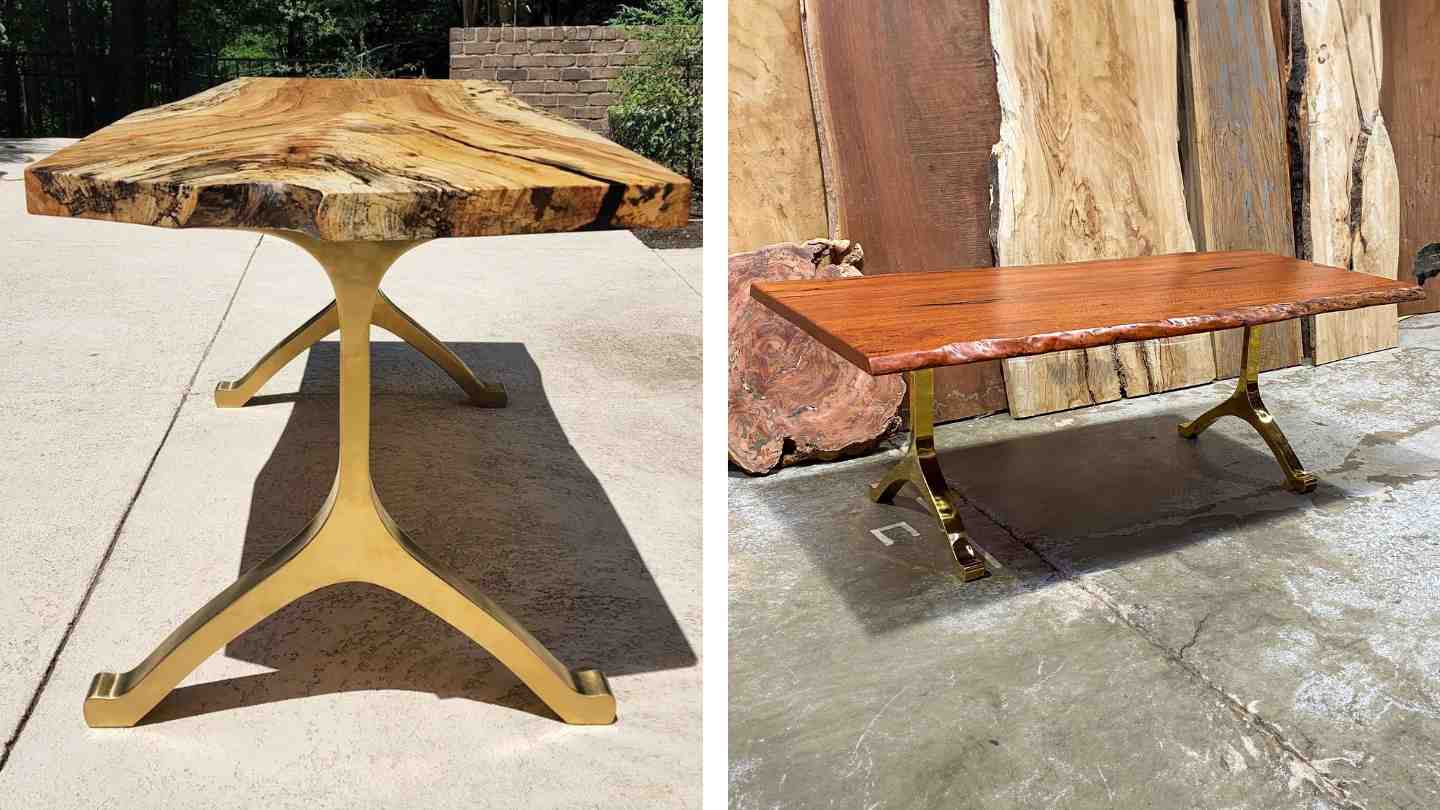
The gold brass shade can add a sense of modernity and luxury to your living space
Credit: Flowyline Design
Related product:
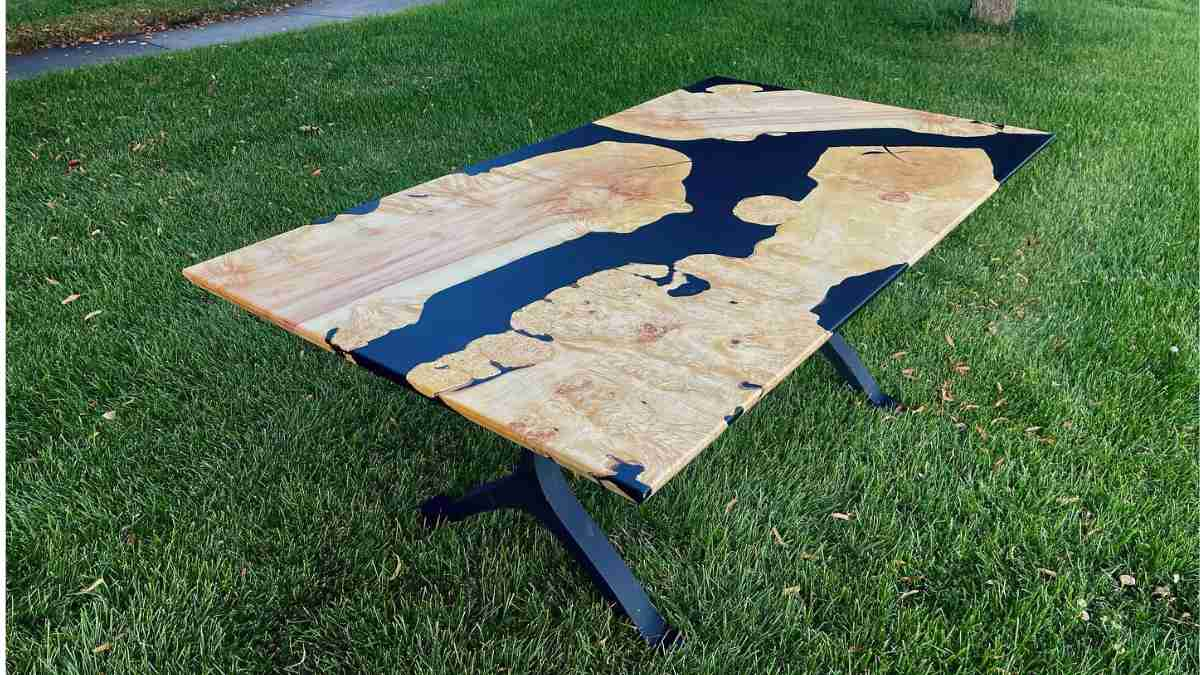
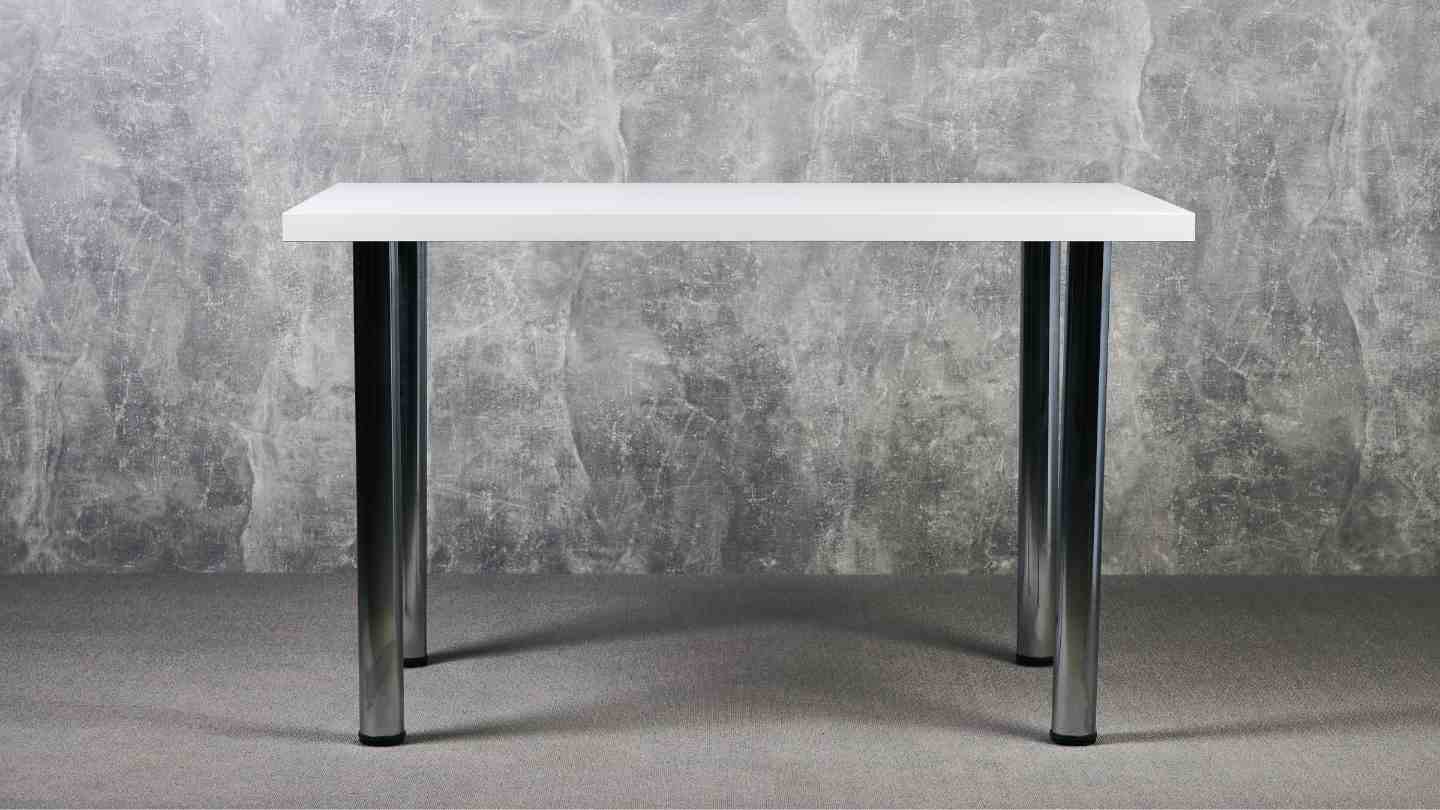
Steel
Steel legs, particularly those with a black or dark finish, can provide a nice contrast to the natural look of the river table. They also add an industrial touch to the design.

Steel table legs with power-coated finish are sturdy and integrate easily into any home décor style
Credit: Flowyline Design
Related product:
Learning how to build a river table may seem daunting, but with a little patience and the right materials, anyone can create a stunning piece of functional art. So why not give it a try? You might just find that the process of creating is as rewarding as the finished product itself. If your river table design calls for unique and contemporary steel table legs, our customer service team stands ready to assist you with complimentary 3D models. Here’s to the joy of crafting and the beauty of creation!