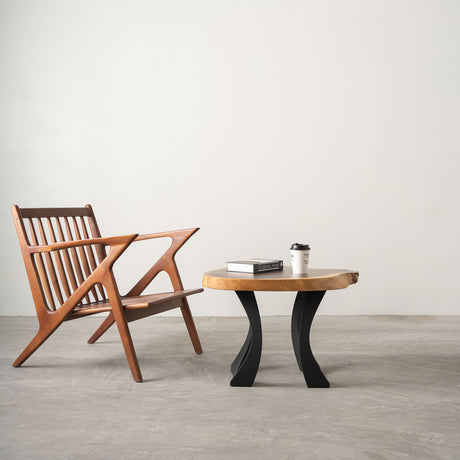
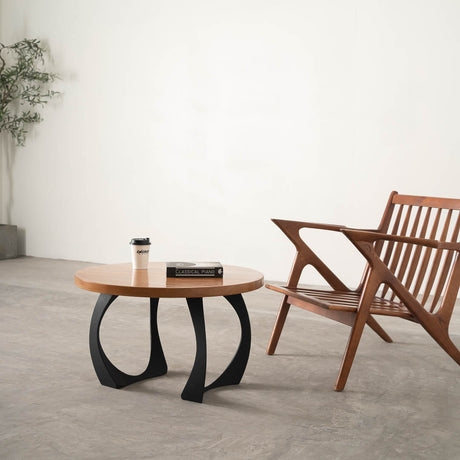
- Best Seller
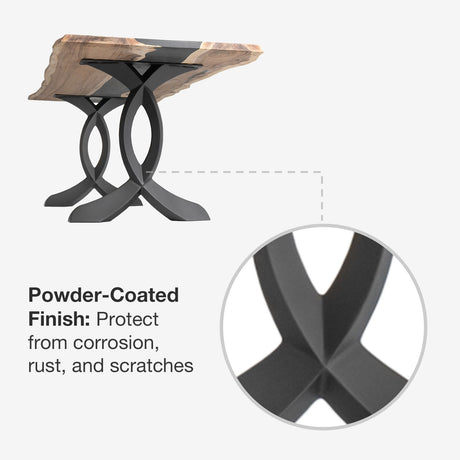
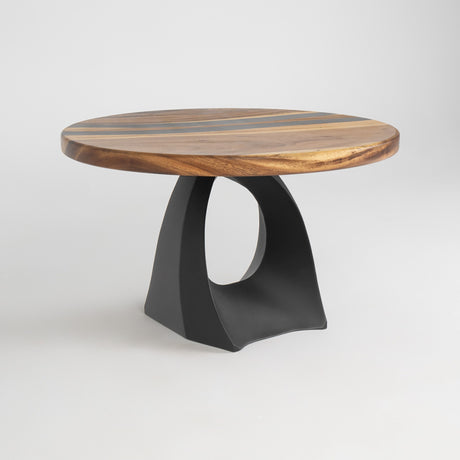
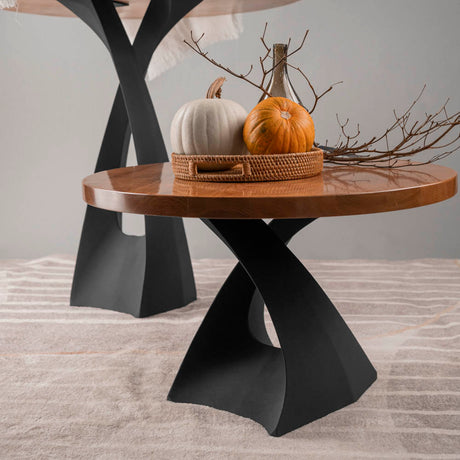
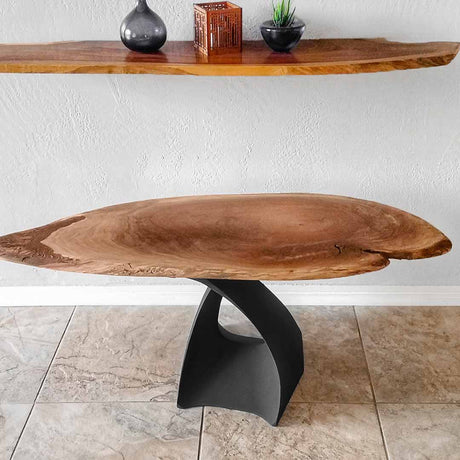
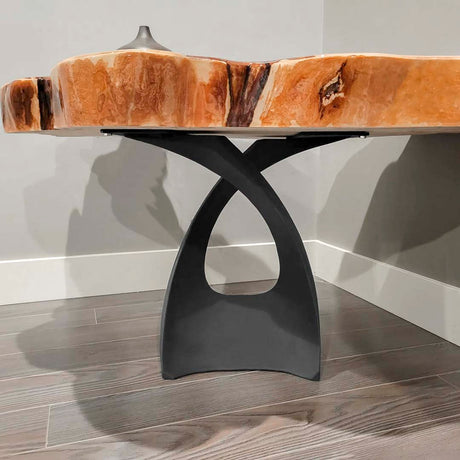
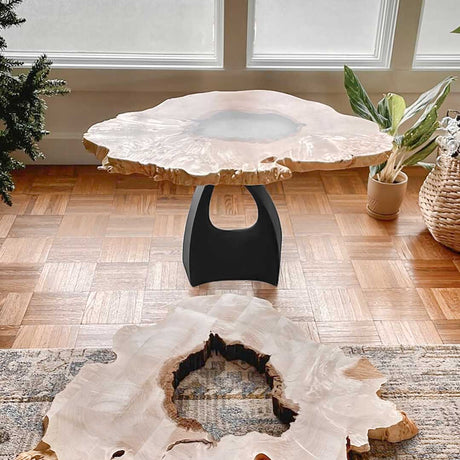
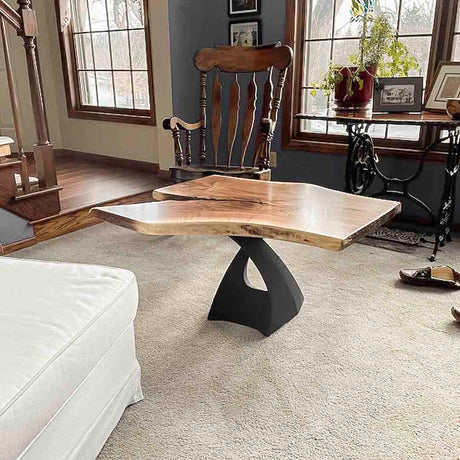
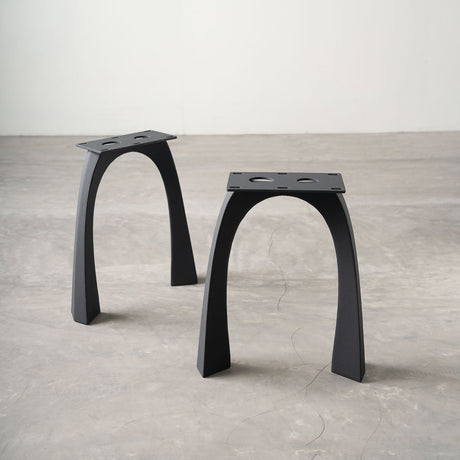
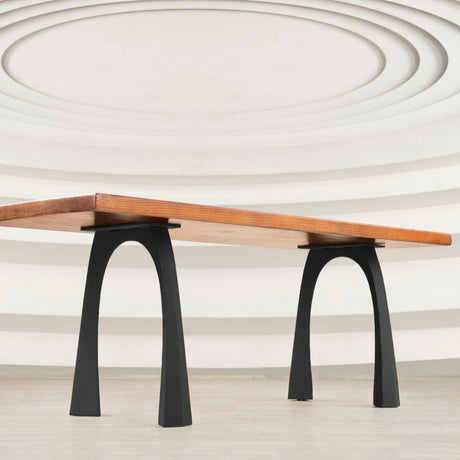
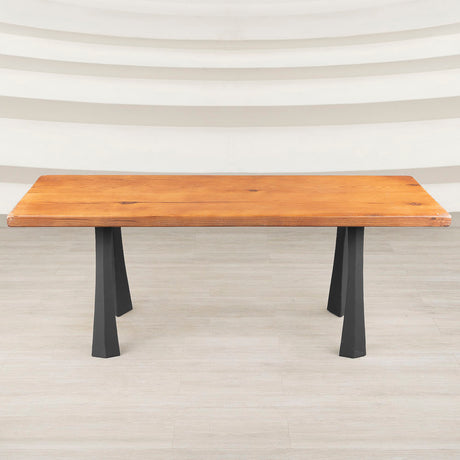
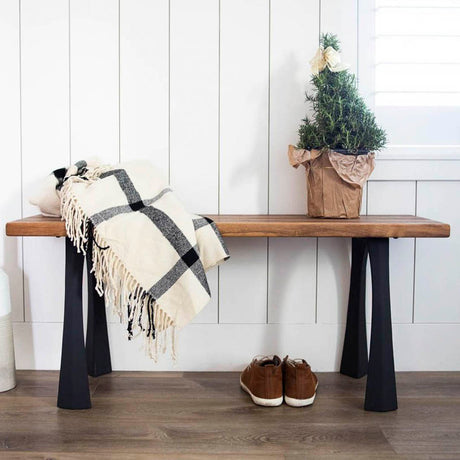
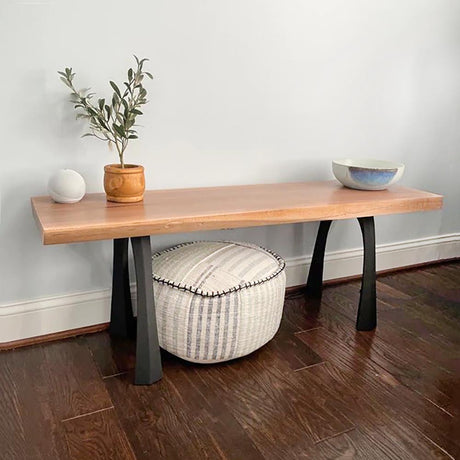
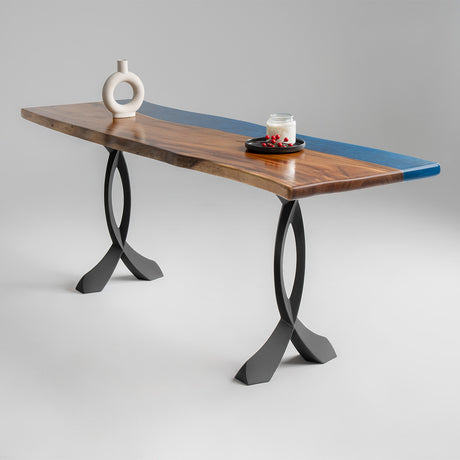
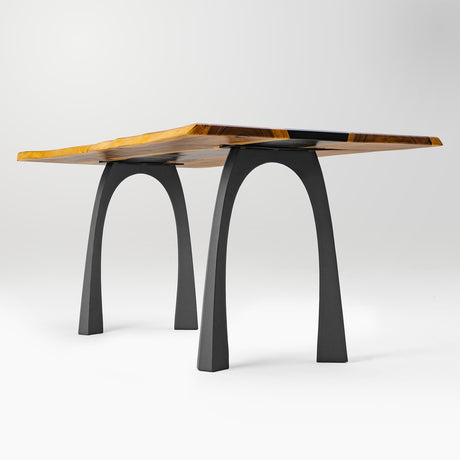
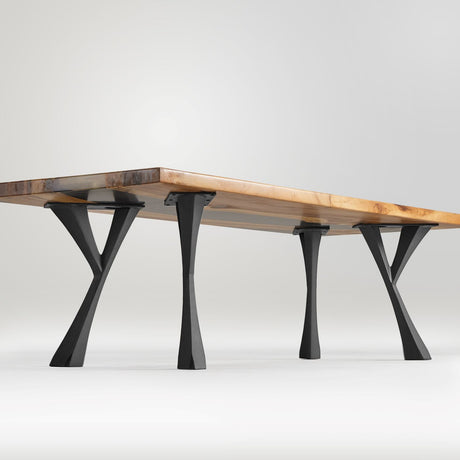
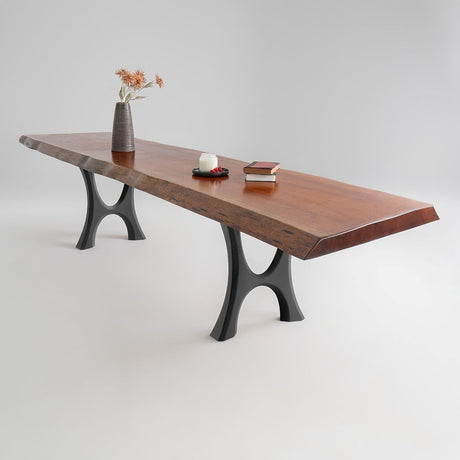
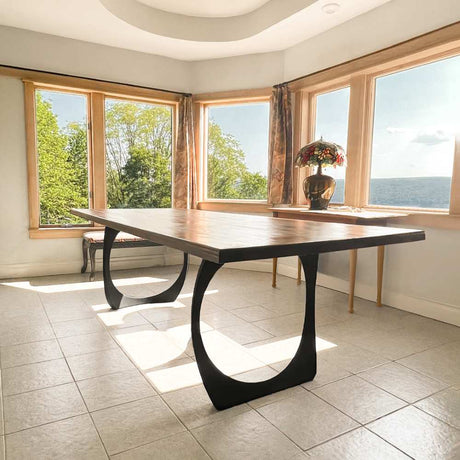
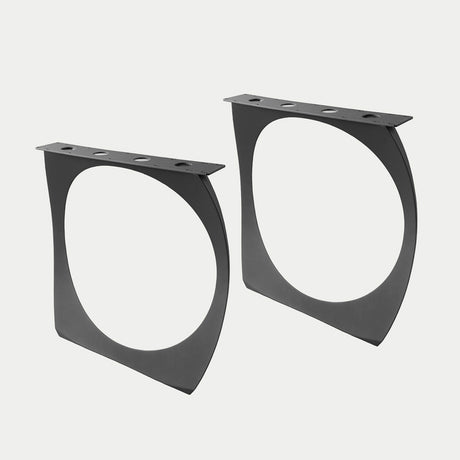
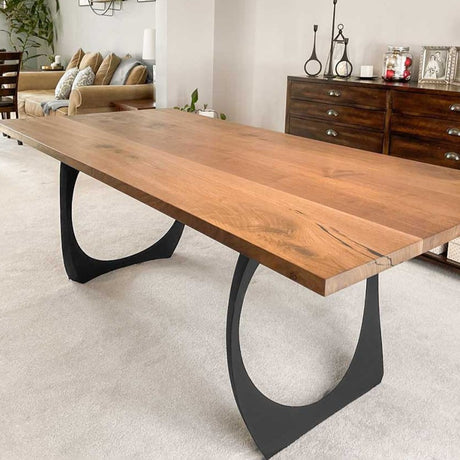
418 Curva 28" H Dining Table Curved Legs for Live Edge Wooden Slap
Regular price $310.00Unit price /UnavailableIn stockFree Shipping -
- Best Seller
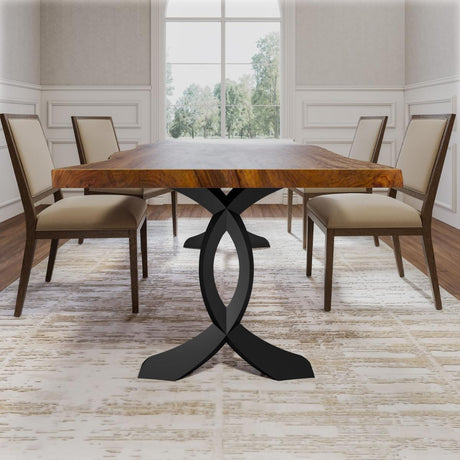
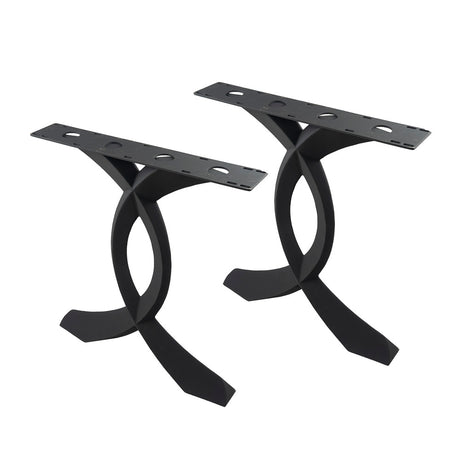
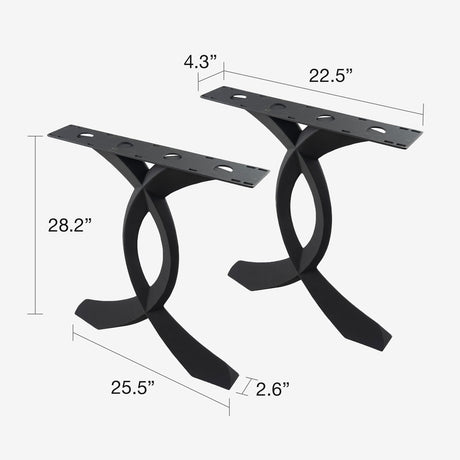
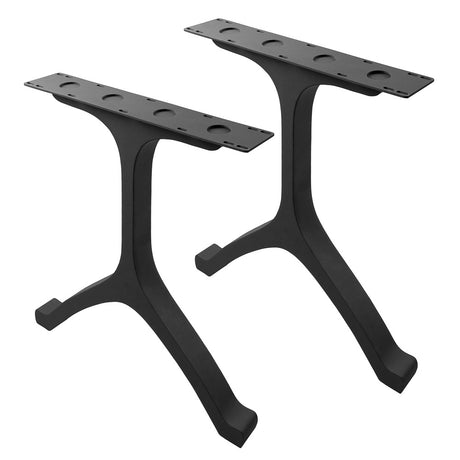
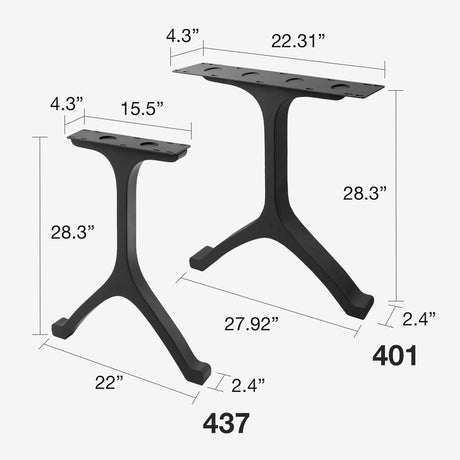
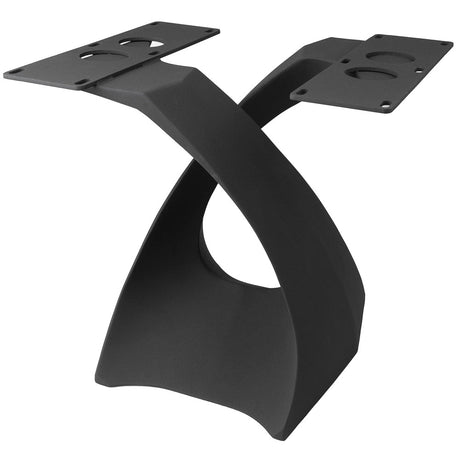
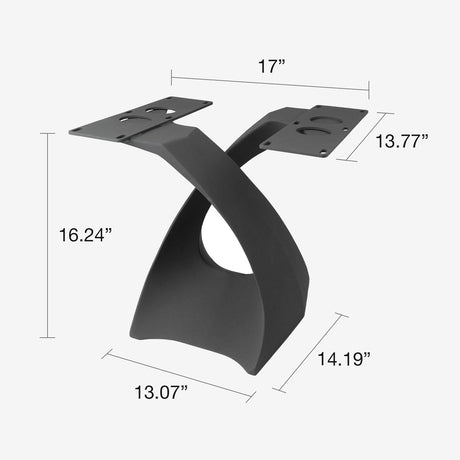
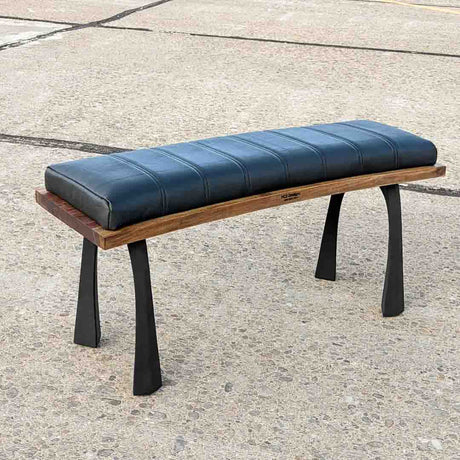
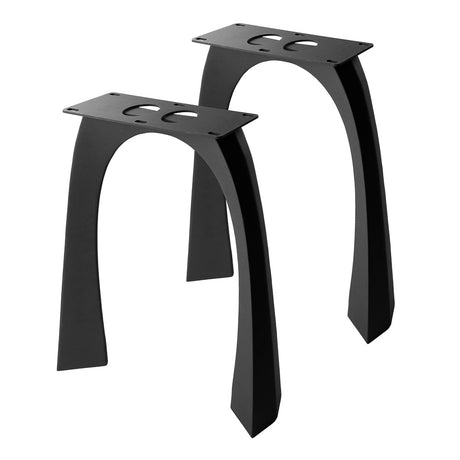
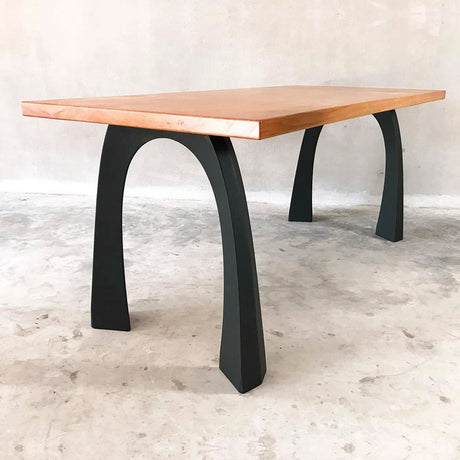
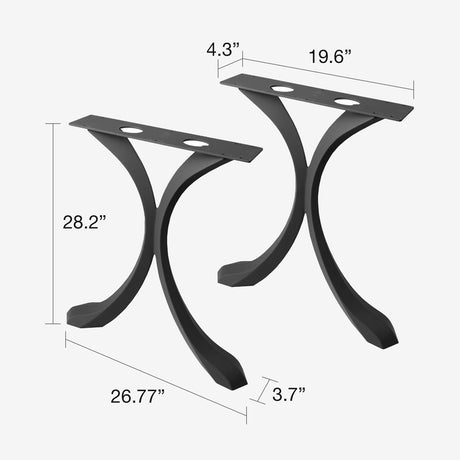
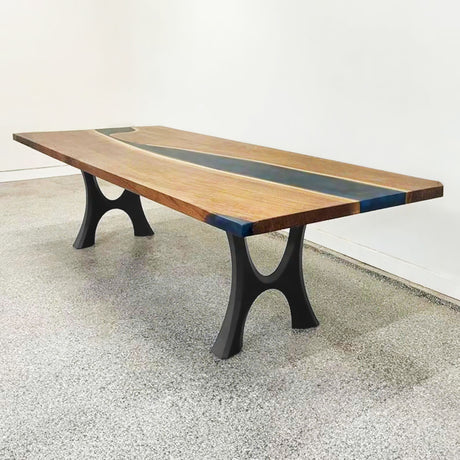
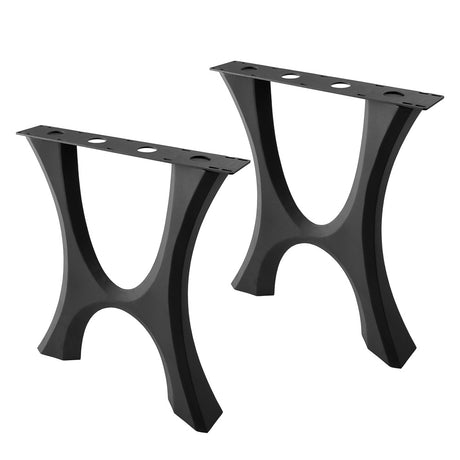
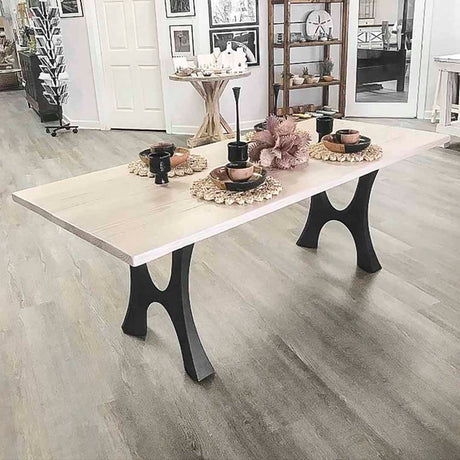
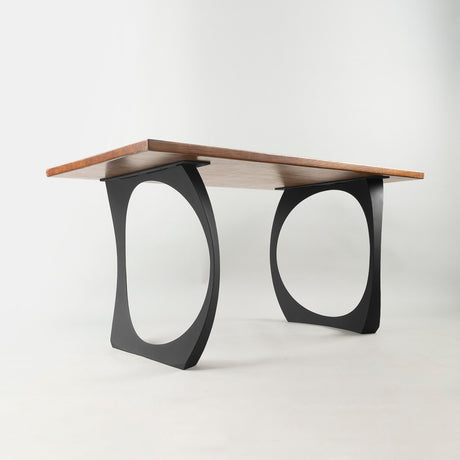
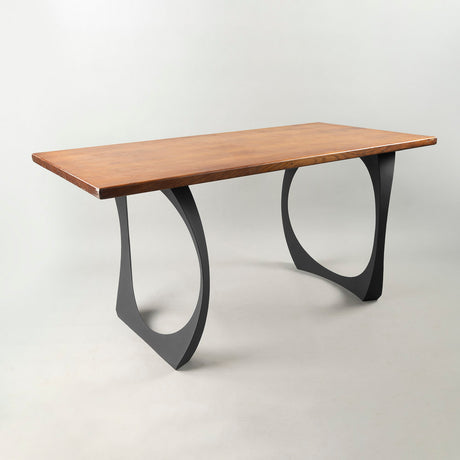
Furniture Legs 401/437 Wishbone 28" H MCM style for Woodworking Live Edge Slabs
Regular price From $258.00Unit price /UnavailableIn stockFree Shipping -
- Best Seller
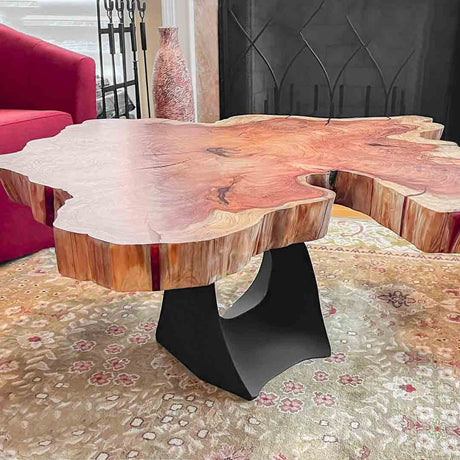
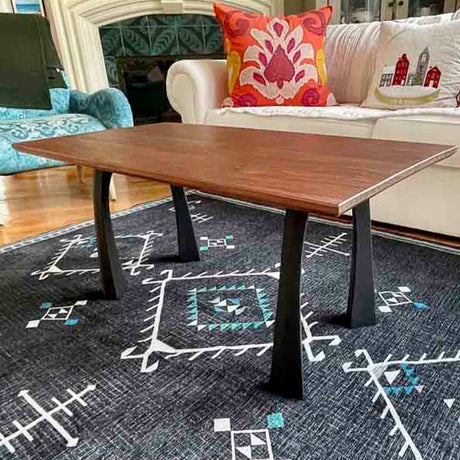
Coffee Table Base 121S Tulipe 16.2" H Mid-Century Modern Style
Regular price $223.00Unit price /UnavailableIn stockFree Shipping -
- Best Seller
Bench Legs 116 Nura 16.2" H Minimalist Modern Style
Regular price $126.00Unit price /UnavailableIn stockFree Shipping -
- Best Seller
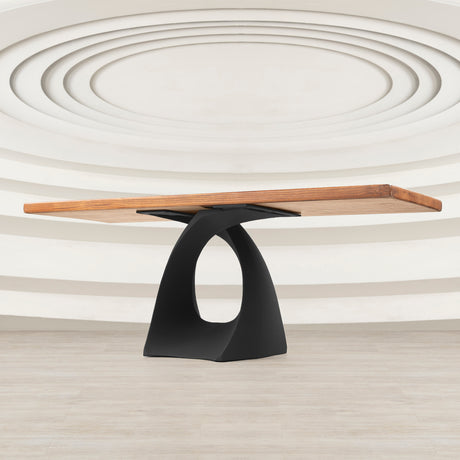
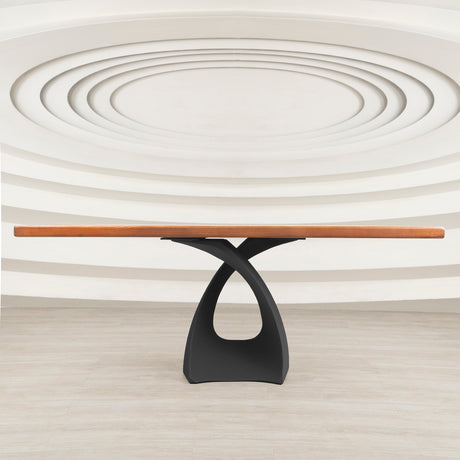
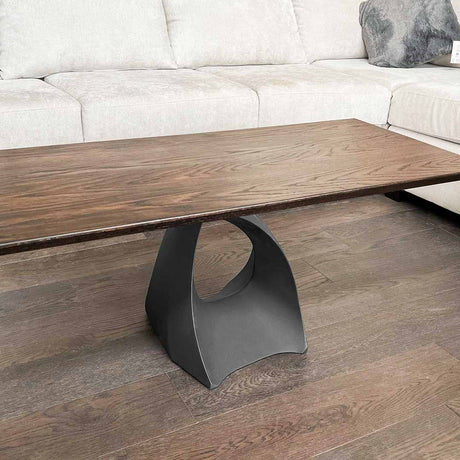
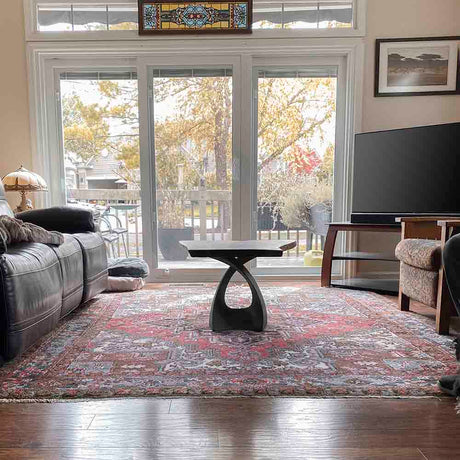
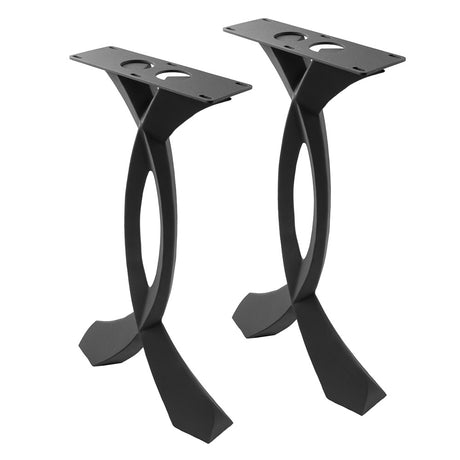
Console Table Legs 207 Curva 28" H Metal Furniture for Modern Custom Style
Regular price $269.00Unit price /UnavailableIn stockFree Shipping -
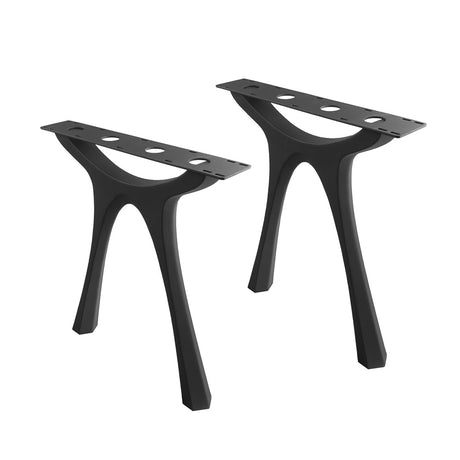
Furniture Legs 419 Nura 28" H Metal Modern Dining Table Legs
Regular price $279.00Unit price /UnavailableIn stockFree Shipping-
- Best Seller
Table Base 28" H Modern Refined Design for DIY Woodworking - 307 Tulipe
LTL truckingRegular price From $1,554.00Unit price /Unavailable -
Bench Legs 102 Wineglass 16.3" H Metal Legs for Outdoor and Indoor Benches
Regular price $116.00Unit price /UnavailableIn stockFree Shipping-
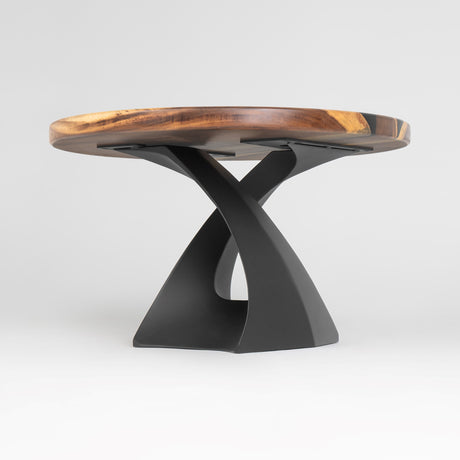
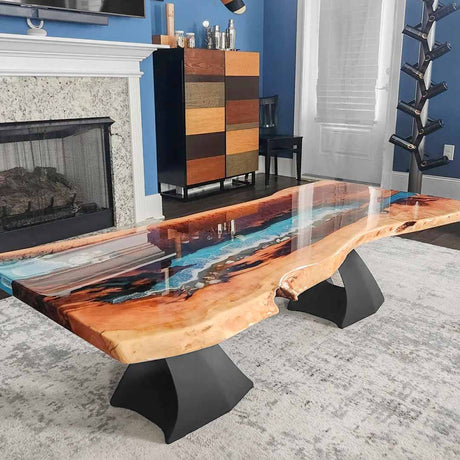
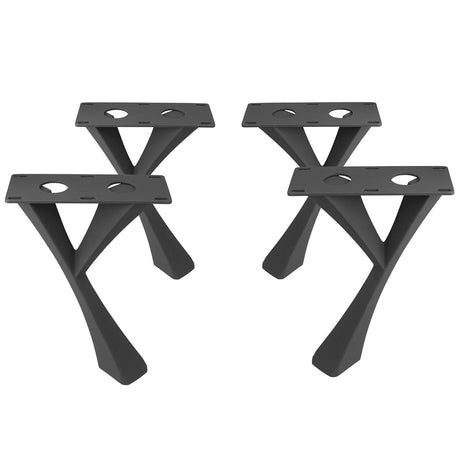
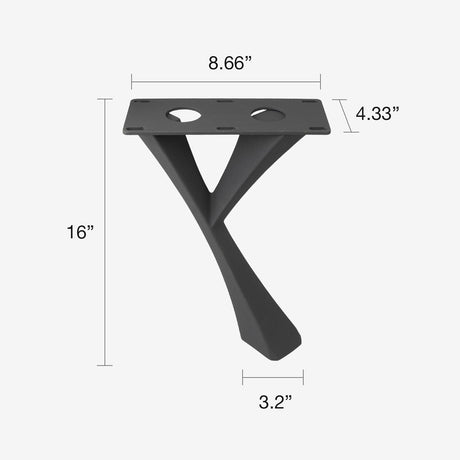
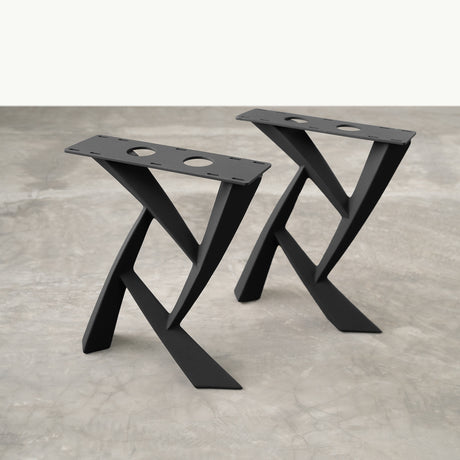
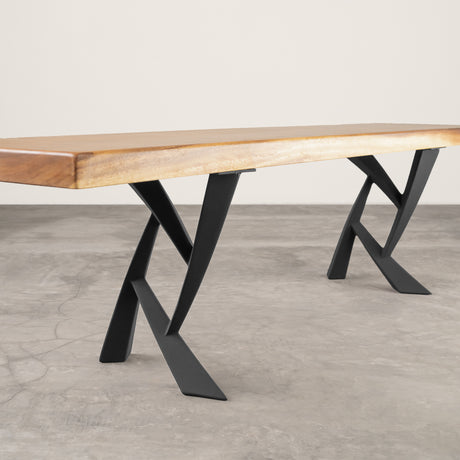
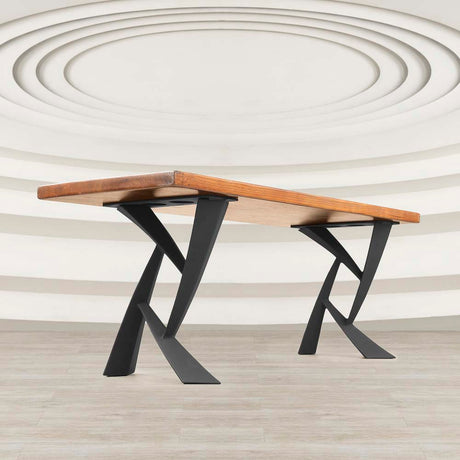
Table Legs 421 Xeni 28.2" H X-Shaped Metal Dining Furniture
Regular price $300.00Unit price /UnavailableLow stock (12 units)Free Shipping-
Bench Legs 115 Yami 16" H Mid-Century Modern Style
Regular price $153.00Unit price /UnavailableIn stockFree Shipping-
Table Legs 405 Haru 28.2" H Metal Dining Furniture Legs
Regular price $355.00Unit price /UnavailableLow stock (17 units)Free Shipping-
Bench Legs 105 Cleo 16.3" H Metal Handmade Furniture
Regular price $165.00Unit price /UnavailableIn stockFree Shipping-
Table Legs 409 Cleo 28" H Metal Dining Furniture Legs
Regular price $311.00Unit price /UnavailableVery low stock (3 units)Free Shipping-
- Best SellerSold out
End Table Legs 218 Cleo 20" H Unique Metal Furniture
Free ShippingRegular price $184.00Unit price /Unavailable -
Bench Legs 107 Draco 16.5" H Modern Metal DIY Furniture
Regular price $137.00Unit price /UnavailableVery low stock (5 units)Free Shipping-
- Sold out
Table Legs 414 Hatty 28" H Modern Metal Table Legs
Free ShippingRegular price $331.00Unit price /Unavailable -


As Seen On


Get Durable Outdoor Metal Table Legs That Last for Many Seasons
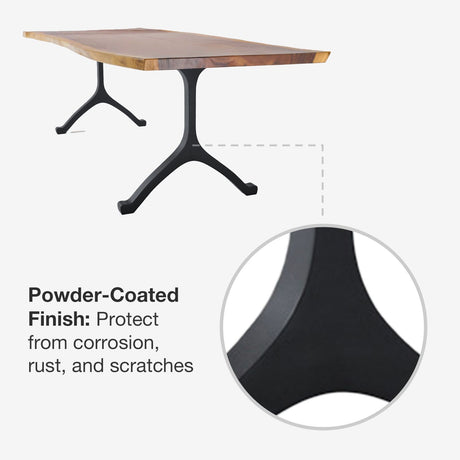
Another summer, another rusted, wobbly outdoor table. You've been down this road before, bought what looked like a sturdy patio table, only to watch it fall apart after one season of weather. The problem is that most outdoor table legs metal simply aren't built for real weather. They use thin metal, cheap coatings, and shortcuts that save money but cost you headaches. However, Flowyline metal legs for outdoor table projects take a completely different approach.
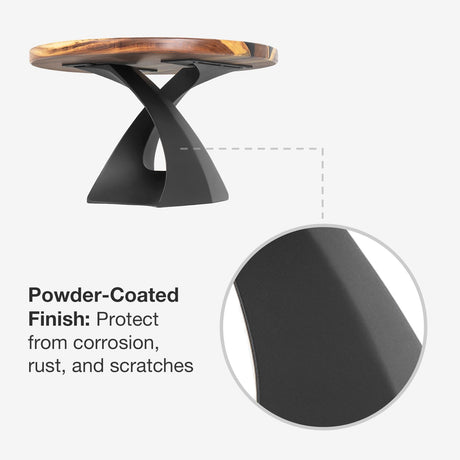
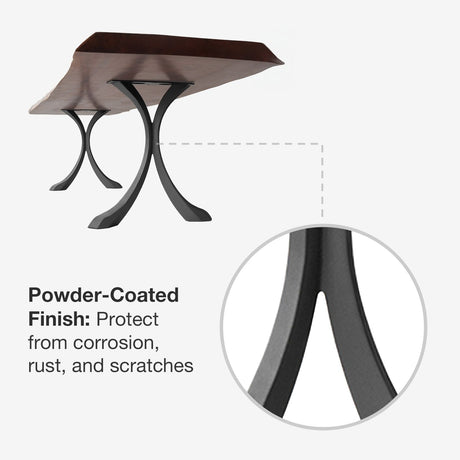
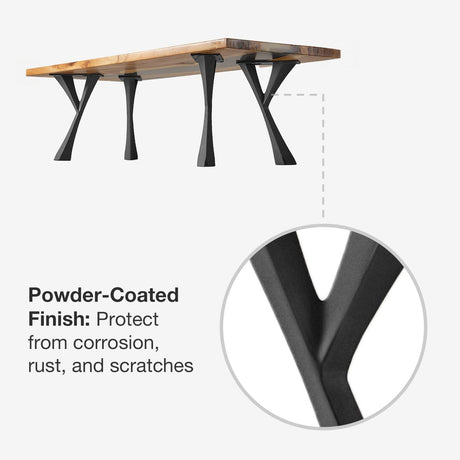
We build these legs like they're going to war with Mother Nature and winning. Heavy-duty steel construction, weather-resistant powder coating, and designs that actually get stronger over time, not weaker.

Why Our Outdoor Table Legs Don't Give Up When the Weather Gets Tough
Every piece of our metal outdoor dining table legs collection is designed to solve the problems that make people hate outdoor furniture. Here's what makes them different:

Flowyline metal table legs for outdoor table are made from thick, heavy-gauge steel that laughs at rain, snow, and blazing sun. The powder coating is a protective shield that bonds to the metal and won't chip, peel, or fade.
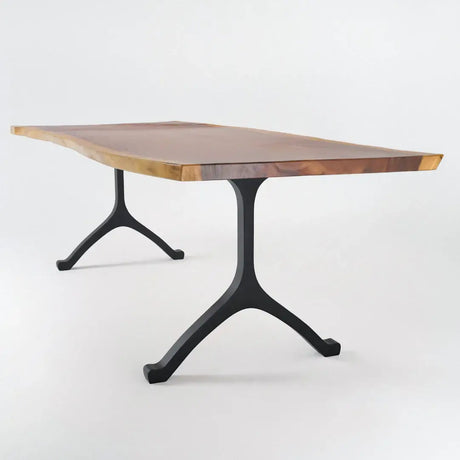
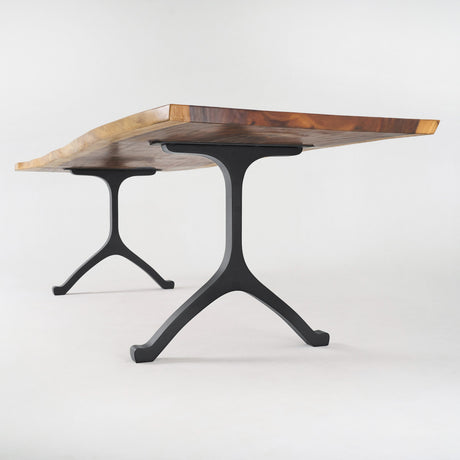
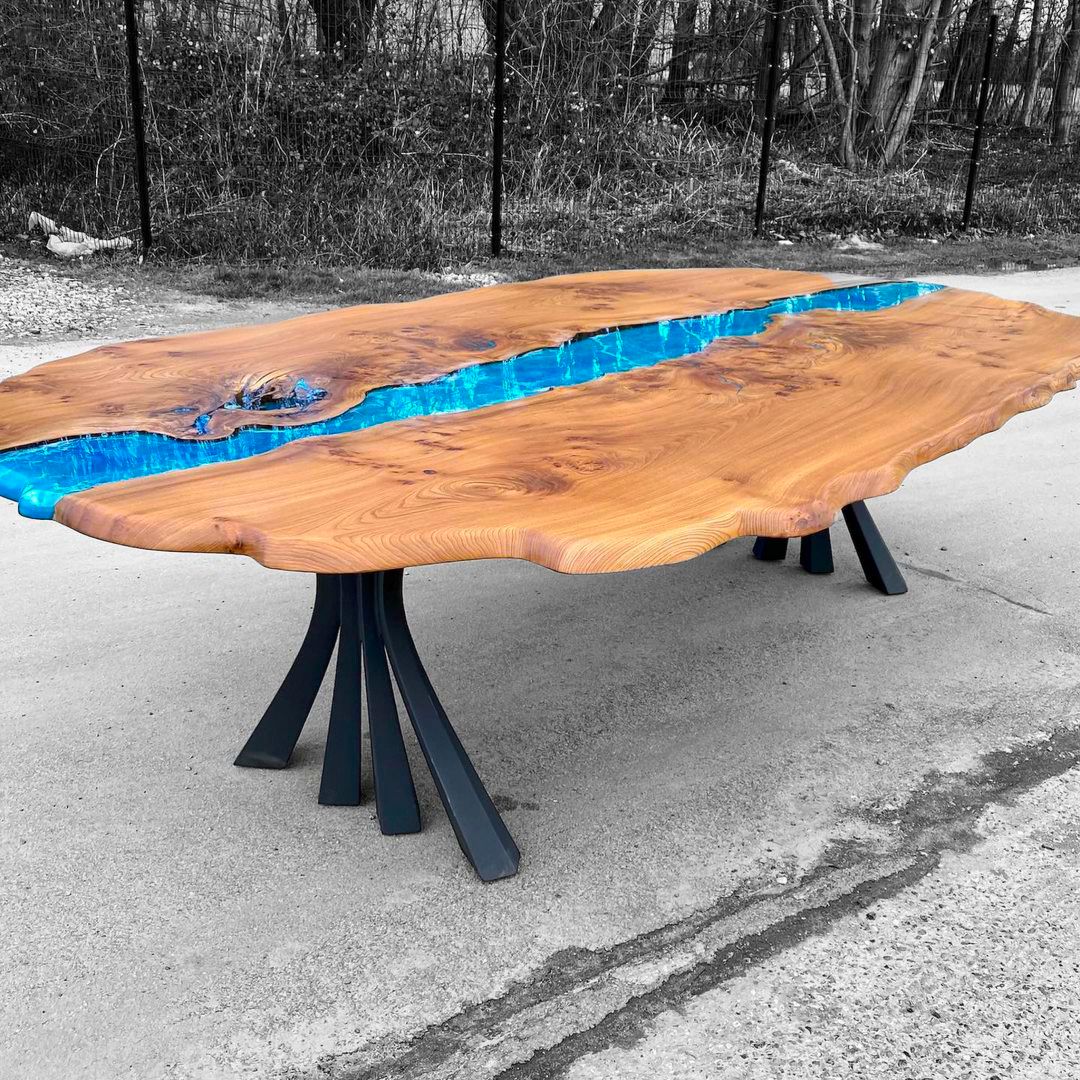
The metal table legs outdoor designs have wide, stable bases that plant firmly on any surface. No more napkins under table legs or drinks sliding across uneven surfaces.

Available in different sizes and finishes, our round table pedestal base can be tailored to your specific needs. Flowyline lets you achieve a seamless look for your project.

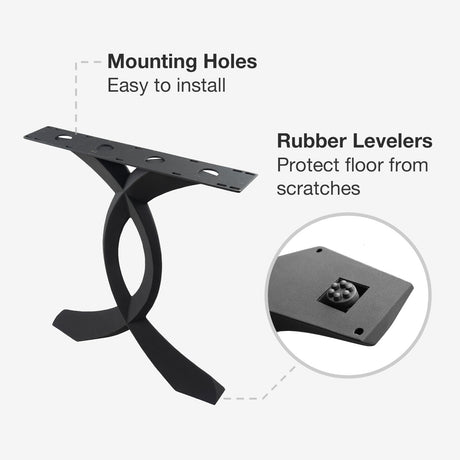
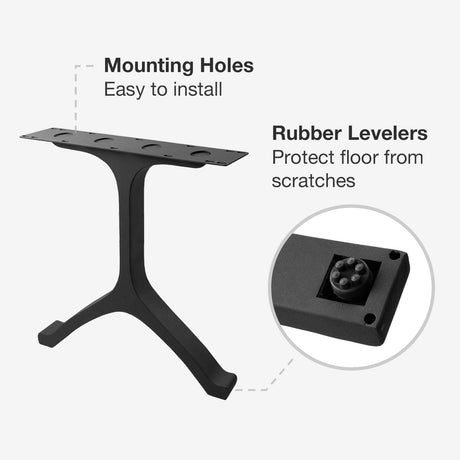
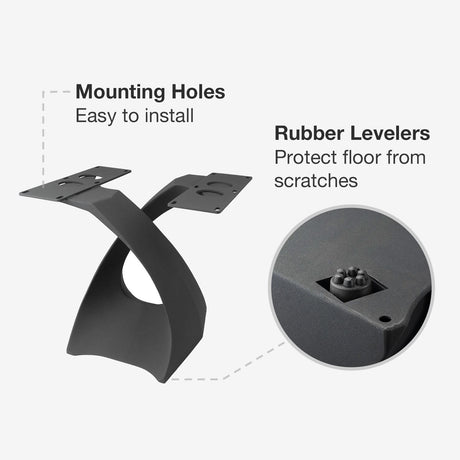
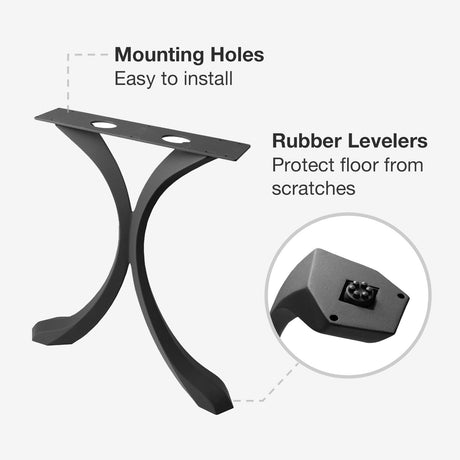
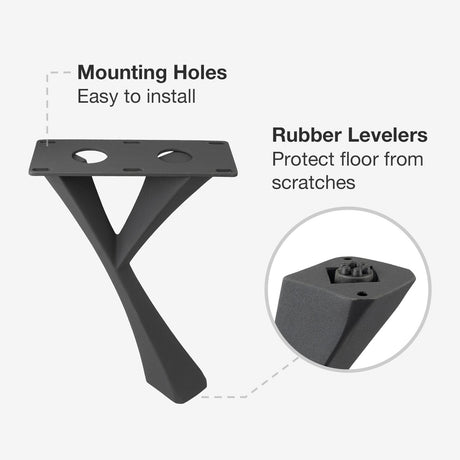
Each set of outdoor metal table legs comes with everything you need to attach it properly to your tabletop. Pre-drilled mounting plates and clear instructions. No guessing, no extra hardware store trips.
Want to see what else we offer for your outdoor space? Check out Flowyline Design's complete collection of metal table legs for more options.
How to Pick the Right Outdoor Metal Table Legs for Your Garden
Getting outdoor furniture right isn't just about looks. It's also about choosing pieces that work with your lifestyle and survive your climate. Here's how to make the smart choice:
- Think About Your Weather: If you live somewhere with harsh winters, you need outdoor table legs metal with serious corrosion resistance. Suppose if you’re living in a hot, sunny climate, look for UV-resistant finishes that won't fade or crack. Our powder coatings handle both extremes without breaking a sweat.
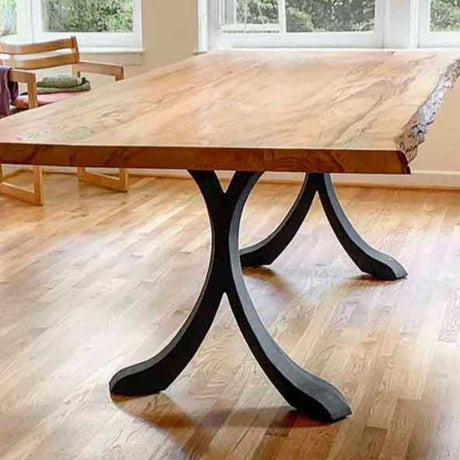
- Match Your Table Size: Big family dinners require sturdy metal legs for outdoor table that can handle the weight and activity. Intimate bistro settings can use more delicate designs. Rule of thumb: when in doubt, go stronger. Nobody ever complained that their table was too stable.
- Consider Your Tabletop: Stone or concrete tops need serious support from metal outdoor table legs built for heavy loads. Wood slabs need legs that won't stain or react with moisture. Tile or glass tops require smooth mounting surfaces that won't crack under pressure.
- Plan for Real Use: Will your kids be climbing on this table? Do you host big barbecues? Then, you should pick metal outdoor dining table legs that can handle your actual lifestyle, not just look pretty in catalog photos.
- Think Long-Term: Cheap outdoor furniture is expensive when you replace it every year. Invest in Flowyline metal table legs for outdoor table projects that'll still look great in many years.
FAQs About Outdoor Metal Table Legs
After 5+ years of helping people create better outdoor spaces, we hear the same concerns over and over. Here are the straight answers:
Will your outdoor metal table legs really hold up in bad weather?
Yes, and we use a powder coating technique that's designed for staying durable in harsh weather. This process involves using a dry powder, which is electrostatically charged and sprayed onto a surface, then heated to fuse the powder into a solid, durable finish. Besides, the steel underneath is thick enough to support serious weight without flexing or weakening. We've had customers in Minnesota and Florida both tell us their tables still look new after three years.
Can you make outdoor table legs metal in custom sizes for my project?
Yes, absolutely. We're not limited to standard heights or widths. If you need metal legs 25 inches high instead of 28, or you want wider spacing for a long tabletop, we’re available to make custom outdoor metal table legs to your exact specific needs. That's the whole point of custom work.
How hard is it to attach metal legs for outdoor table to my tabletop?
No worries, it's straightforward. Each leg comes with heavy-duty mounting plates and simple instructions. Mark the holes, drill them out, and bolt your screws down. Most people finish in under 20 minutes.
What's the difference between indoor and outdoor table legs?
Normally, metal outdoor table legs use different steel alloys, thicker construction, and specialized coatings that won't break down in UV light or moisture. Indoor legs can look similar, but they focus on aesthetics and may not be as durable against harsh weather.
But at Flowyline, both indoor and outdoor metal legs are built to the same high aesthetics and standard. So, even your indoor tables can handle harsh weather when used outside.
How quickly can I get my metal outdoor dining table legs?
Most standard orders ship within 2 — 7 days. Custom sizing or special finishes might add another two or three weeks. We'll give you exact timing when you order, and we actually hit those dates.
Which styles work best for modern outdoor spaces?
Your Perfect Garden Table is Just a Outdoor Metal Table Legs Away
Stop wasting money on flimsy patio furniture that falls apart every season. Flowyline outdoor metal table legs give you the foundation to create outdoor dining and coffee tables that look great and stay strong year after year.
Whether you're building a cozy bistro table for morning coffee or a large dining table for summer parties, we've got the metal legs for outdoor table projects that'll make it happen. Strong enough for daily use, beautiful enough for entertaining, and tough enough to handle whatever weather throws at them.
Browse our collection and see why smart homeowners choose Flowyline for outdoor furniture that's built to last.
Shop Outdoor Metal Table Legs

